Authentication Settings for Working with Records API from External Systems
This article describes the sequence of Citeck configurations to ensure correct sending of Records API HTTP requests. Using Postman as an example, it explains authentication in Citeck via OAuth 2.0 and sending requests.
Obtaining and Working with Client ID and Client Secret in Keycloak
To obtain a token for sending requests, the following sequence of actions must be performed:
In Keycloak, create a client from which the Client ID and Client Secret will be taken, which will be used to obtain a bearer token.
Create a user in Citeck using the pattern
service-account-%created client name%(the % sign indicates a template variable. Do not include them in the actual name).
Creating a Client in Keycloak
Log in to the Keycloak admin console.
Access URL: %host%/auth/admin/master/console/
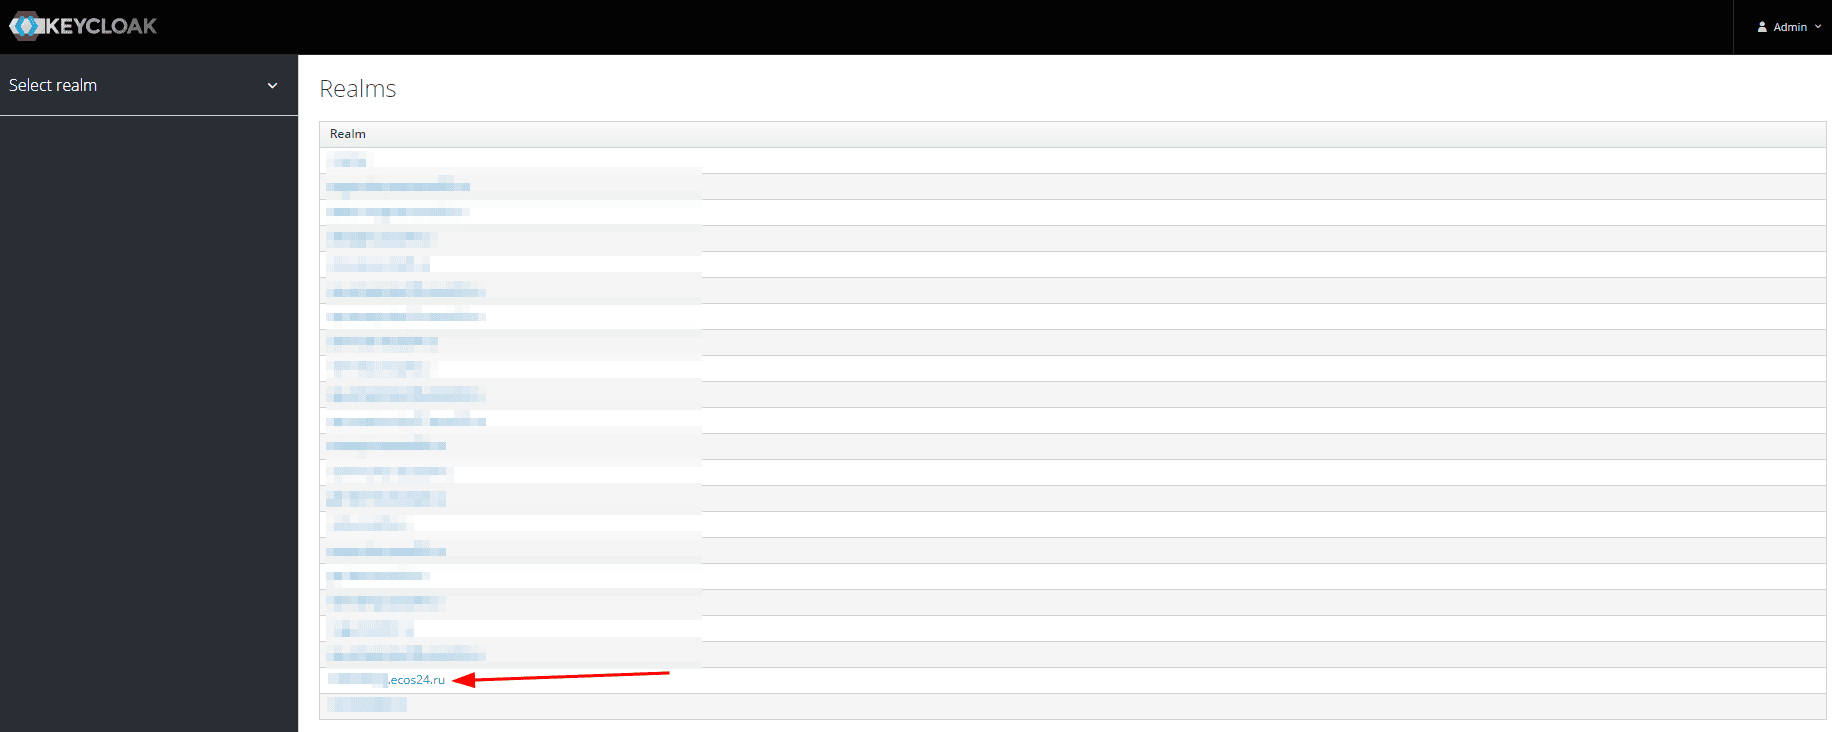
Select the required realm.
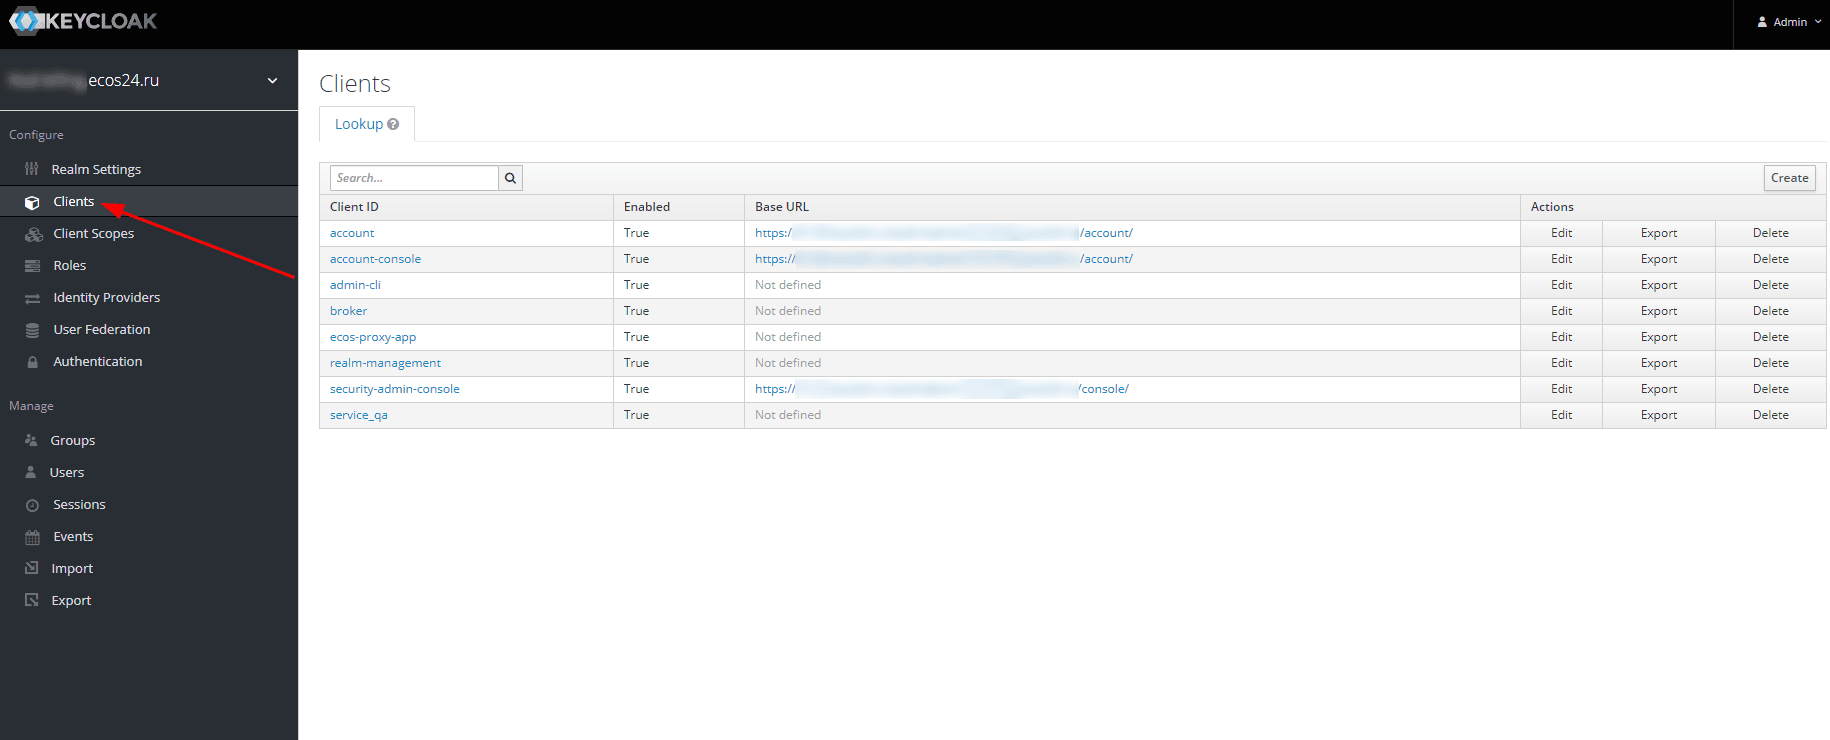
After switching to the realm, select the clients tab. As seen in the screenshot, the service_qa client is already created. A creation example will be in the item below, but the configuration itself will be shown on the existing service_qa.
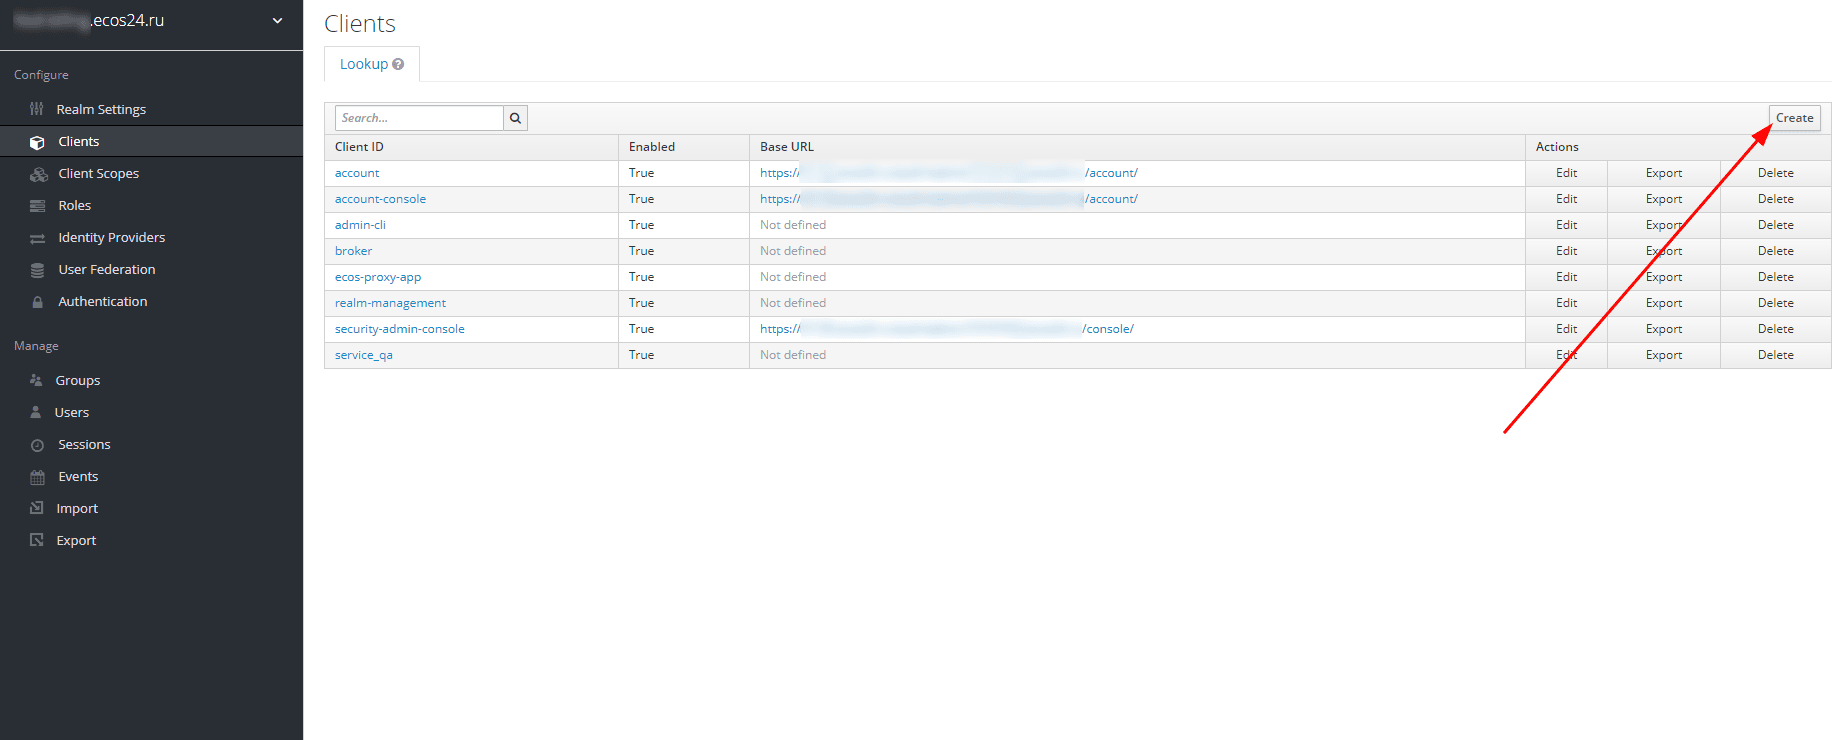
Click the Create button
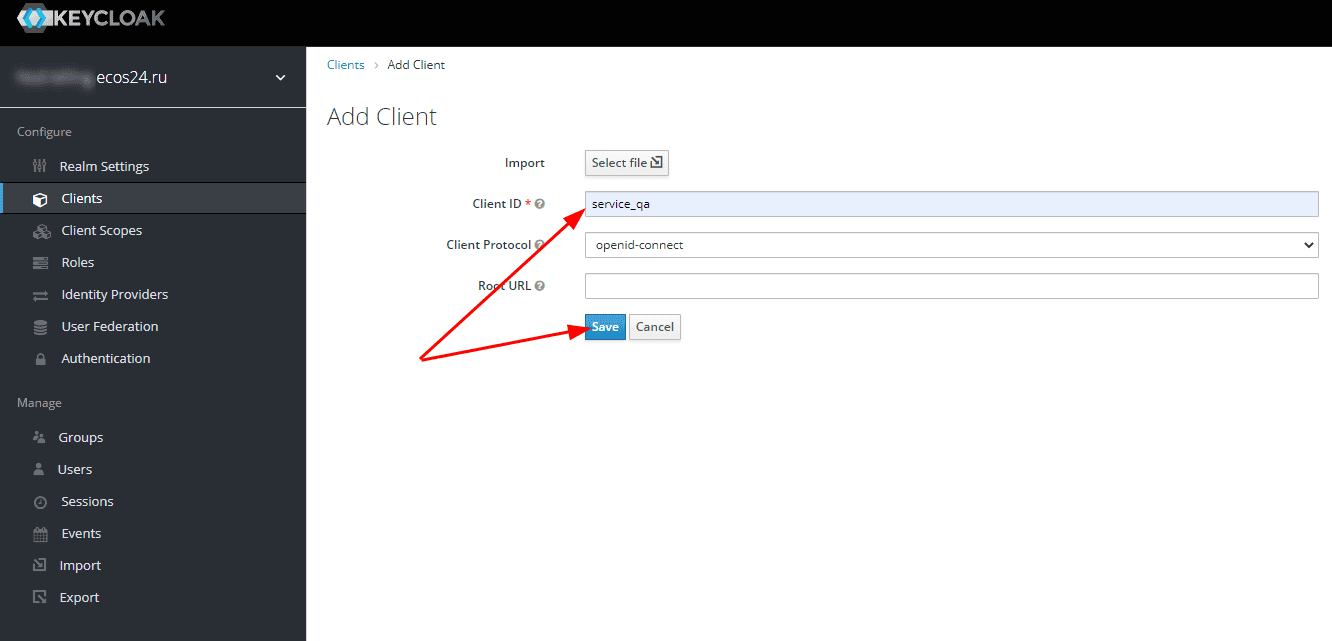
In the appeared window, fill in only the Client ID, save it somewhere, and click Save
The client editing window will open. For example, a client with Client ID test was created
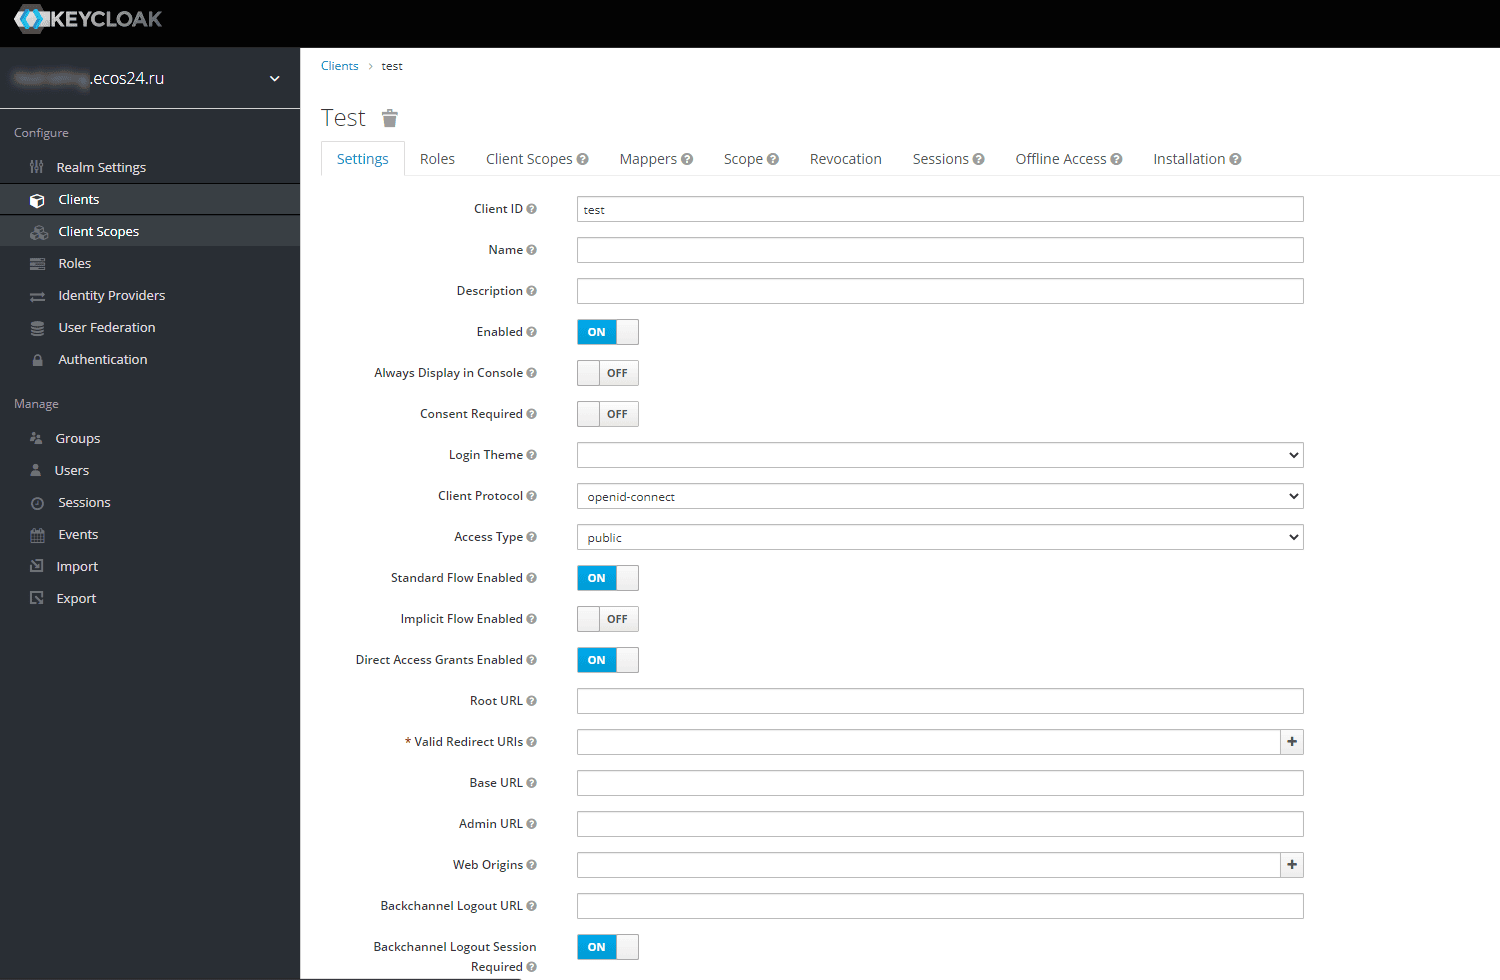
Fill in the client’s Settings tab according to the screenshot below
Access Type: confidential
Service Account Enabled: true
Valid Redirect URLs: Specify the URLs needed for use. For testing, you can simply specify * (On production environments, this is highly discouraged!)
At the very bottom of the page, click Save.
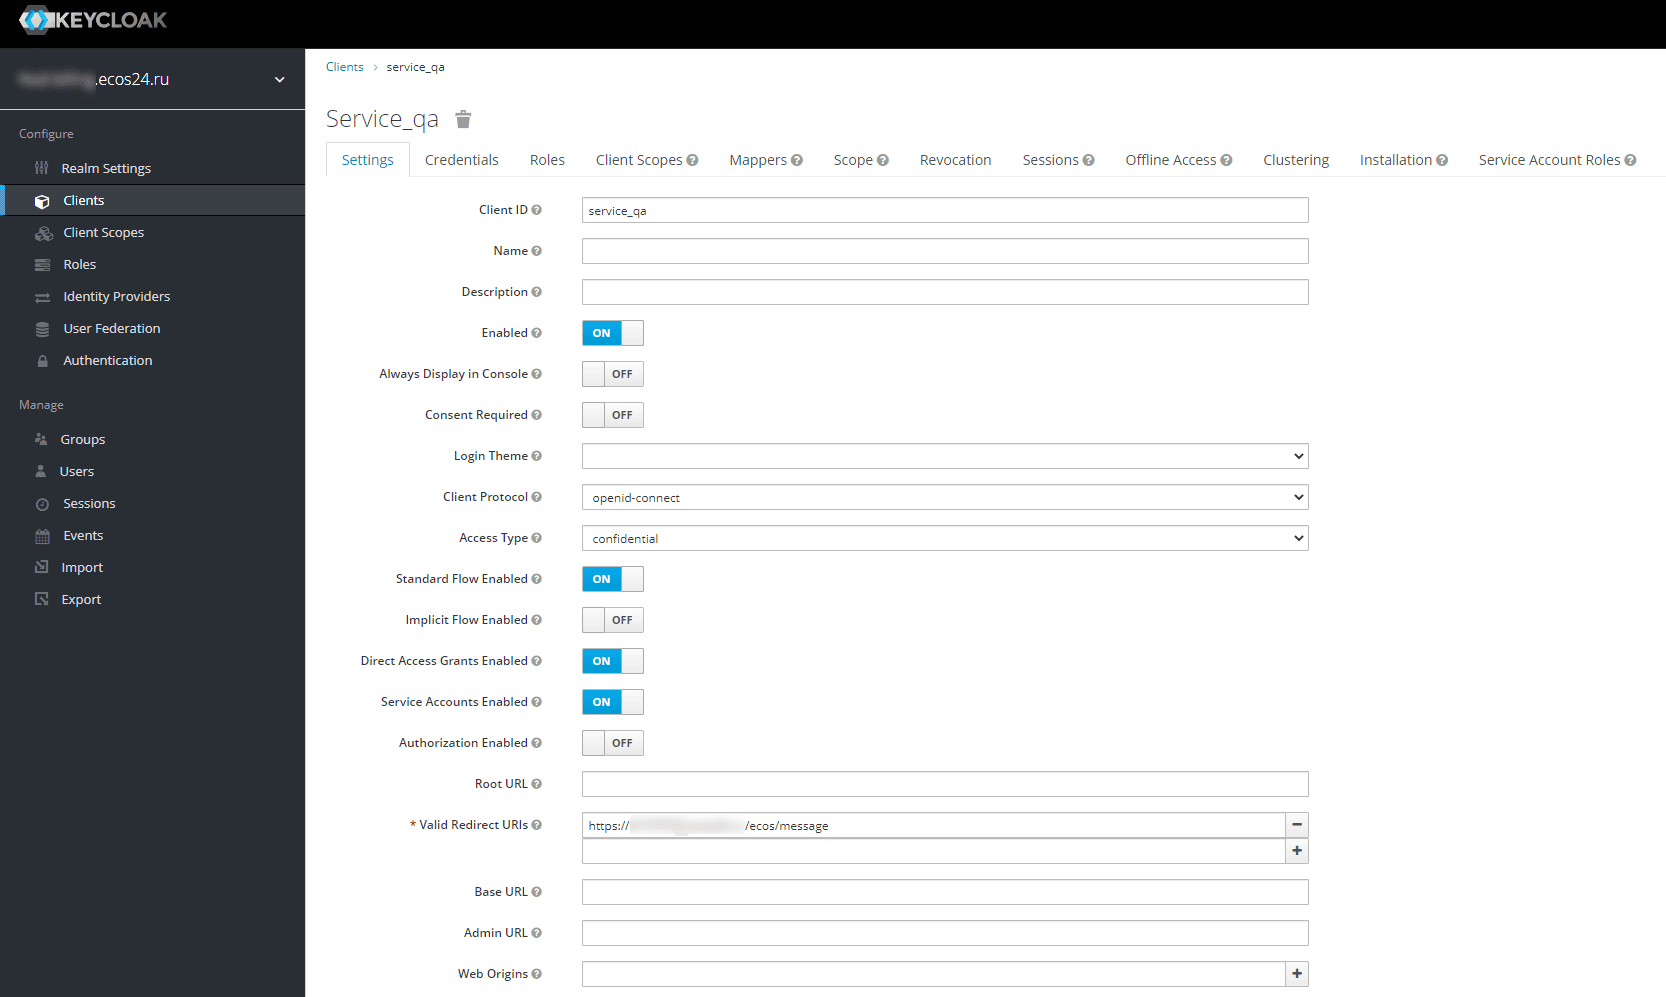
Open the Credentials tab, find the Secret field. This is the Client Secret. Save it in the same place where the Client ID was saved in step 5. In case of compromise or any other need, it can be regenerated using the Regenerate Secret button.

Creating a User in Citeck
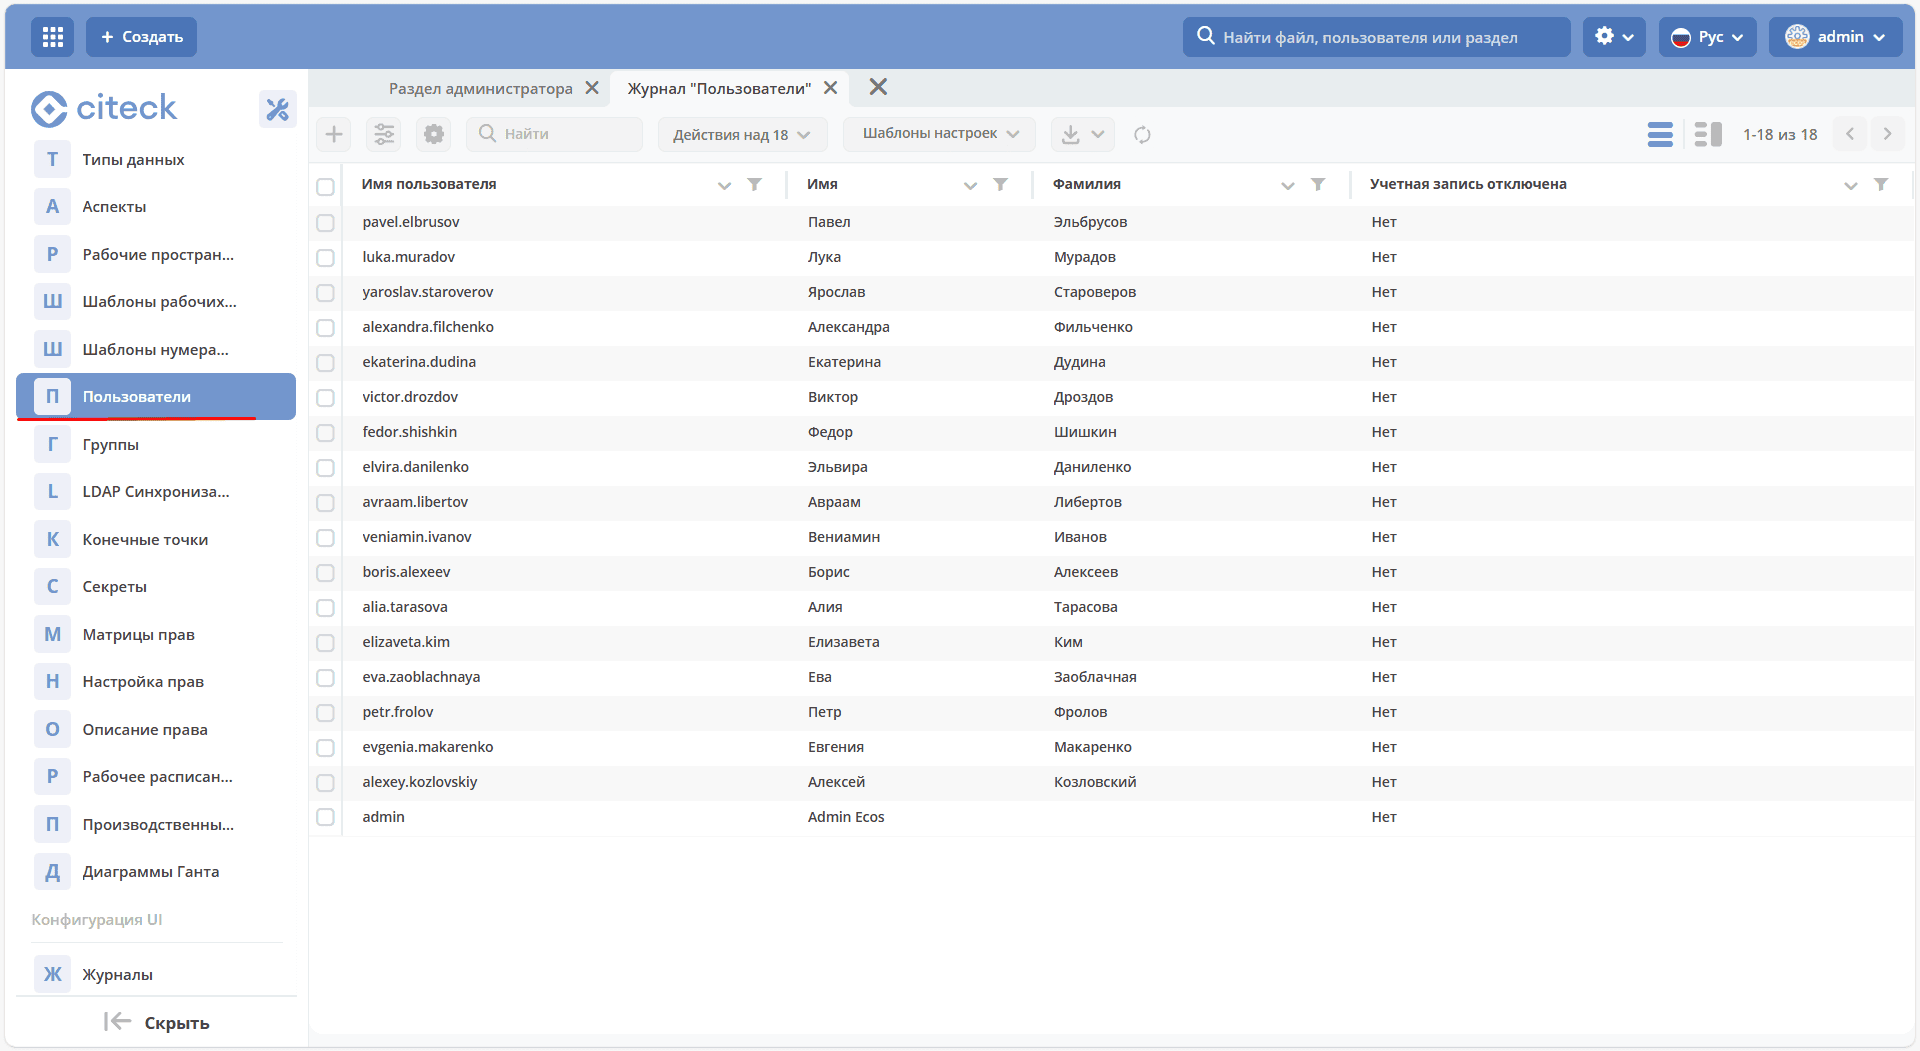
Go to the corresponding Citeck realm. In the Administrator Section workspace, open the Users menu item, to add a new user, click the + button:
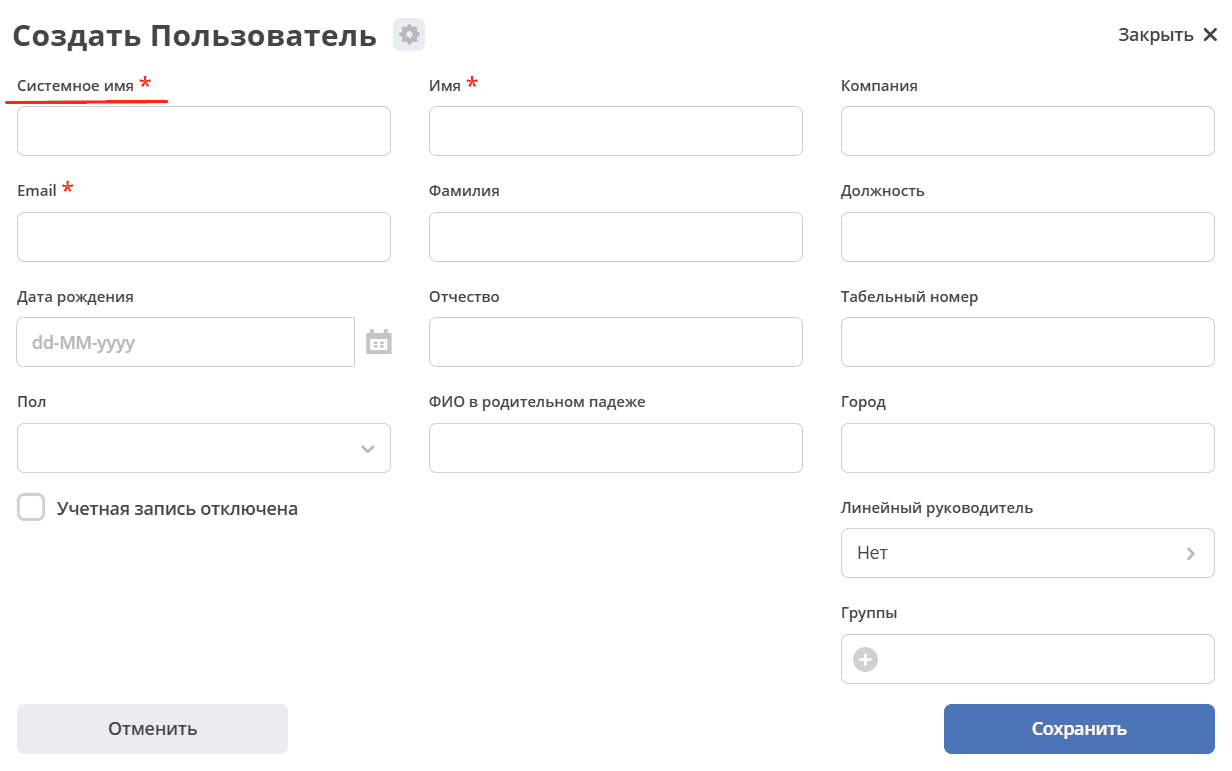
Fill out the form.
Fill in the System Name field using the pattern service-account-%created client name%. Other fields can be left blank, as the user is a service account and no one will log in under it.
Now you can make requests to the system through the gateway.
Sending Requests to Citeck
When working with the Citeck system, OAuth 2.0 authorization is used.
To send requests, it also needs to be configured in Postman, SoapUI, or another testing tool you use.
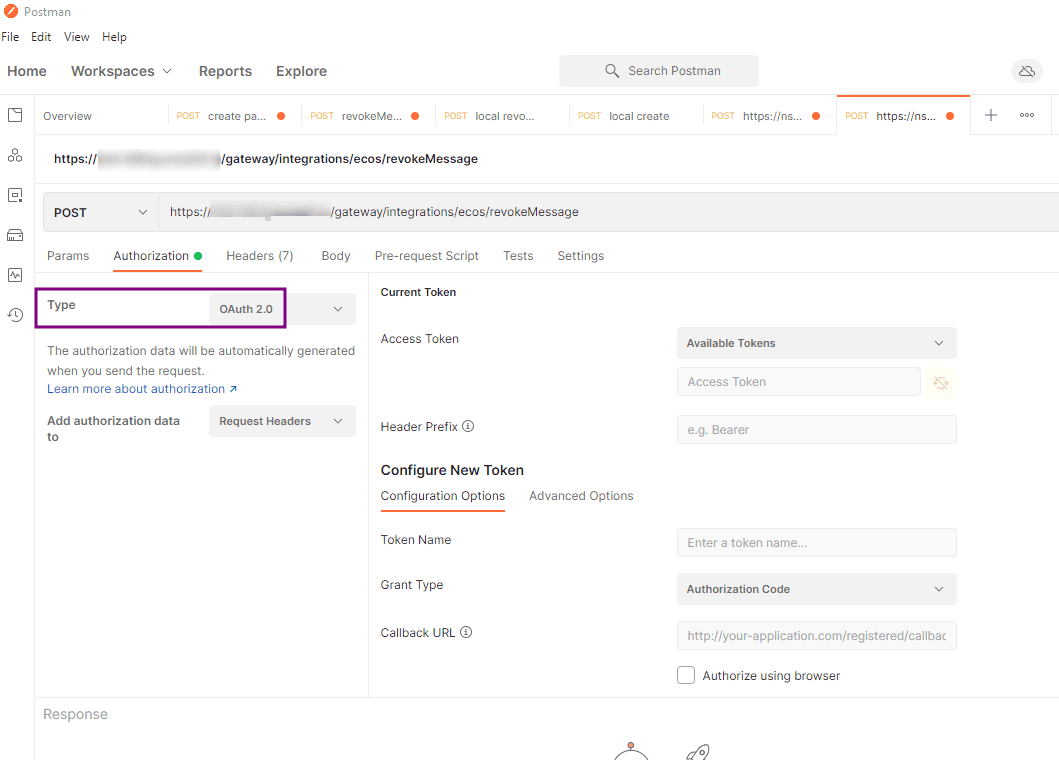
Let’s consider the configuration using Postman as an example.
Go to the authorization tab and select the OAuth 2.0 type.
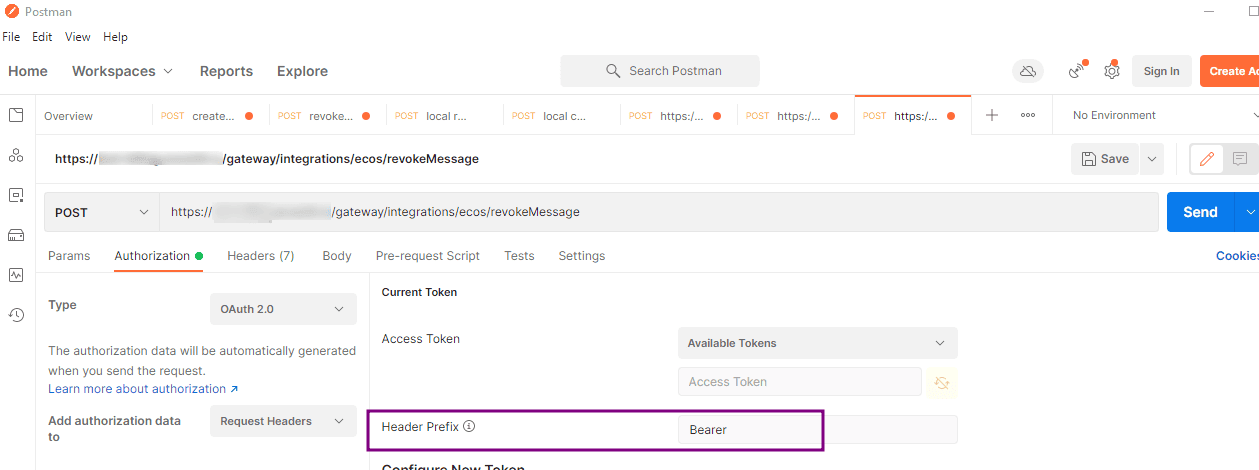
In the Current Token section, specify the Bearer prefix.
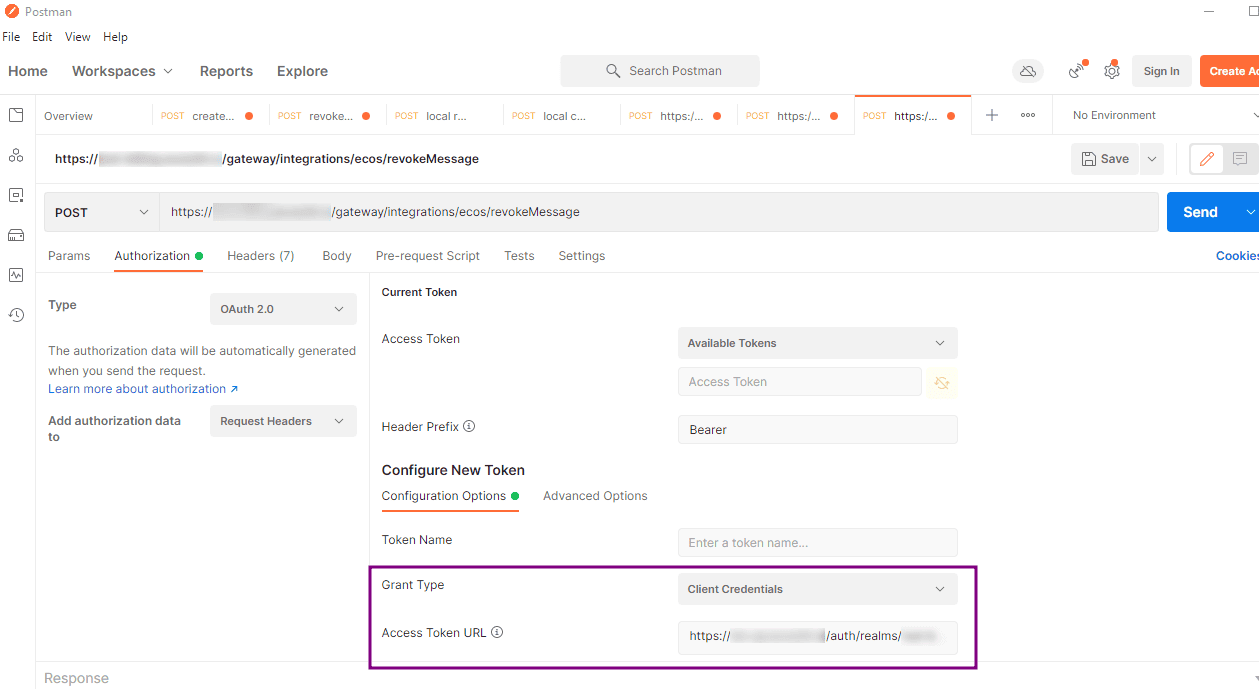
Next, in the Configure New Token section, specify the grant type Client Credentials. In the Access Token URL field, specify the URL from where to request the authorization token, of the form https://<server URL>/ecos-idp/auth/…
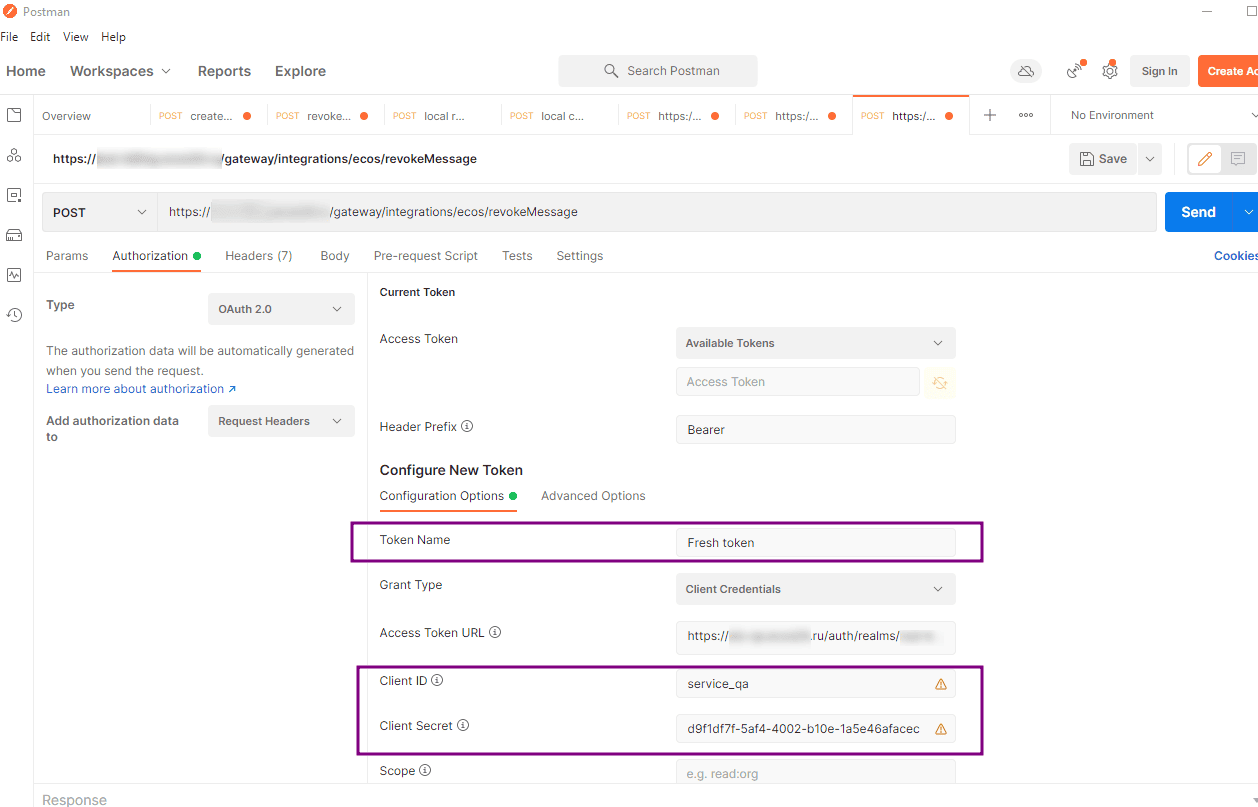
Specify the Client ID and Client Secret. Set a token name; the name can be anything.
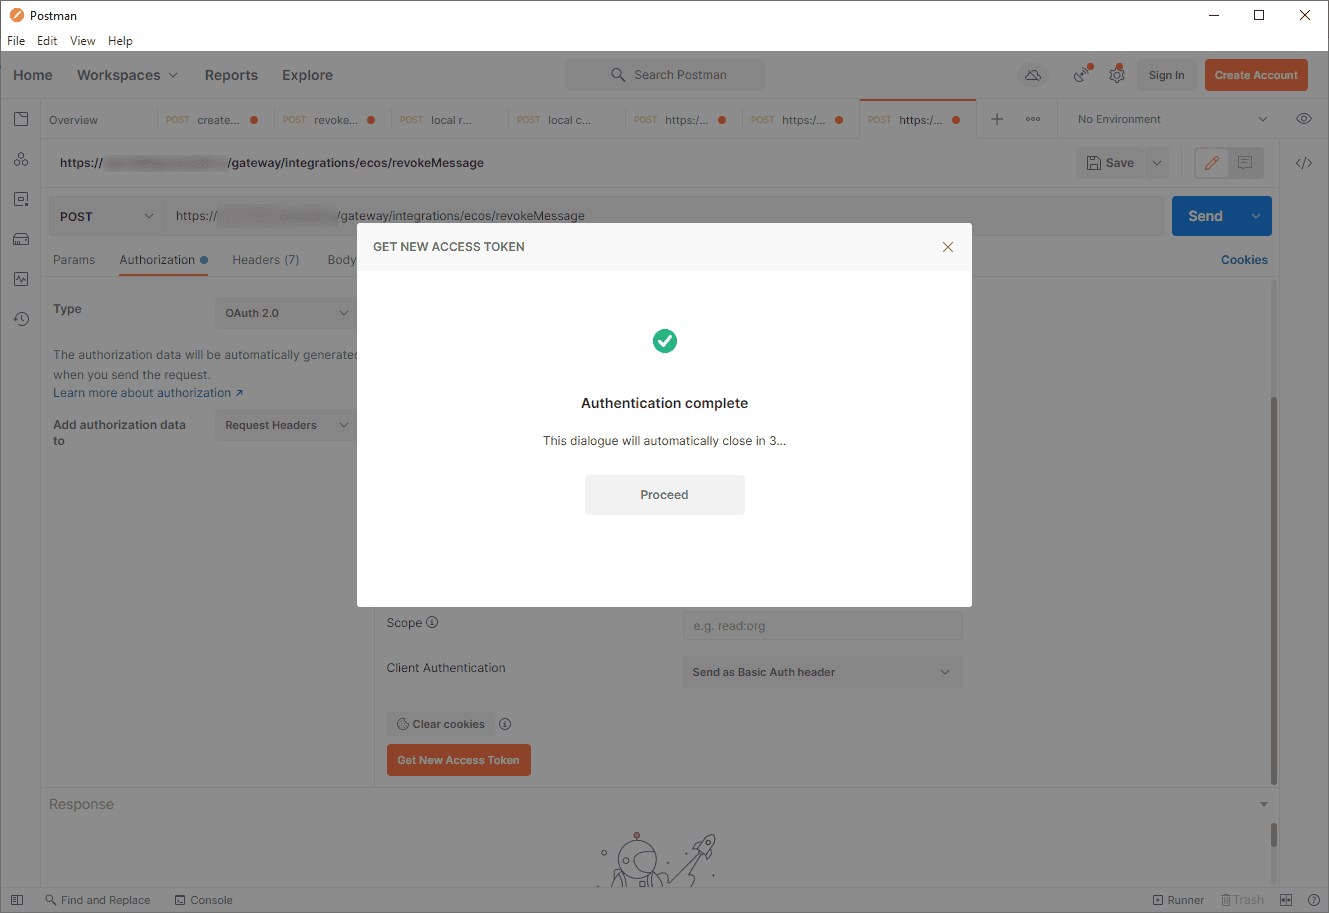
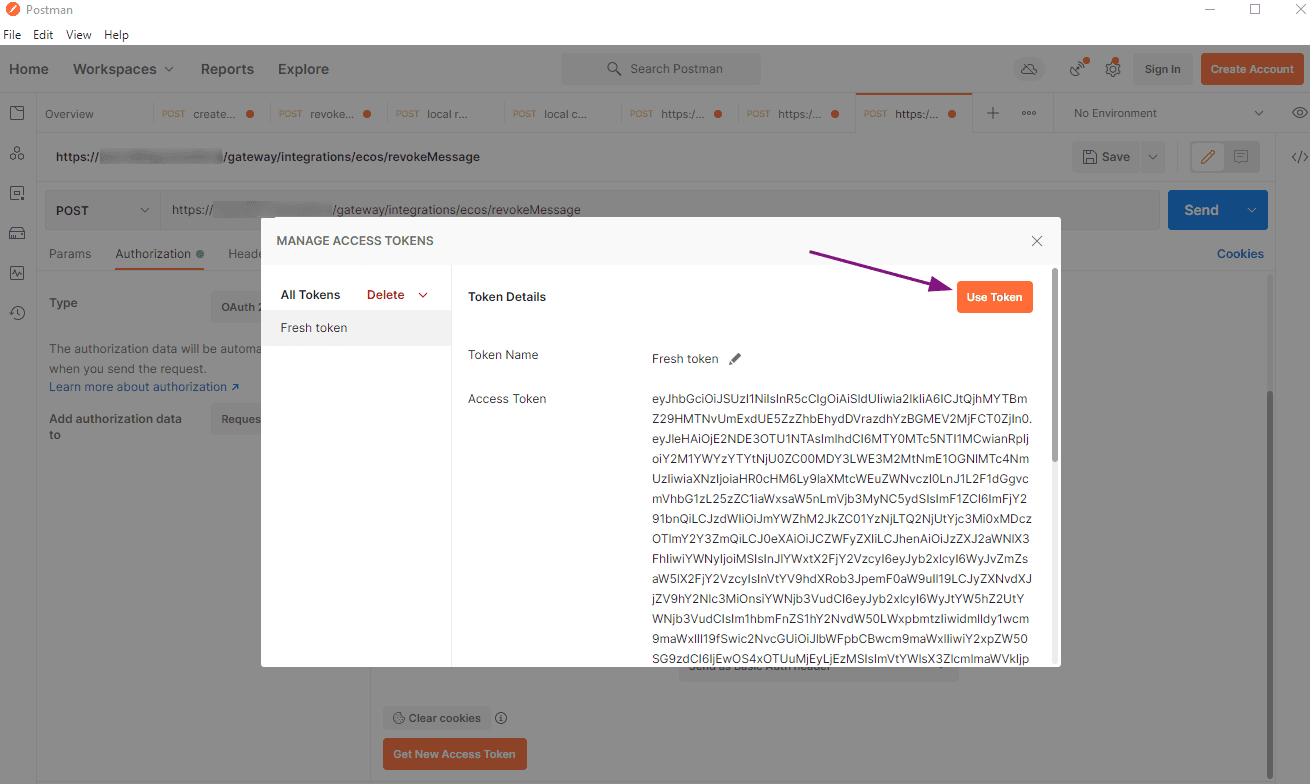
In the Client Authentication setting, set the value to Send as Basic Auth header to send the token in the header. Try to get the token and specify and use it in the request; as a result, the token value will be inserted into the Current Token section.

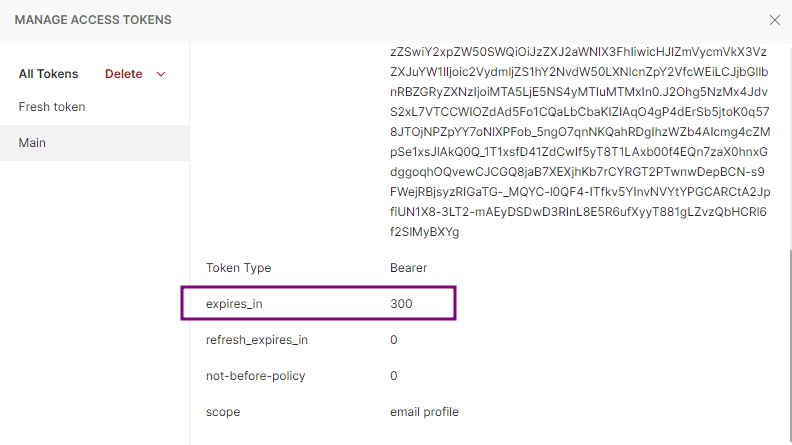
If the request body is filled, you can execute the main request to the stand. The token expiration time can be viewed when it is obtained.
In further work, after the token expires, it needs to be updated by clicking Get New Access Token → Use Token again.