Creating a New File Storage Configuration
A content storage configuration can be created in the system in several ways:
Creating directly in the system through the “Content Storages” journal
Creating via a yml file in the project.
Loading via Citeck Applications.
Creating via the “Content Storages” Journal
To create the configuration, you need to:
Navigate to the Content Storages journal (Workspace “Admin Section” - Content)
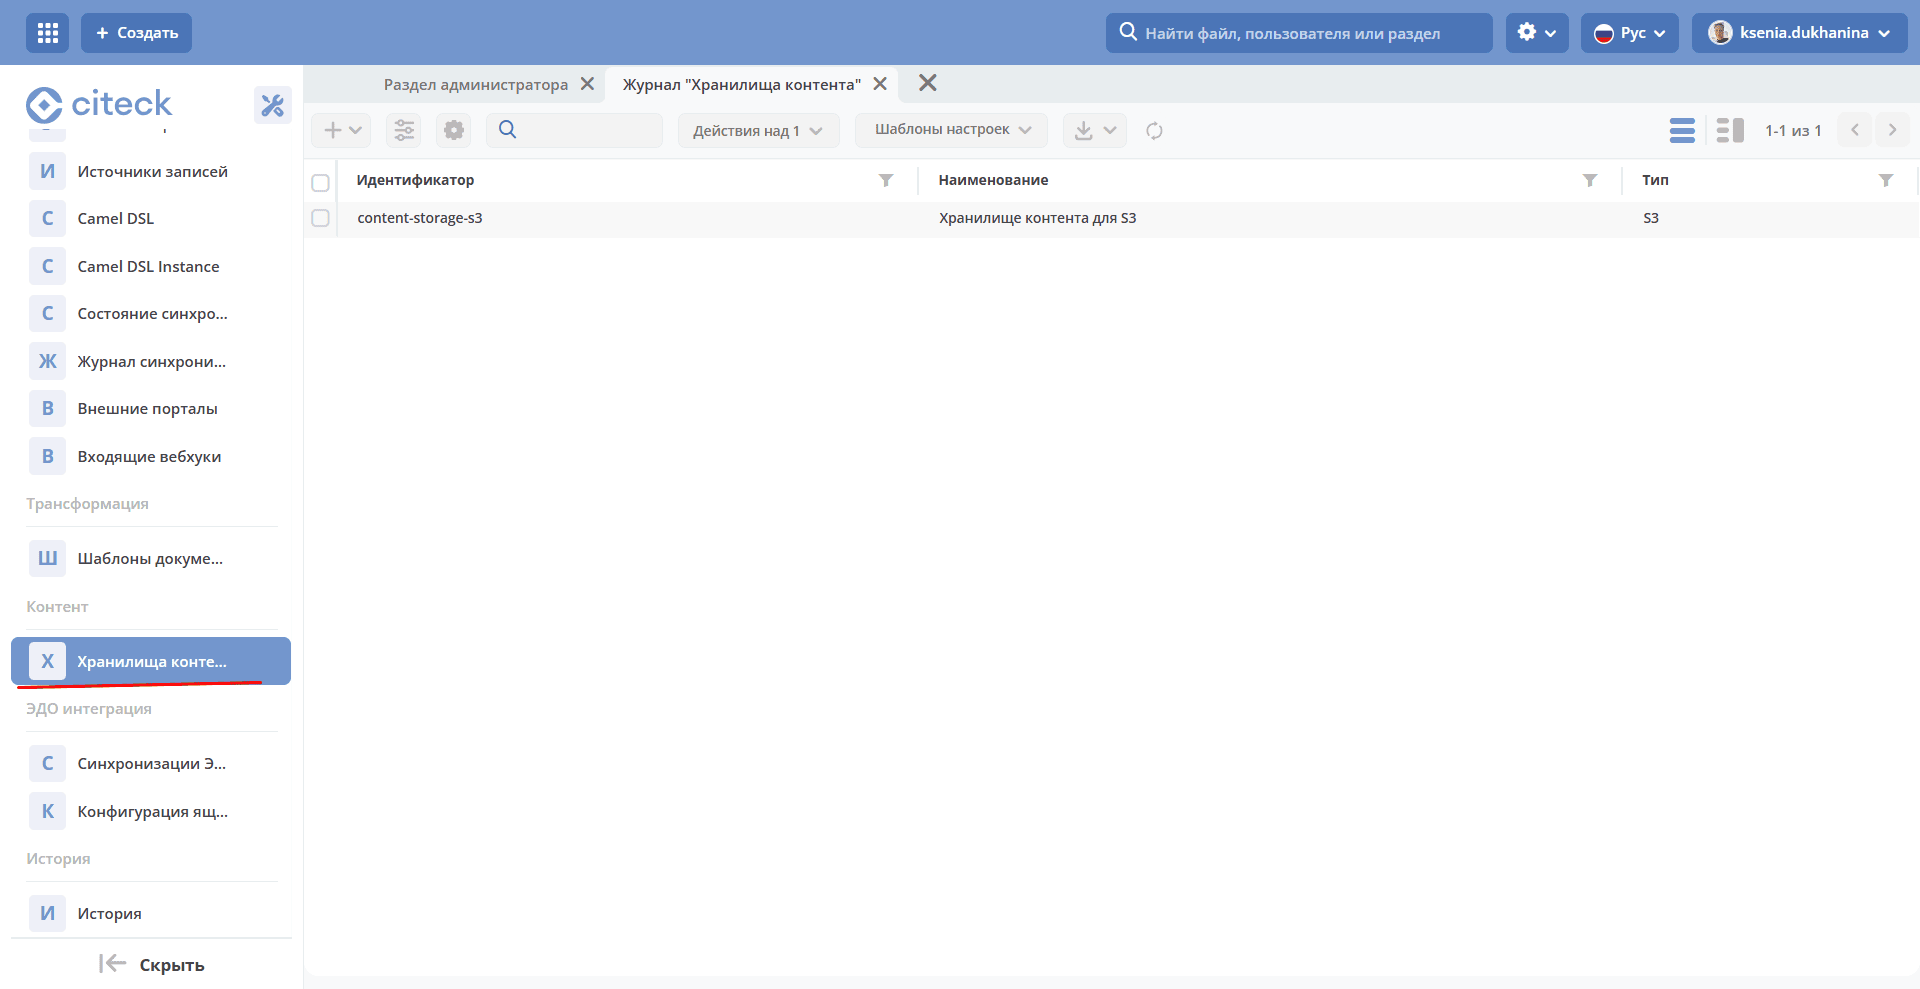
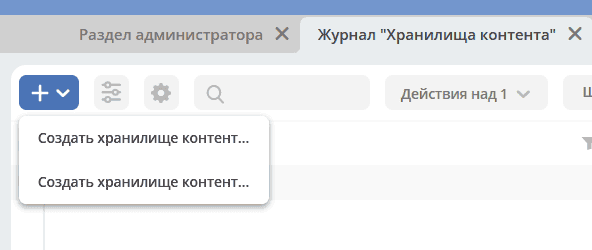
Create a record specifying the content storage type you are configuring (each type has its own set of configuration attributes required for its operation):
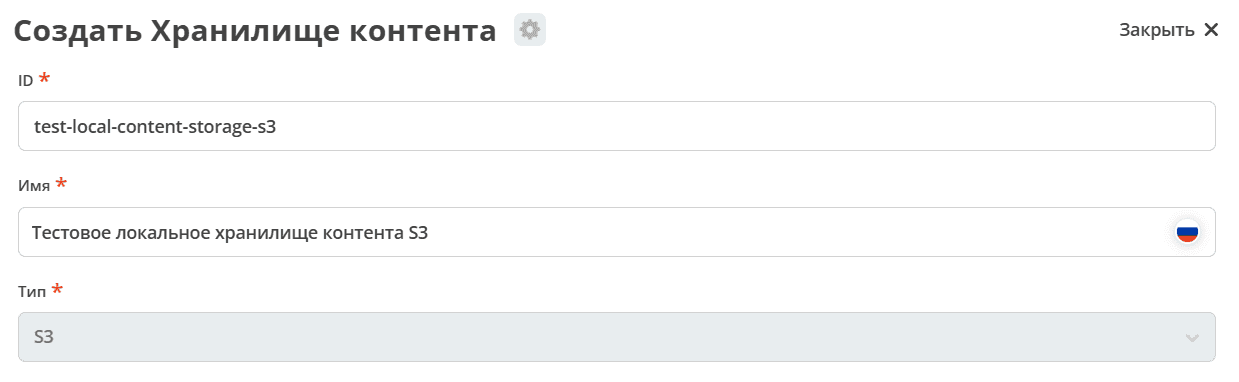
Fill in the main configuration fields: ID, Name, Type (will be selected automatically). Use a clear and descriptive ID, as it will appear in most system logs.
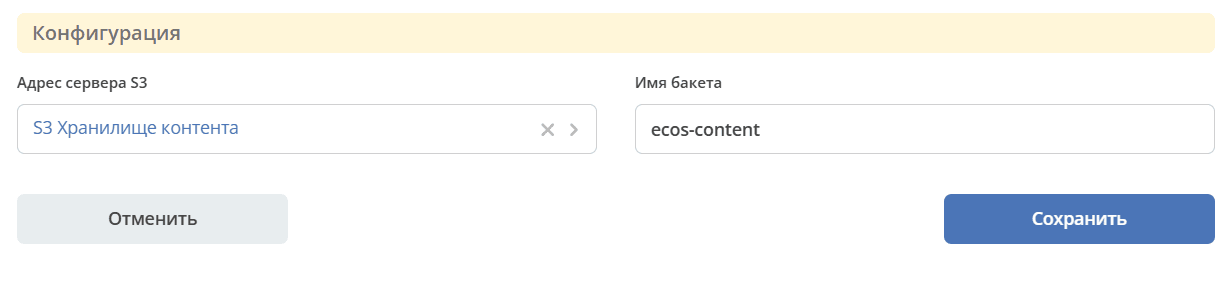
Fill in the additional configuration parameters specific to the selected storage type.
Save the configuration and verify that it appears in the journal.
Creating via a yml File in the Project
To create the configuration, you need to:
Create a yml file with the configuration:
---
id: content-storage-s3
name:
  en: S3 content storage
  ru: Хранилище контента для S3
type: S3
config:
  endpoint: emodel/endpoint@content-storage-s3-endpoint
  bucketName: "ecos-content"
Where:
id - Configuration ID. Use a clear and descriptive ID, as it will appear in most system logs.
name - Configuration name.
type - Content storage type. Possible values: S3
config - Data storage configuration. Each type has its own set of attributes, which are described below — Configuration Parameters for Individual Content Storages.
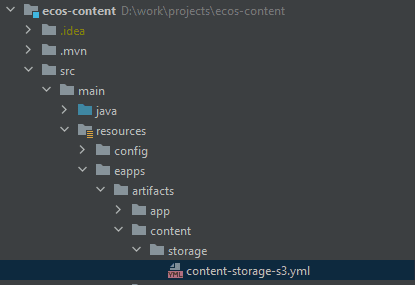
Place the created file at the following path:
In the microservice:
${home_dir}/src/main/resources/eapps/artifacts/content/storage/In legacy projects:
${module_name}/src/main/resources/alfresco/module/${module_name}/content/storage/
You can create an internal folder structure within these directories. Template artifact lookup is performed recursively through subfolders, but starts from these directories.
Verify that it appears in the journal.
Loading via Citeck Applications
To load the configuration via Citeck Applications, you need to:
Create an application from an existing environment (the archive with the artifact will be created automatically), or if you created your own yml file, create the zip archive manually. You can use the test-app.zip file as a reference and generate your archive in the same way.
Upload the application via the “ECOS Applications” journal.
Verify that your configurations have been created in the “Content Storages” journal.
Configuration Parameters for Individual Content Storages
Each content storage has its own configuration attributes required by the system for connection and operation.
S3 Storage
The general configuration file for S3 storage looks as follows:
---
id: content-storage-s3
name:
  en: S3 content storage
  ru: Хранилище контента для S3
type: S3
config:
  endpoint: "emodel/endpoint@content-storage-s3-endpoint"
  bucketName: "ecos-content"
Where:
endpoint — refers to the “endpoint”, which specifies:
- server address: the root S3 address must be provided without additional paths; for example:myminio.domain.ru
- authentication credentials for S3. Type basic, where username is the access key and password is the secret key.bucketName — the name of the bucket where all system files will be stored. (A bucket is analogous to a database in a given DBMS. A single storage can have multiple buckets, each of which can have its own parameters such as access controls, etc.)
Configuring the Maximum Upload File Size
In the current implementation, uploading a file via the file-component sends the entire file at once. By default, the maximum file size that can be uploaded to the system is limited to 100 MB.
In the future, chunked file uploading is planned ECOSCOM-5619, which will allow uploading files of any size.
To change the maximum file size that can be uploaded to the system, you need to:
On the form where the file-component is used, set the Maximum file size in the “File” tab.
In the ecos-model microservice, set the properties to the required values.
spring:
    servlet:
        multipart:
            max-file-size: 2GB
            max-request-size: 2GB
Configure Nginx in EcosProxyApp for transferring large files.
To do this, set the parameters in the nginx.conf configuration file:
client_max_body_size 2g;If the Citeck Helm chart is used, starting from version 1.3.53 you can set the parameter:
EcosProxyApp:
    client:
        maxBodySize: "2g"
Configure Ingress k8s (for an nginx implementation):
If the Citeck Helm chart and k8s Yandex Cloud are used, configure the timeout parameters via annotations:
ecos:
  ingress:
    annotations:
      ingress.alb.yc.io/idle-timeout: 300s
      ingress.alb.yc.io/request-timeout: 300s
If the Citeck Helm chart with k8s is used, configured via nginx.ingress.kubernetes.io/proxy-* annotations, starting from version 1.3.53 you can set the parameters:
ecos:
  ingress:
    nginx:
      proxyConnectTimeout: "300s"
      proxyReadTimeout: "300s"
      proxyBodySize: "2g"
      proxyBufferSize: "64k"
Warning
Note that when using Kubernetes, file size limits and maximum timeout must also be configured at the Kubernetes ingress controller (nginx) level. Parameters and their values may differ depending on the implementation used.