IntelliJ IDEA Plugin for the Citeck Platform
The IntelliJ IDEA plugin speeds up work with Citeck platform projects and artifacts. Both Community and Ultimate editions of IntelliJ IDEA are supported.
Plugin source code: ecos-idea-plugin
Note
Minimum required versions:
IntelliJ IDEA — 2022.2.5.
Citeck — 4.2
Plugin Installation
Download the plugin distribution from the release page or build it from source yourself.
Then install the plugin in IDEA: Settings -> Plugins -> Install Plugin from disk

Plugin Update
To update, download the latest plugin distribution from the release page
Remove the old version via Settings -> Plugins and install the latest version via Settings -> Plugins -> Install Plugin from disk
Plugin Features
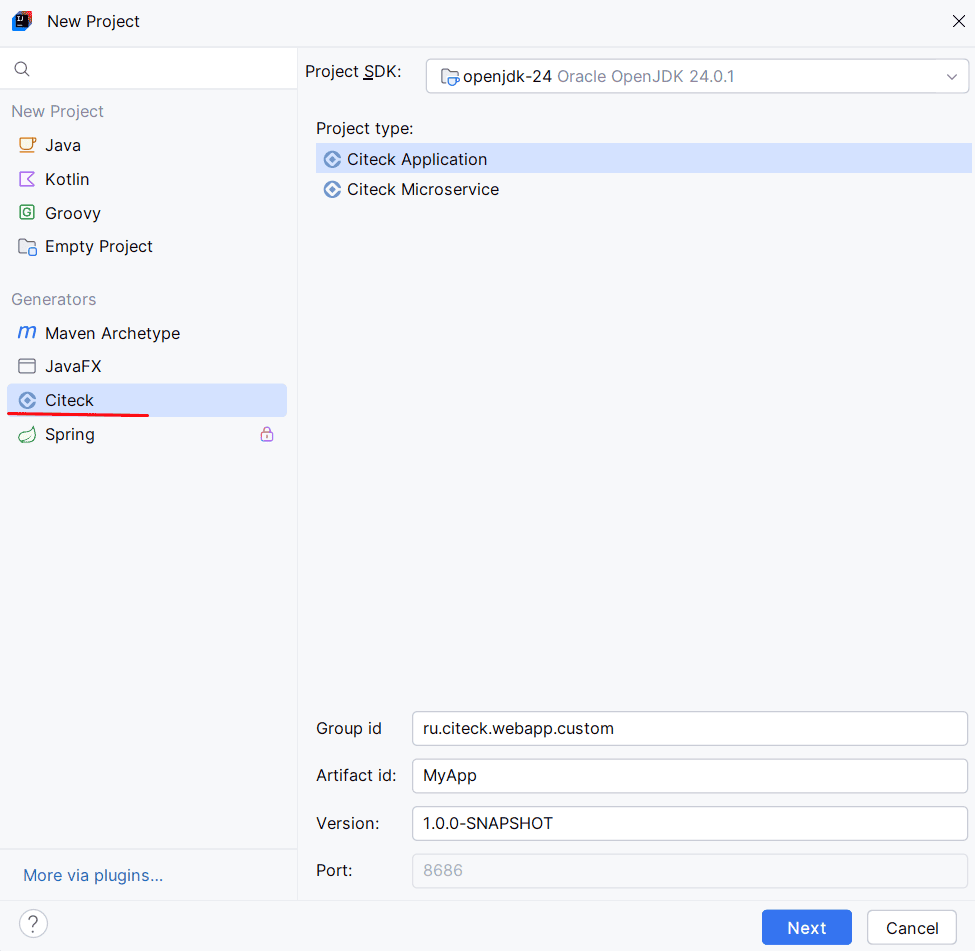
Creating new Citeck projects (application, microservice).
File -> New project
The Citeck option is available along with choices for creating an application or a microservice:

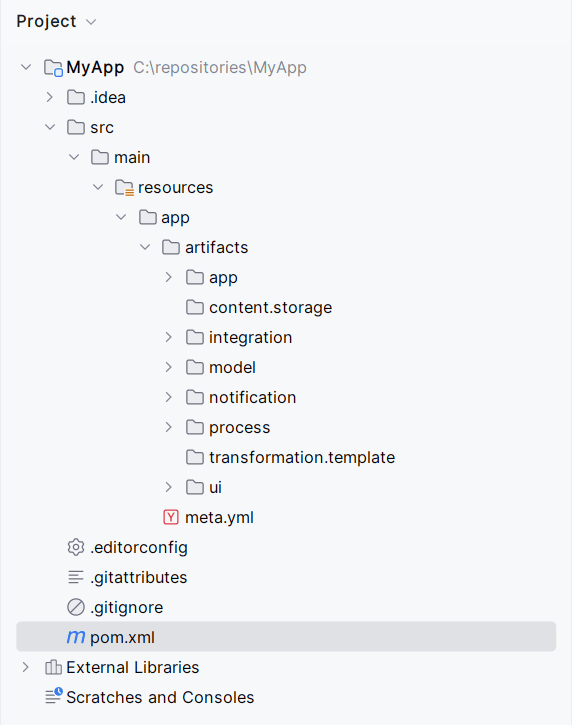
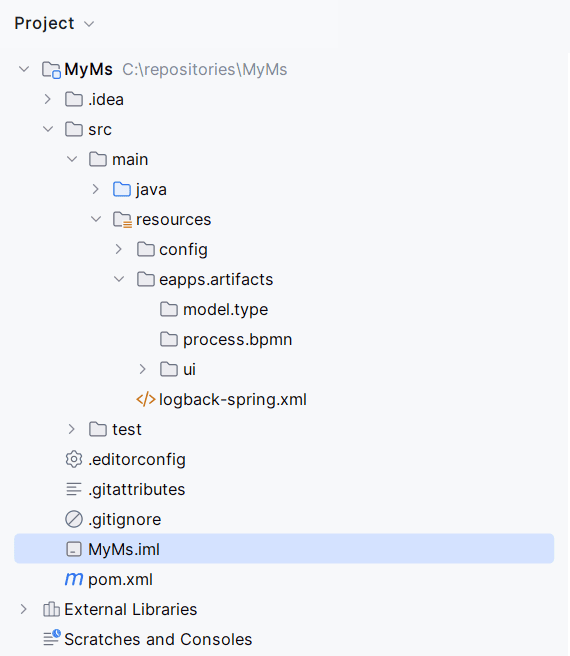
A project with the corresponding structure is created:
Application
|
Microservice
|
Creating artifacts from a template.
Right-clicking the context menu provides the New - Citeck Artifact option:

Enter the name:
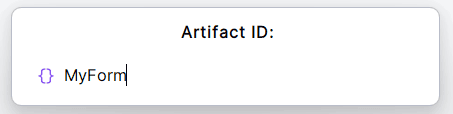
the artifact is generated according to the template:
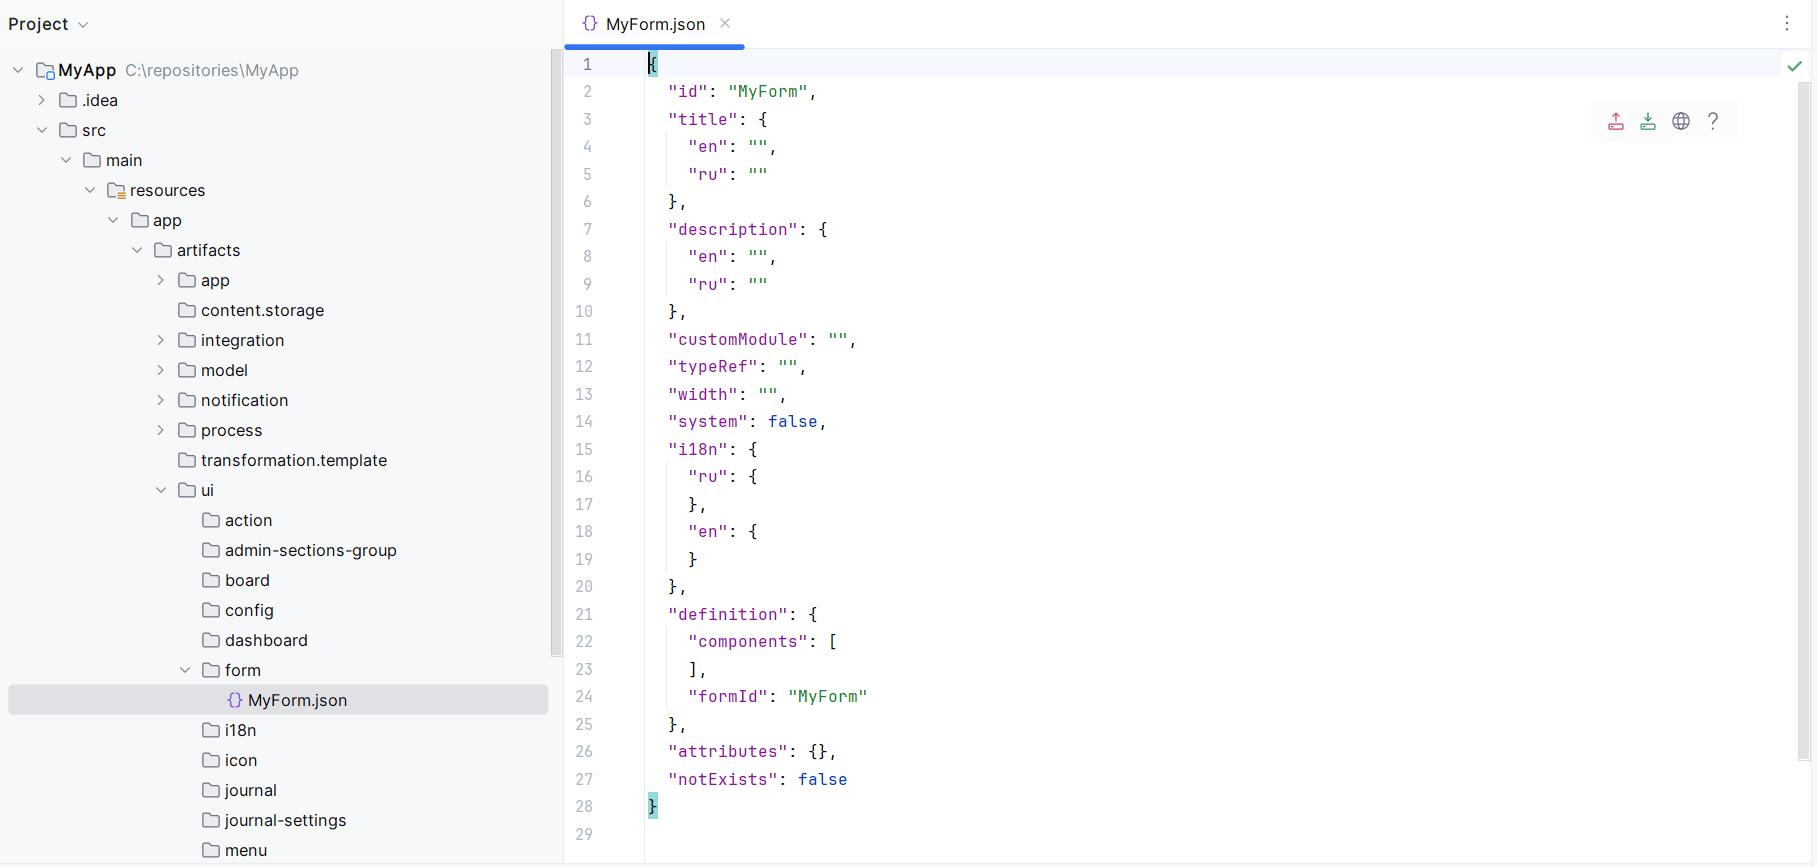
Uploading/downloading artifacts to/from a local server (forms, journals, dashboards, processes).
The following actions are available for an artifact:

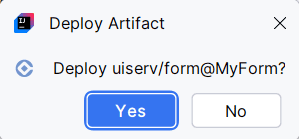
Deploy File — upload the artifact to the server.
Fetch File — download the artifact from the server
Open In Browser — view the artifact in the browser
Open Documentation — navigate to the artifact’s documentation page
Deploy the artifact to a stand or locally using the Deploy File button:
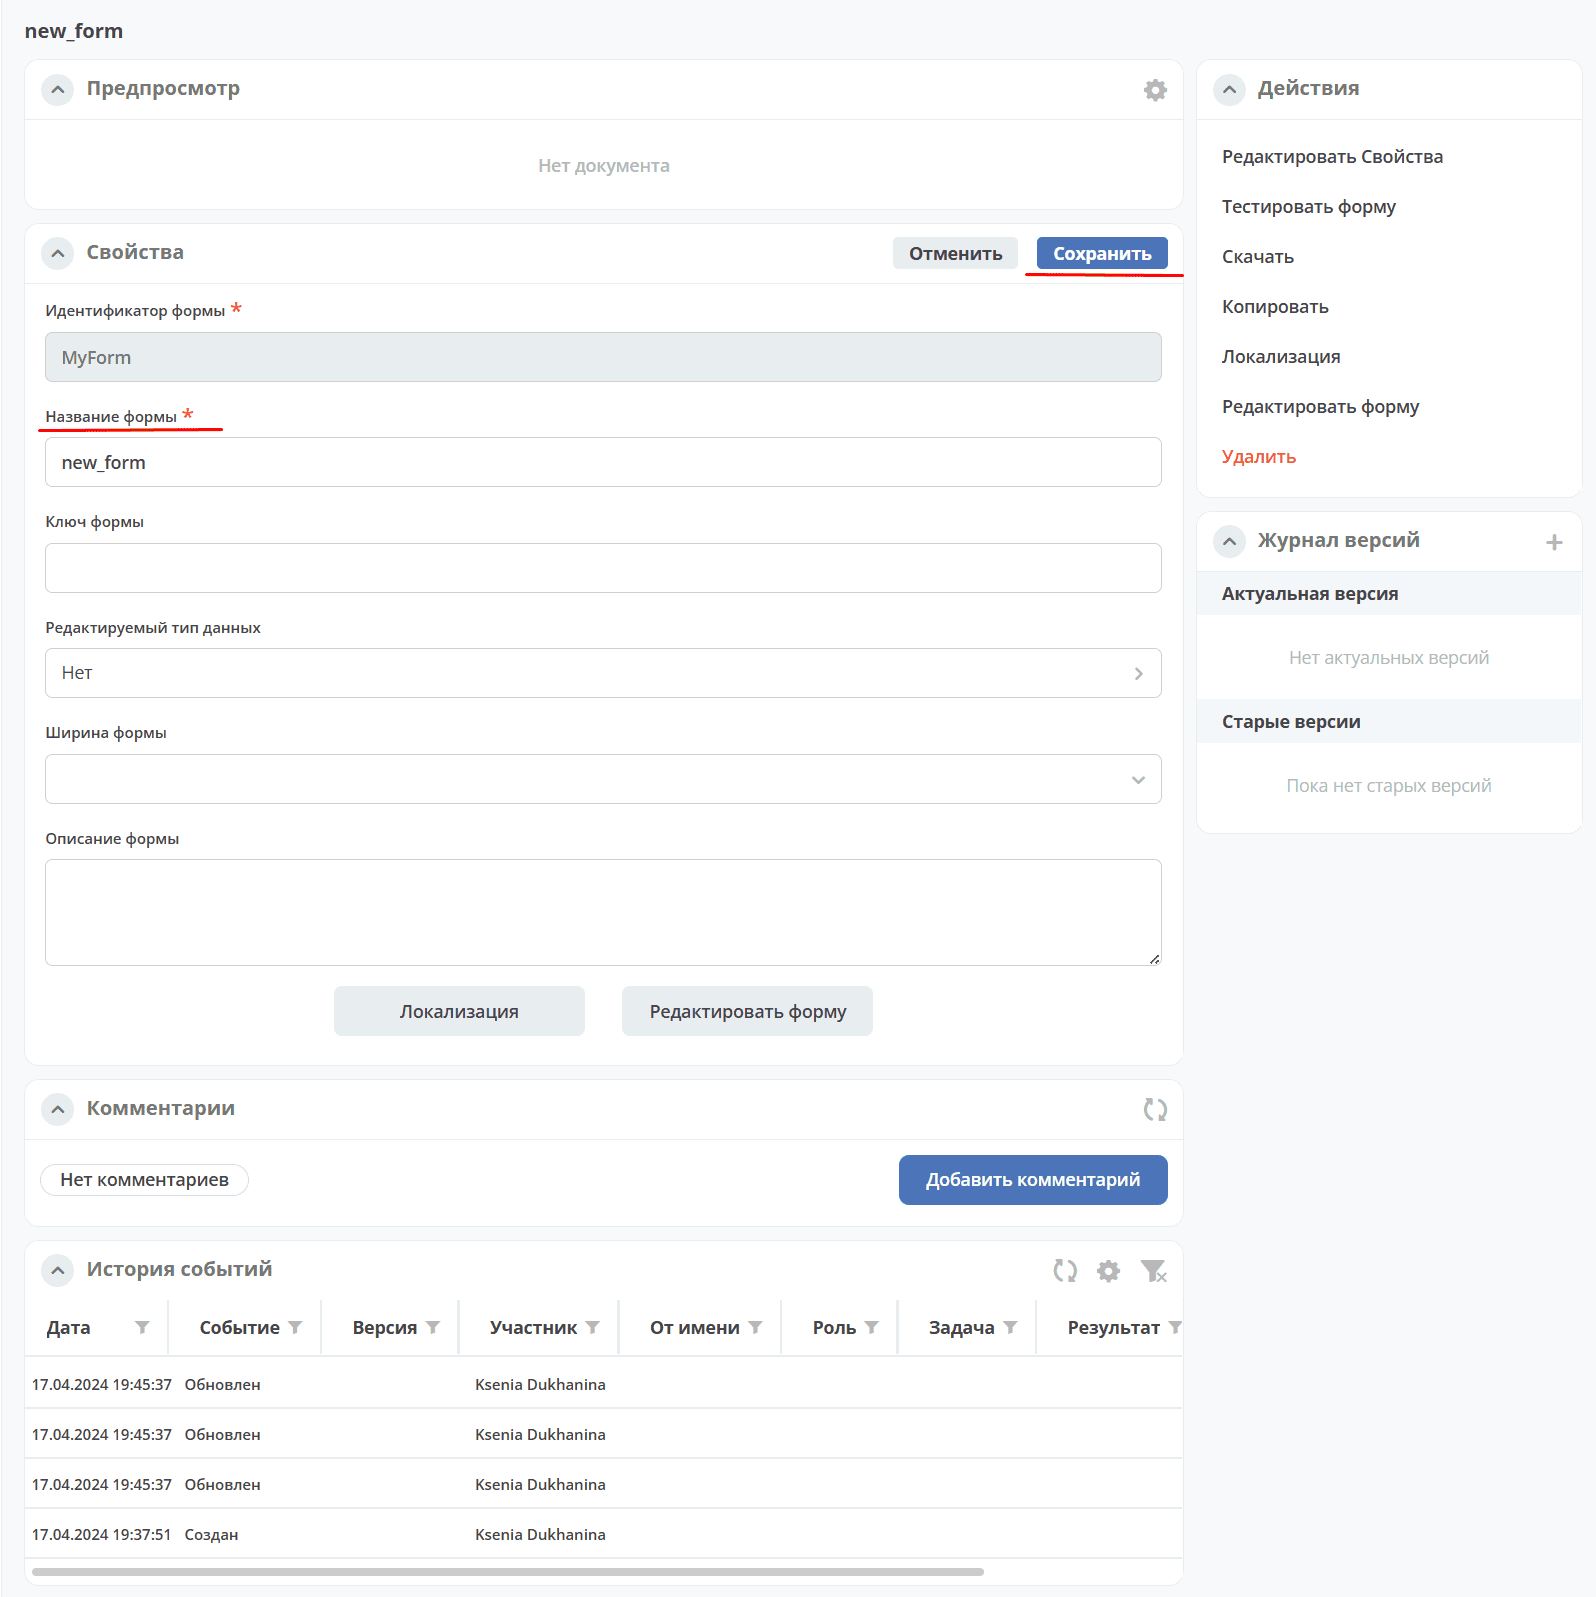
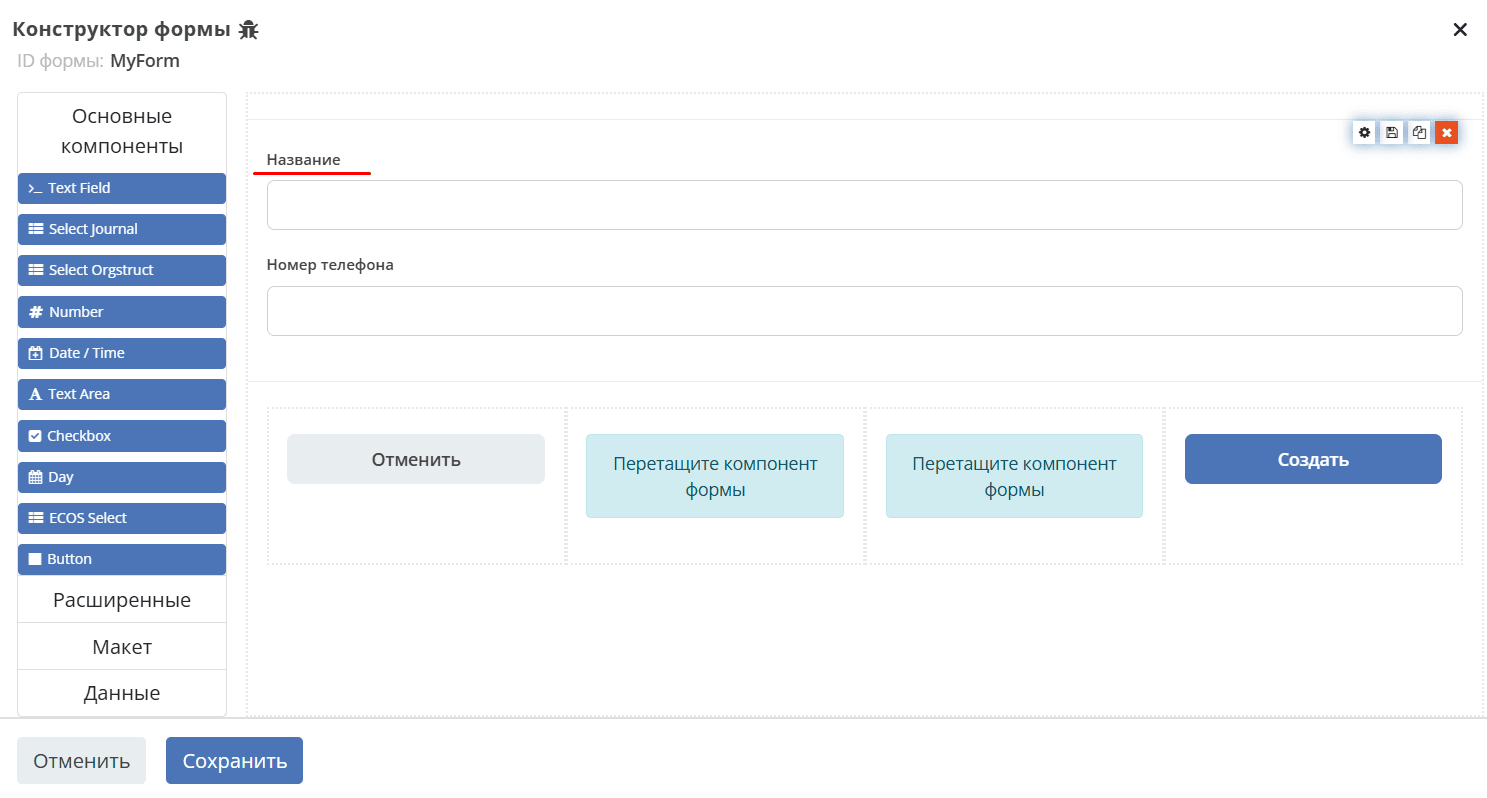
Open the artifact (e.g., a form) using Open In Browser in the no-code editor on a stand or locally, and edit it:
Download the modified artifact back using the Fetch File button:
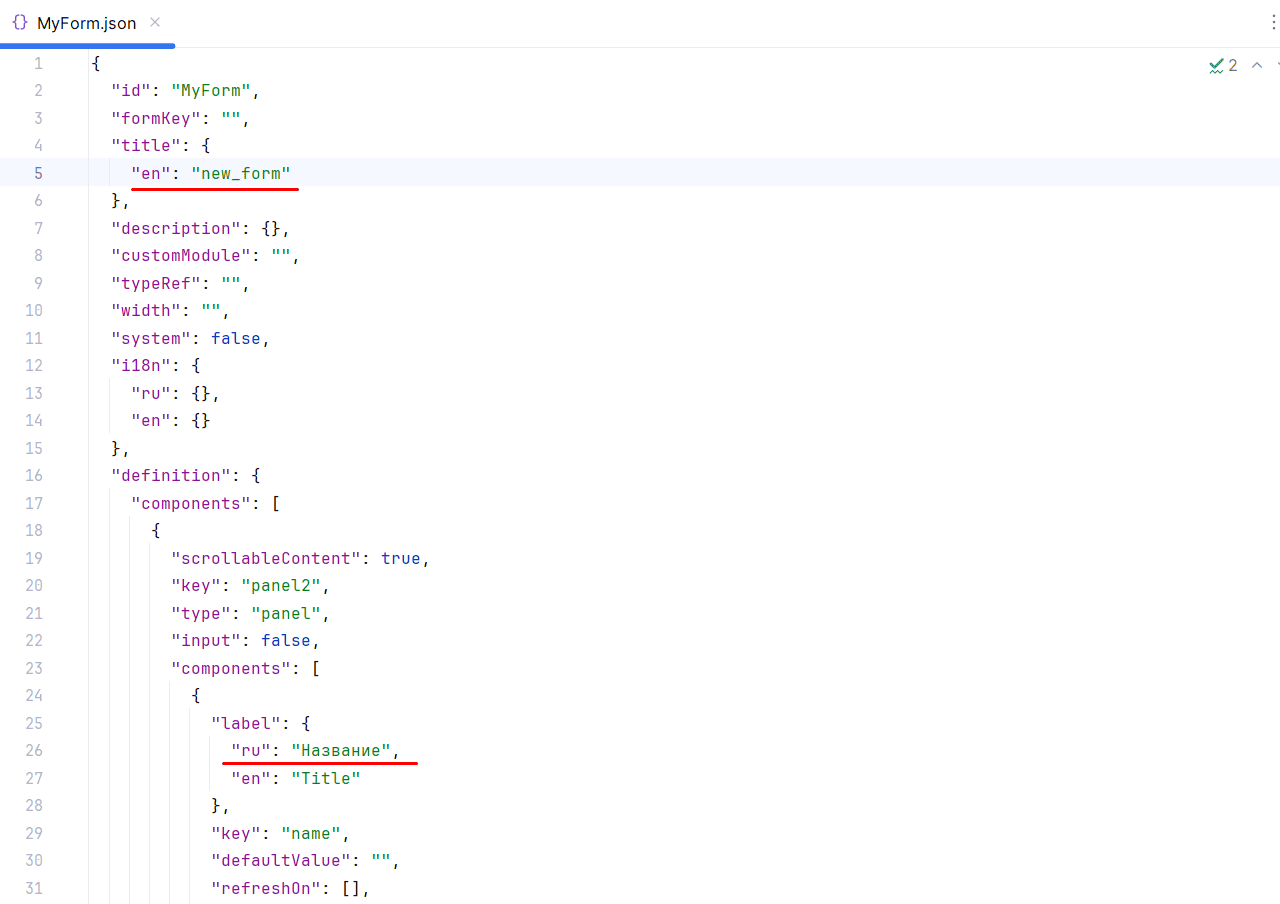
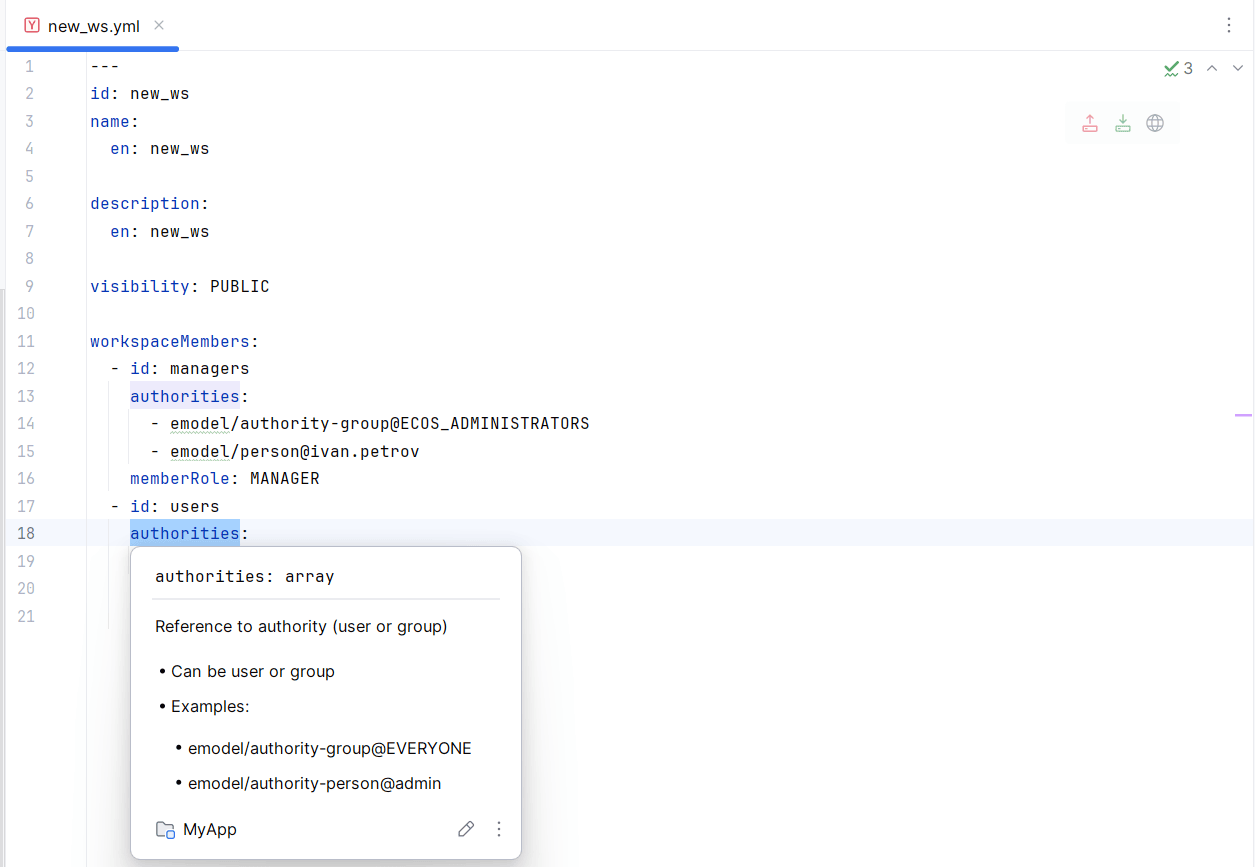
JSON schemas for artifacts. Syntax highlighting is available when configuring JSON/YAML artifacts

Artifact search by identifier (Search Everywhere extension):

Code navigation across Citeck artifacts via hyperlinks:
JavaScript code completion:
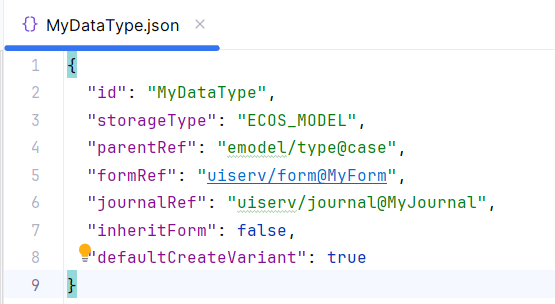
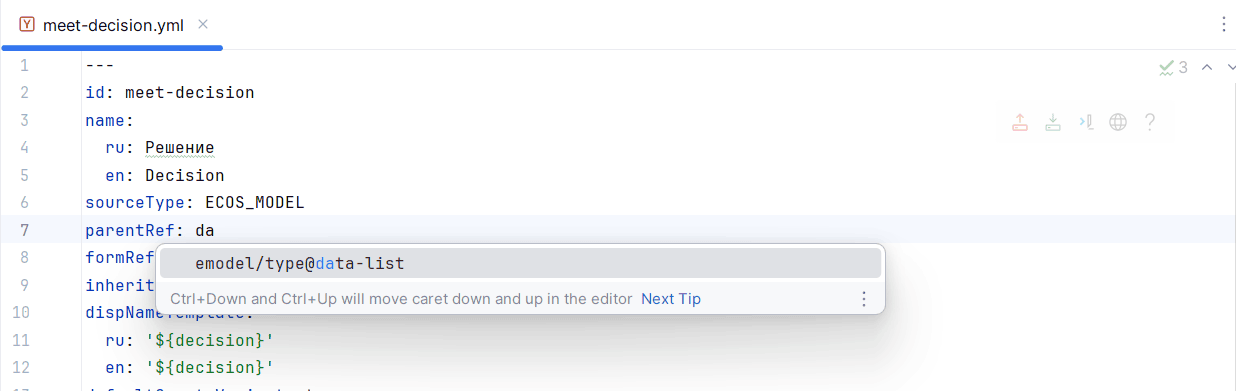
Types:
For the formRef, journalRef, and parentRef attributes:
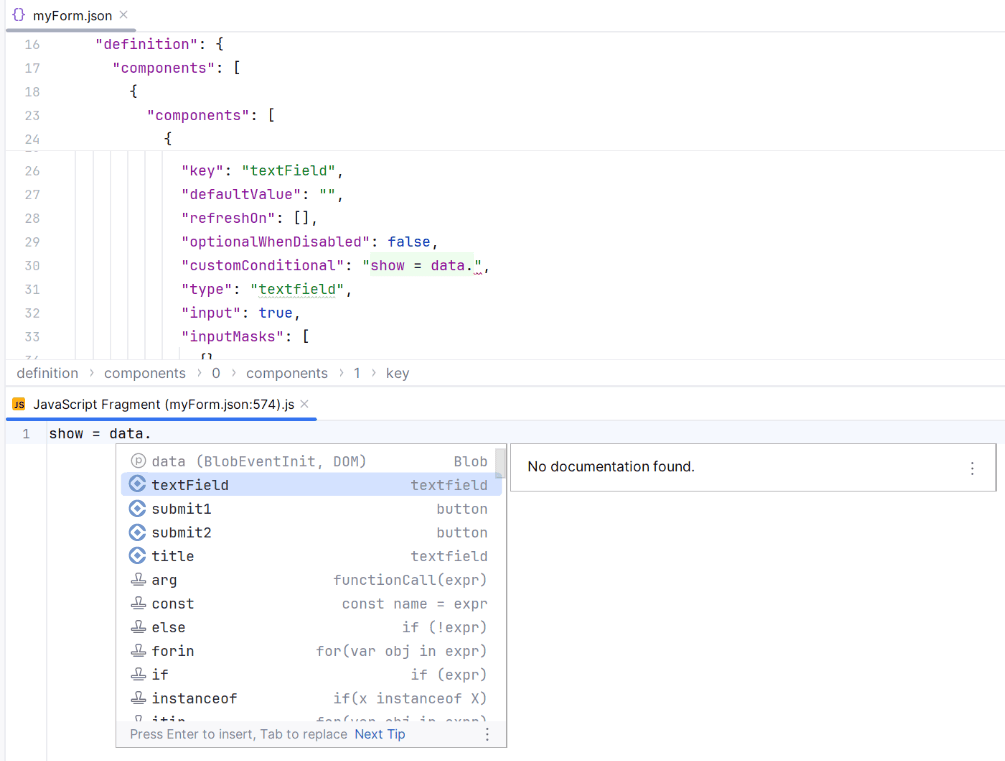
Forms:
Completion of the data object with the list of form components (IDEA Ultimate)

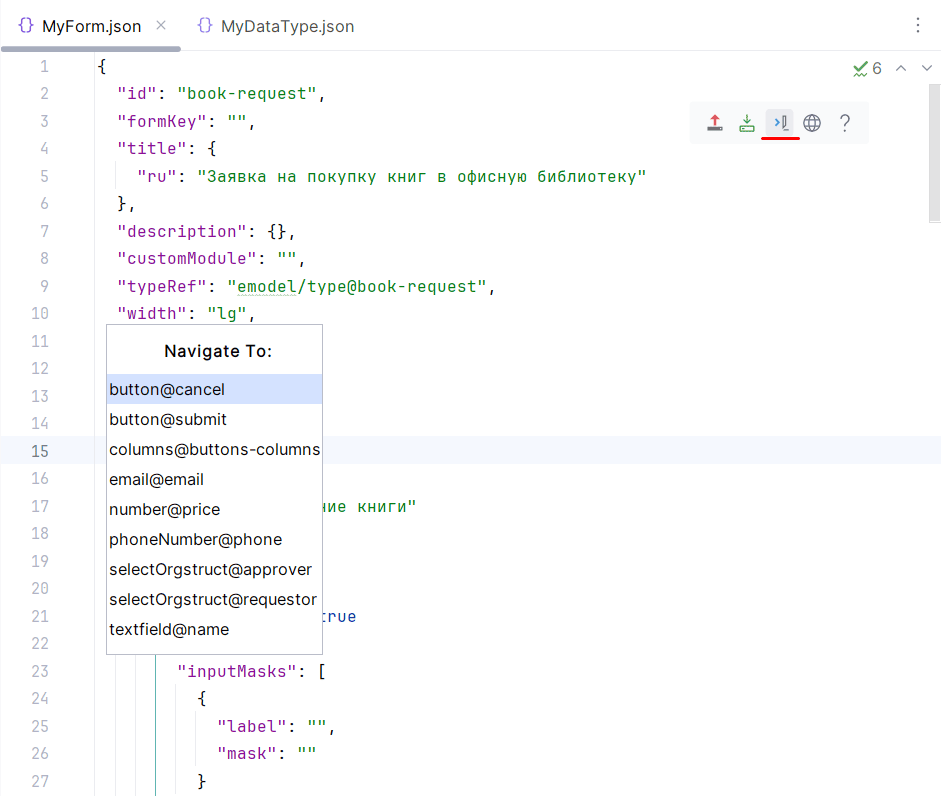
File navigation:
Forms (quick navigation to components by name);
Journals (navigation by columns);
Data types (quick navigation to attributes, roles, statuses, etc.)

Code inspections:
Forms — validation of form component key uniqueness within scopes (container, datagrid).

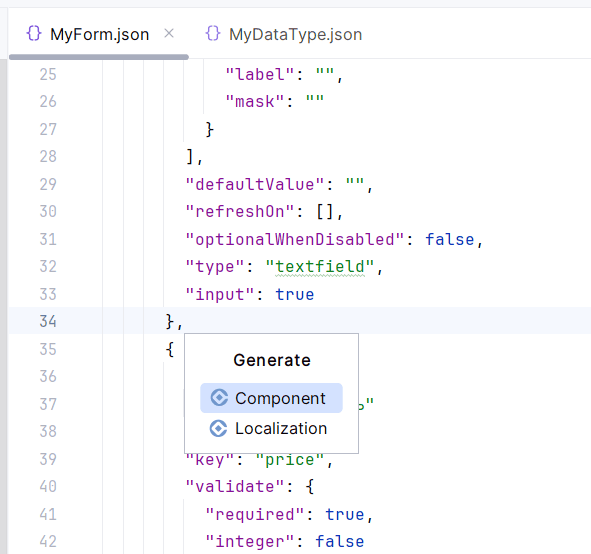
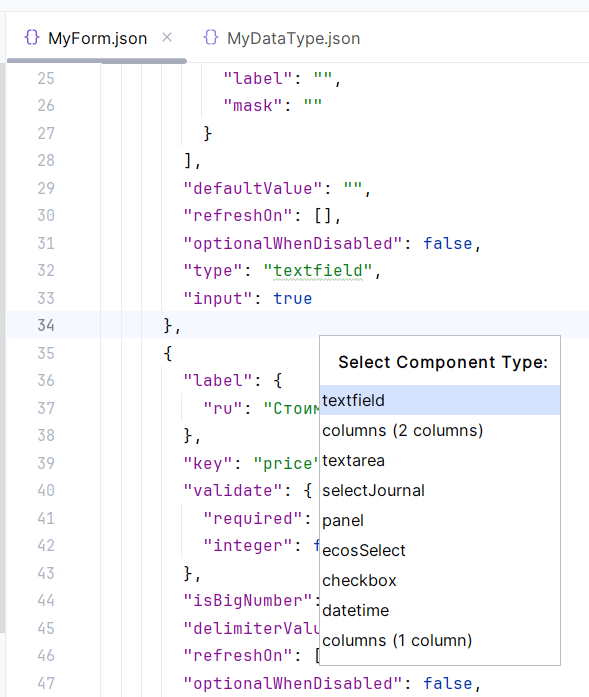
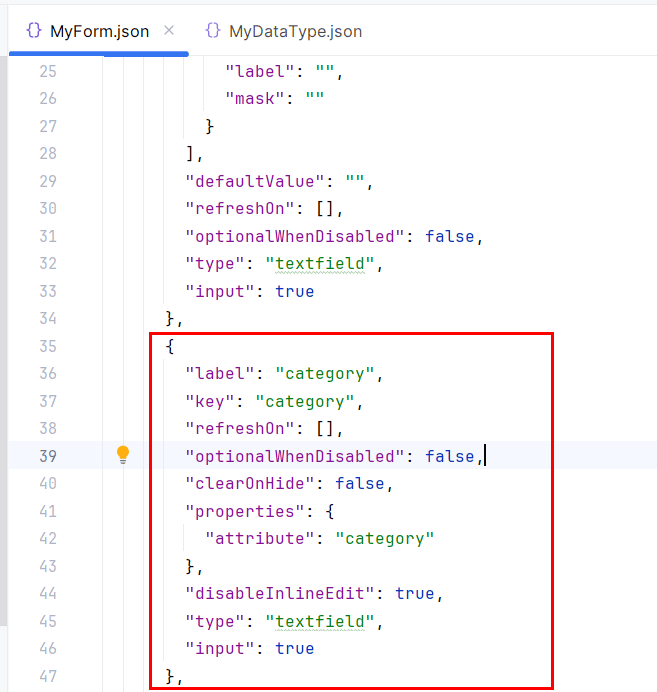
Form component generation:
If typeRef is set in the form:
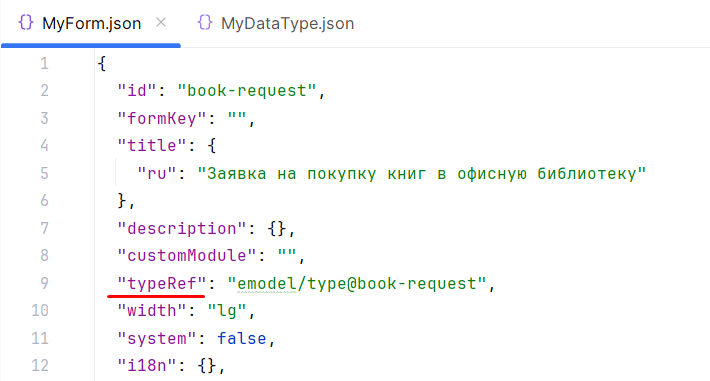
then component generation based on the attributes of the data type specified in typeRef becomes available.

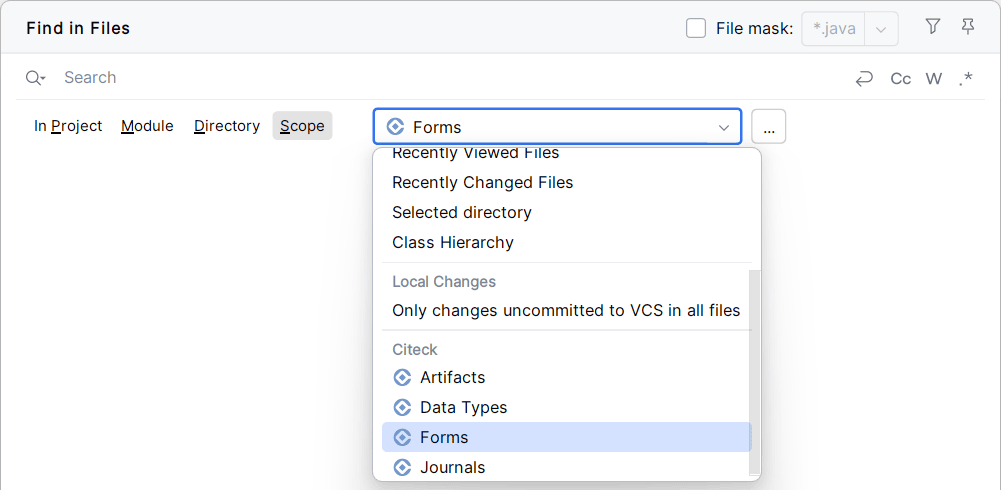
Search scope extensions for files containing Citeck artifacts:
Conversion YAML -> JSON, JSON -> YAML

Language Injection (JavaScript) in forms:

Project Deployment
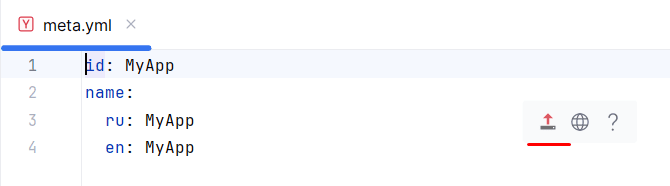
The project can be deployed from meta.yml by clicking Deploy File:
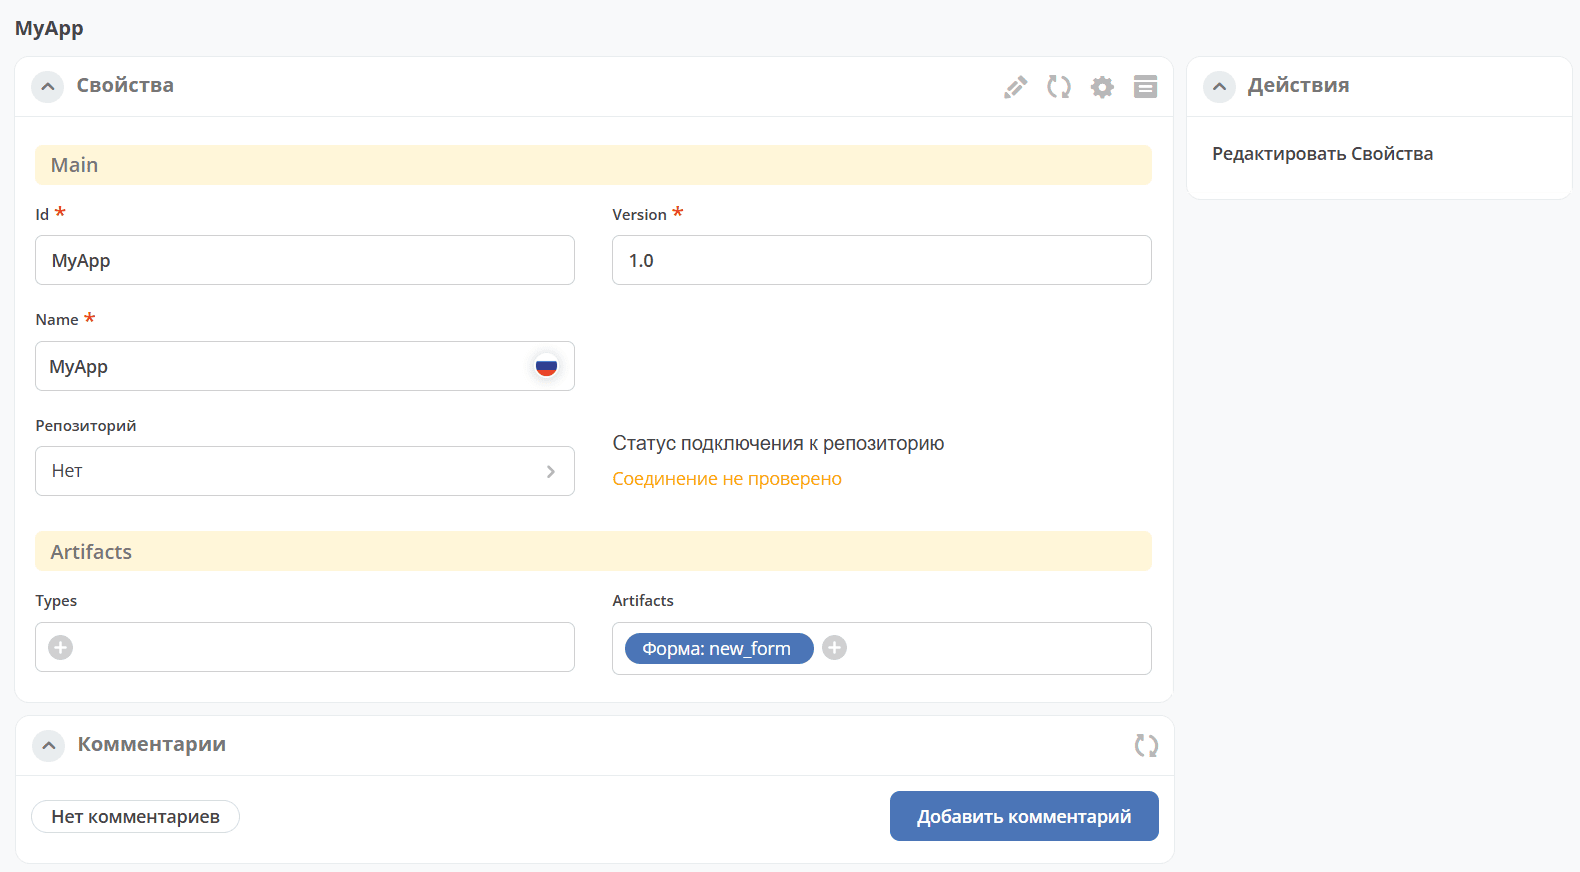
You can then click Open In Browser to view and edit the application in Citeck:
Deployment is also possible from the context menu by selecting Citeck-Deploy Application:

Server Configuration
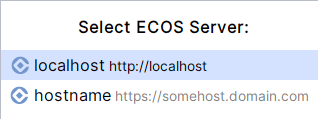
Configure Citeck servers at: Settings -> Citeck -> Servers.
Only the host is required; all other parameters are optional. Configuration examples:
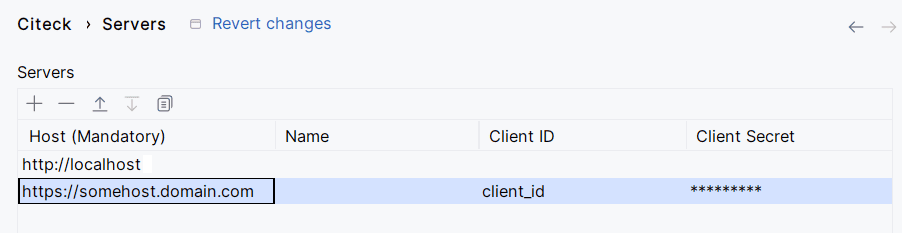
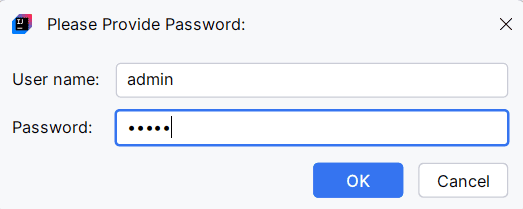
The basic method is used for a local stand.
Login and password entry for OIDC happens in a browser window; the plugin does not interact with credentials directly.
For the OAuth2 method, Client ID and Client Secret can be obtained by following the instructions.
Building the Plugin Distribution
To build the plugin distribution correctly, ensure that the Gradle JVM version is at least 17.
The JVM used by Gradle in IDEA can be configured at: Settings -> Build, Execution, Deployment -> Build Tools -> Gradle -> Gradle JVM
The build is performed using the Gradle task buildPlugin.
The built distribution will be located at: build/distributions/
Development
For plugin development, use the Gradle task runIde.
Running this task launches a new IDEA instance with the rebuilt plugin.