Workspaces
Workspace — a dedicated area in Citeck for collaborative work on a specific functionality. Separating data, menu items, and tabs across workspaces improves navigation and allows isolating objects of different teams or business areas.
Learn more about working with workspaces from the user’s perspective.
An administrator manages workspaces in the «Administrator» section → «Model» subsection:
creates, edits, and deletes spaces;
configures menu items and data types for each space;
assigns data types to a specific workspace or to the global one — so that objects (e.g., shared reference data) are available in all workspaces simultaneously.
Data Type
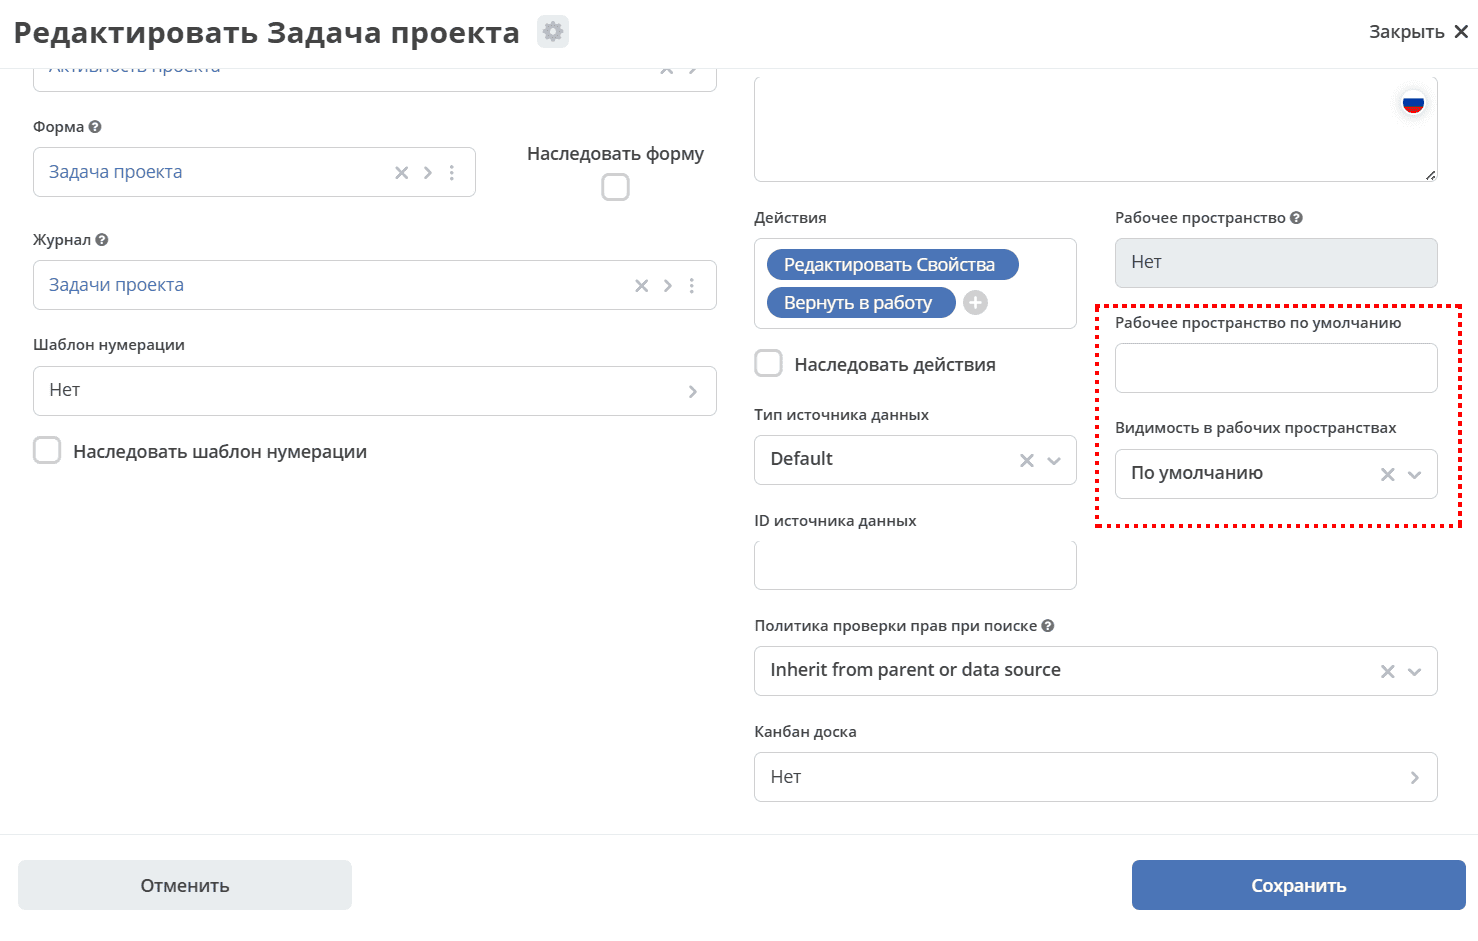
Visibility in workspaces:
Default – assigned to the data type by default.
Private – instances of the data type are available within the workspace where they were created.
Public – instances of the data type are available to users according to their permissions, regardless of the workspace where they were created.
Default workspace – in which workspace it will be displayed by default.
Workspaces Journal
In the admin section, under the «Model» subsection, the «Workspaces» journal has been added:
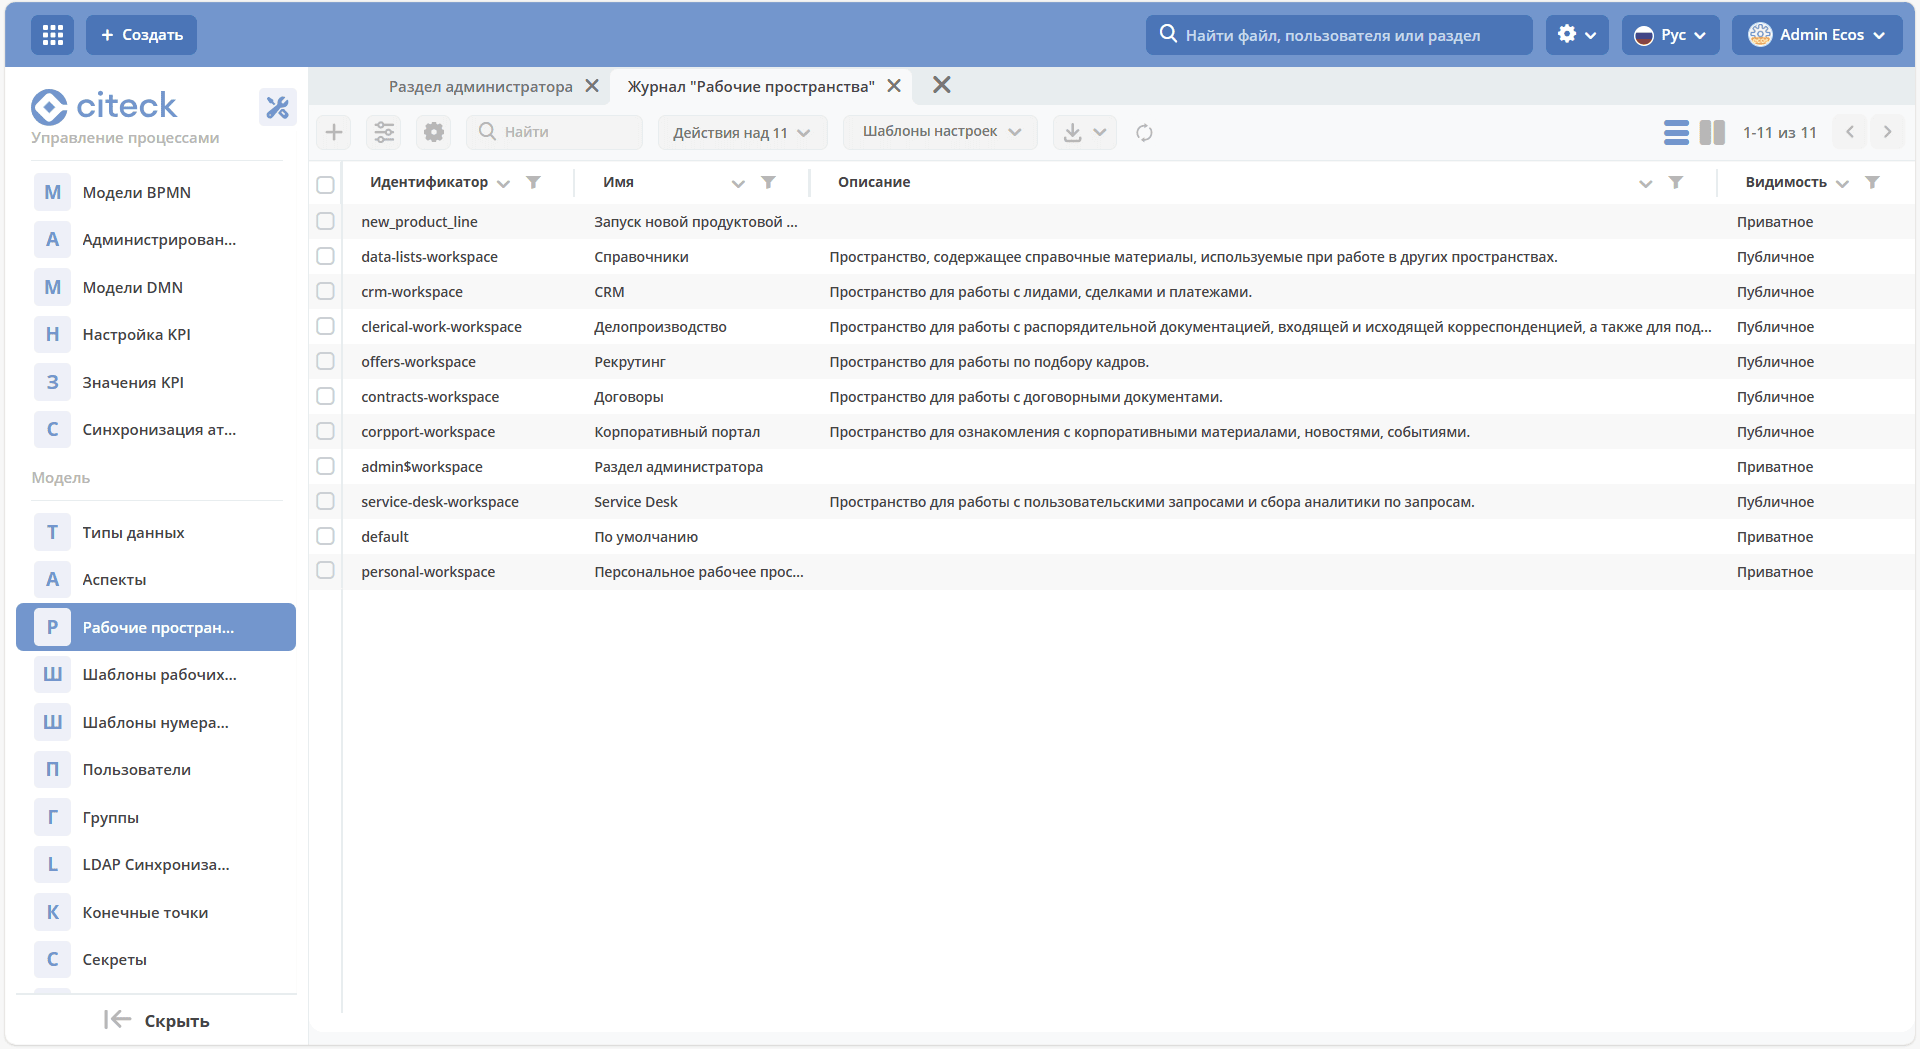
In the journal, you can create, edit, and delete spaces.
Creating a Workspace
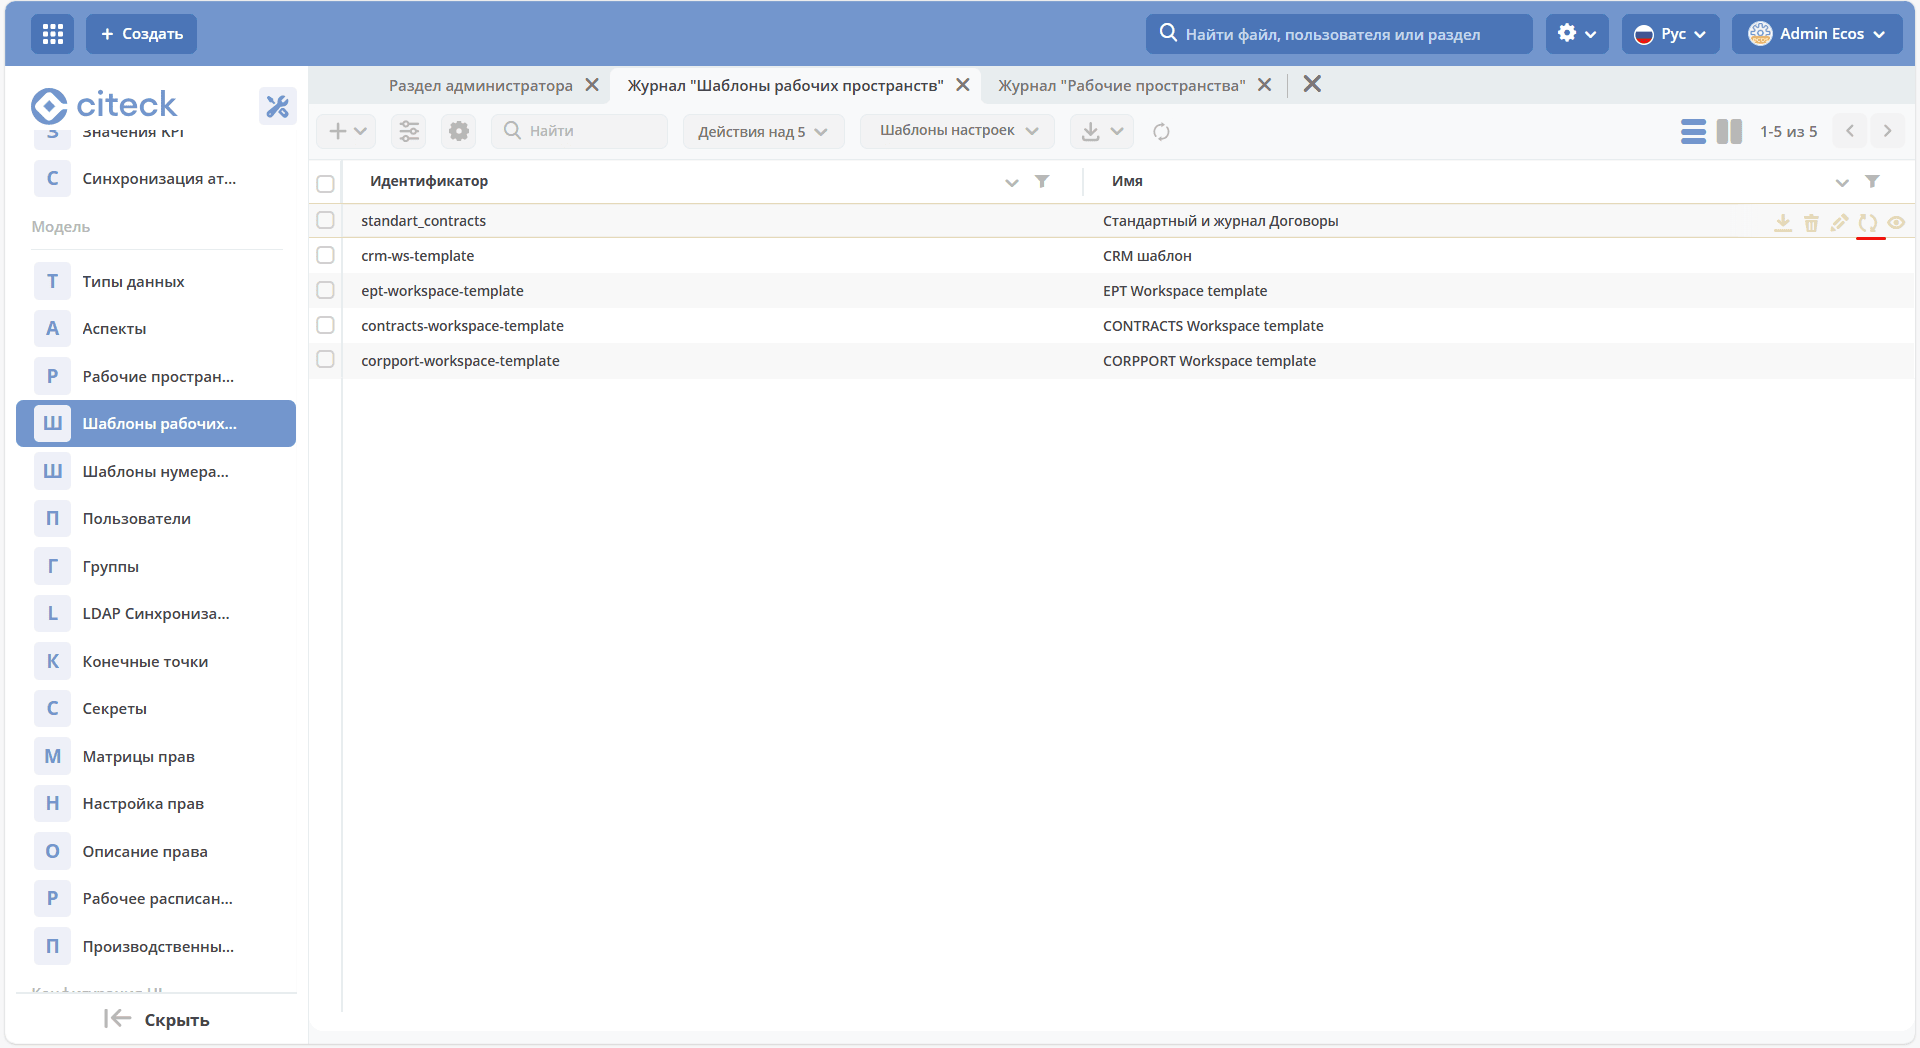
Workspace Templates
The template contains pre-configured menu items, section dashboards, and home page.
In the admin section, under the «Model» subsection, the «Workspace Templates» journal has been added:

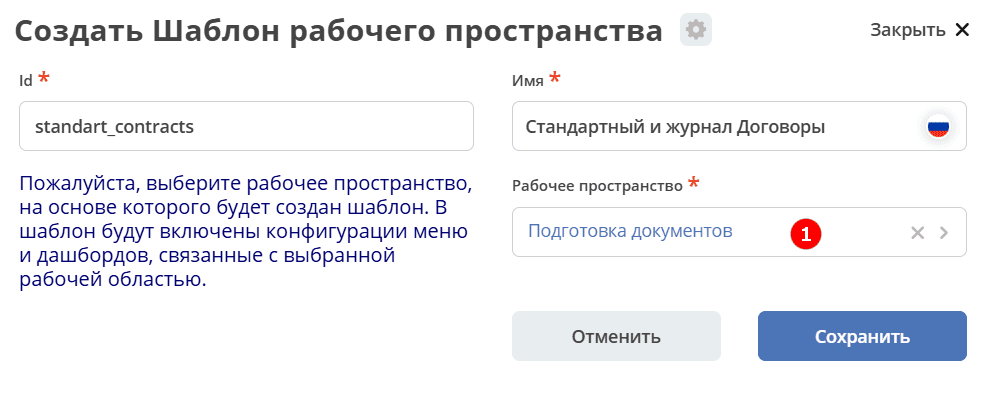
Creating a Template
Create a new workspace. Configure menu and dashboard(s) in this workspace.
Go to the «Workspace Templates» journal, click + - Create.
Select the workspace created in step 1, specify id and Name, save.
Optionally download the new template and upload it to ecos-app or to the microservice at path artifacts/model/workspace-template
Optionally upload the template to the environment (if it needs to be used on a different environment than where it was created) manually or through ecos-app/microservice deployment.
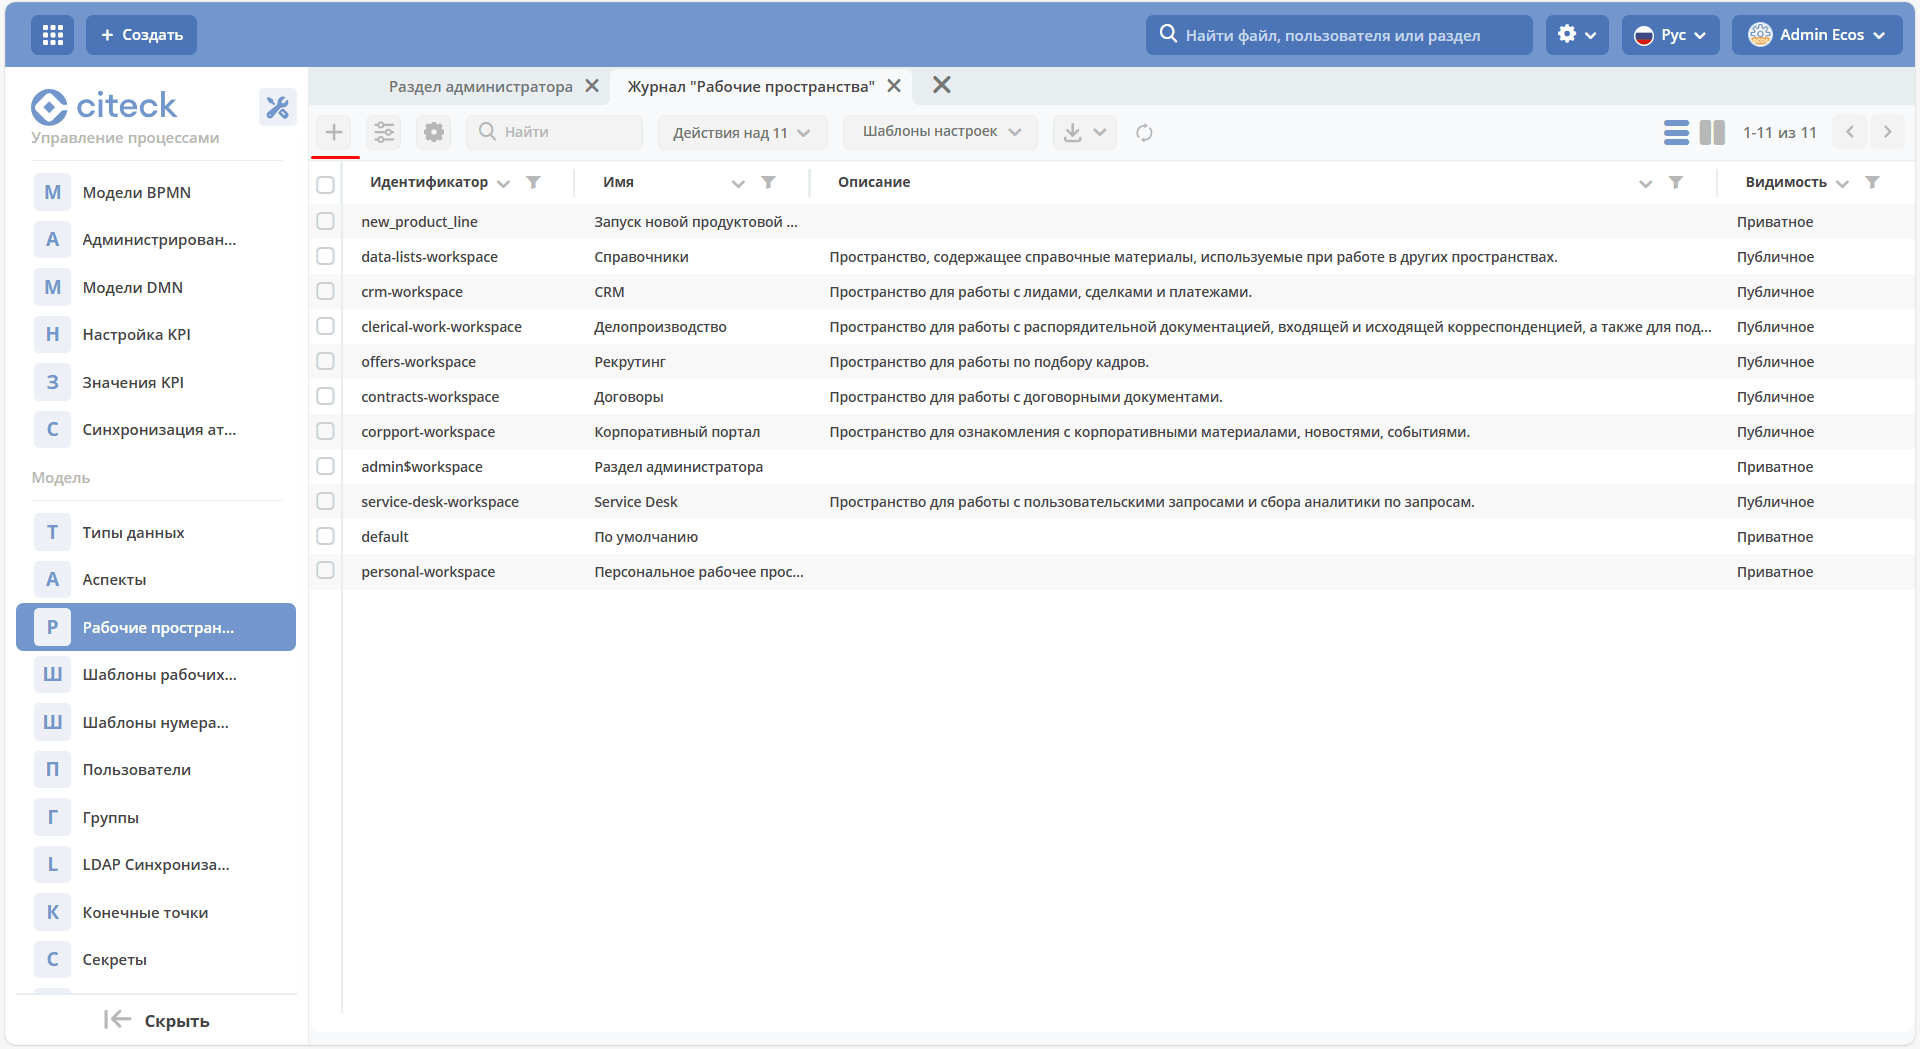
Go to the «Workspaces» journal, click + - Create.
In the «Template» field, select the template created in step 3. Fill in the other required fields and click «Create».
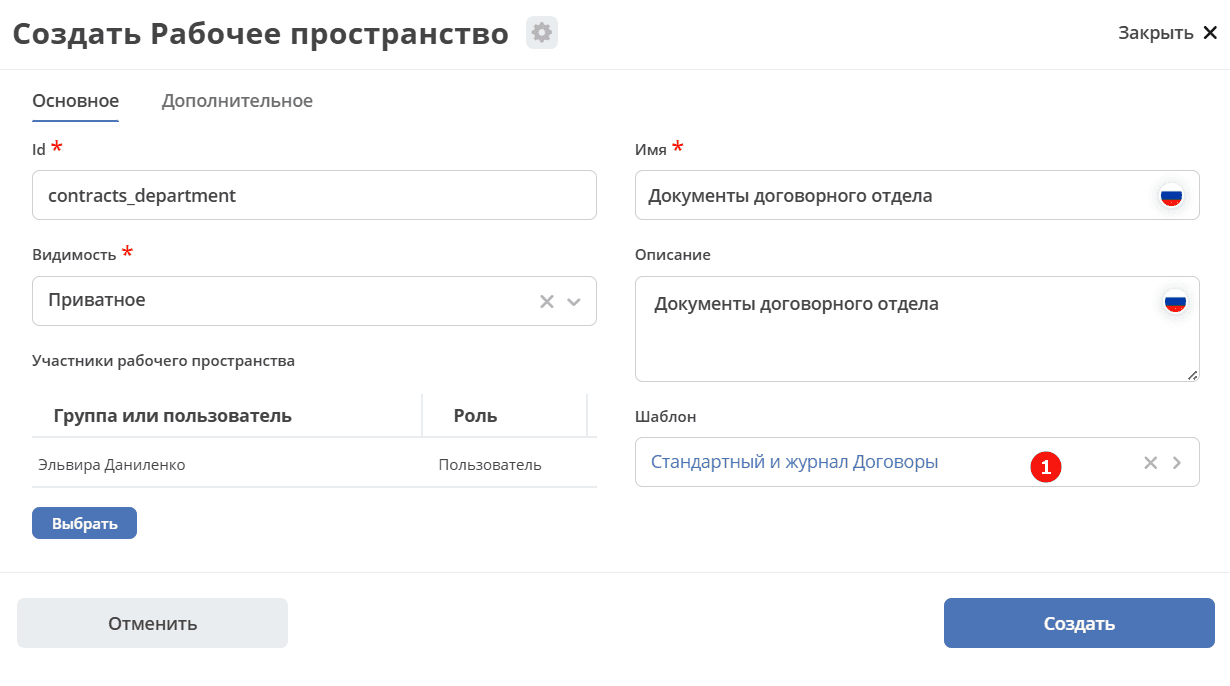
Open the workspace created in step 7 - its menu and dashboard match those configured in step 1

When creating a template, menu and dashboard configurations are copied into the template (i.e., subsequent changes to menus/dashboards will not automatically update the template).
To update artifacts in the template, the «Update Template» action is provided in the «Workspace Templates» journal.
When creating a workspace based on a template, new menu and dashboard configurations are created with automatically generated id and explicitly specified workspace field.