Creating and Editing a Workspace
Creation
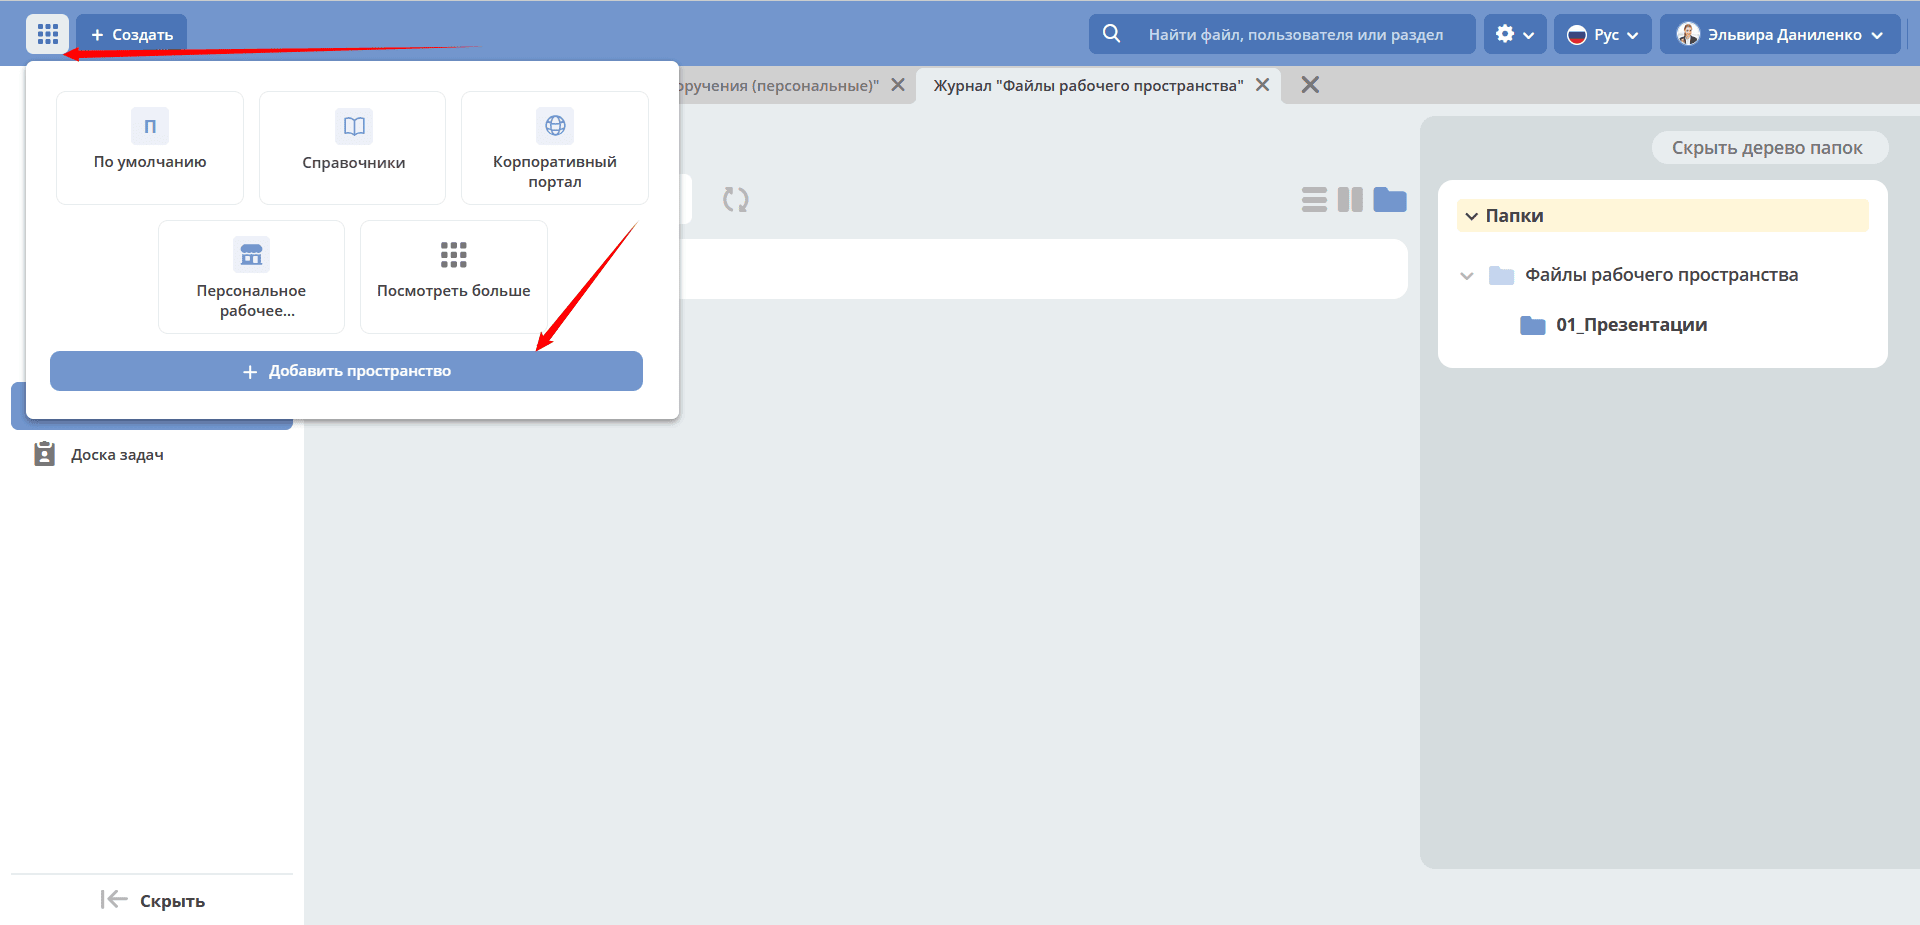
Click “Add Space”:
“General” tab:
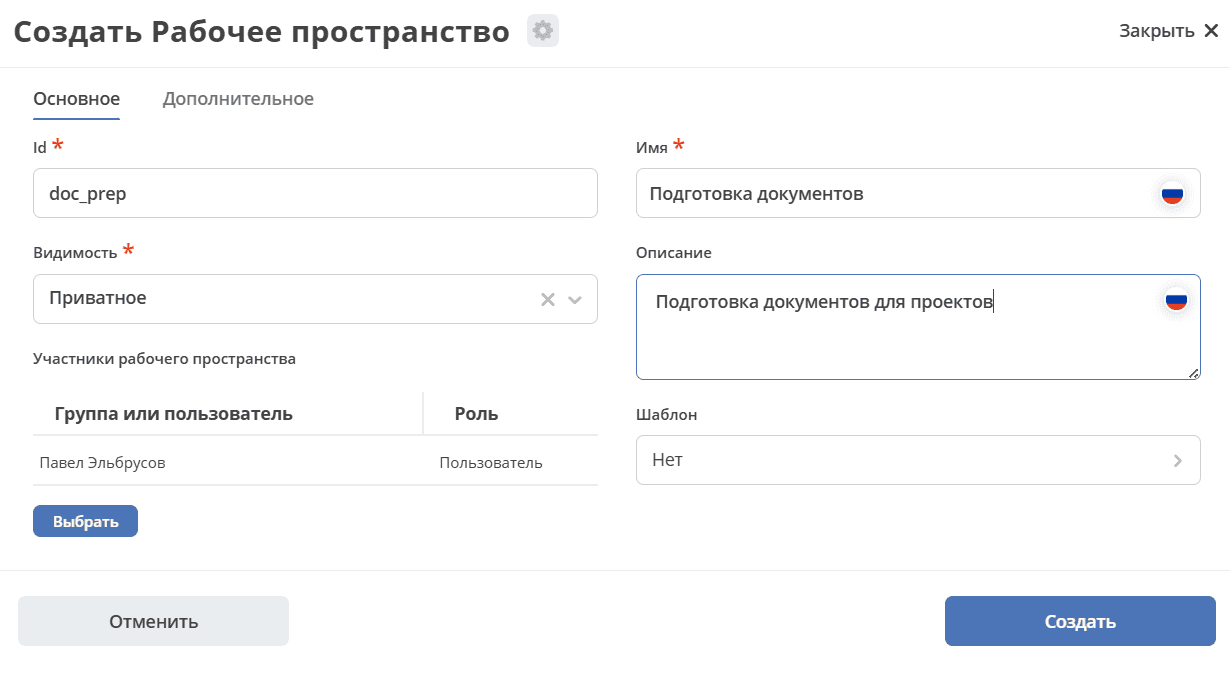
No. |
Name |
Description |
Example |
|---|---|---|---|
1 |
Id |
Unique workspace identifier. Set at creation and cannot be changed. |
doc_prep |
2 |
Name |
Localized workspace name |
Document Preparation |
3 |
Visibility |
Public - any users can join the space
Private - the space is available only to selected users
|
Private |
4 |
Description |
Localized workspace description |
Document preparation for projects |
5 |
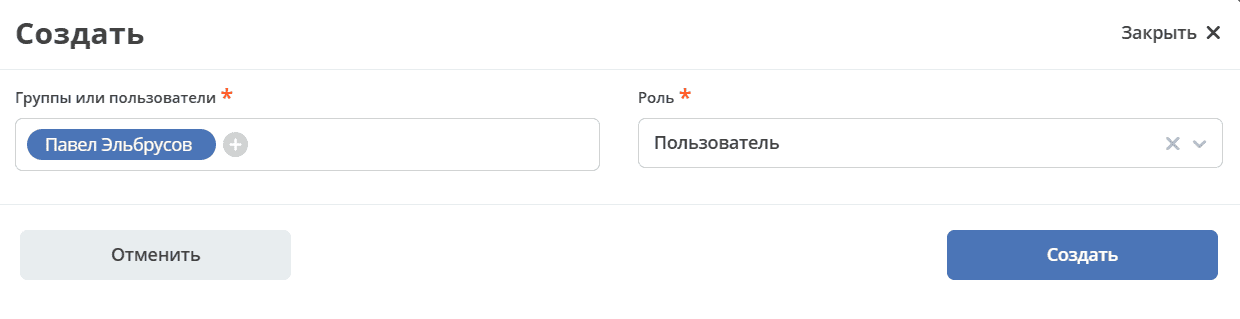
Workspace Members |
Select members from the organizational structure and assign them rights: user or manager (with workspace management capabilities).
The user creating the space receives the “Manager” role and will be listed as the creator.
|
|
6 |
Template |
Select a template to pre-fill the menu, widgets, and settings of the new workspace. |
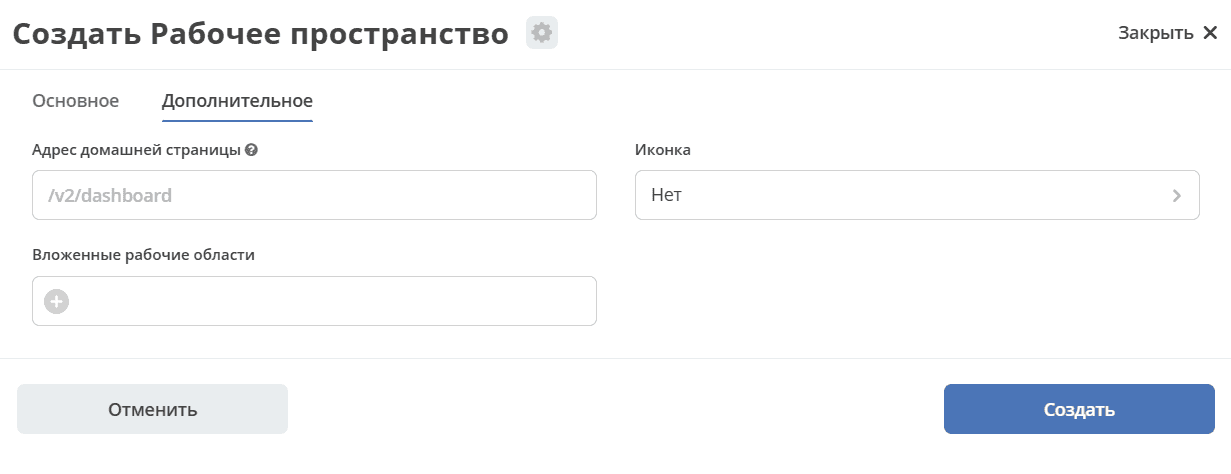
“Additional” tab:
No. |
Name |
Description |
Example |
|---|---|---|---|
1 |
Home Page URL |
The URL that will open when entering the workspace and when clicking the logo in the menu.
If no home page is specified for the workspace, /v2/dashboard opens by default.
|
|
2 |
Nested Workspaces |
Allows adding one or more child workspaces to the current one.
All journals of the parent workspace will display records from both the current and all nested workspaces.
Restrictions: nested workspaces cannot themselves contain nested ones; a workspace cannot be added to itself.
|
|
3 |
Icon |
Select a workspace icon |
The created workspace becomes available to the members specified during creation.
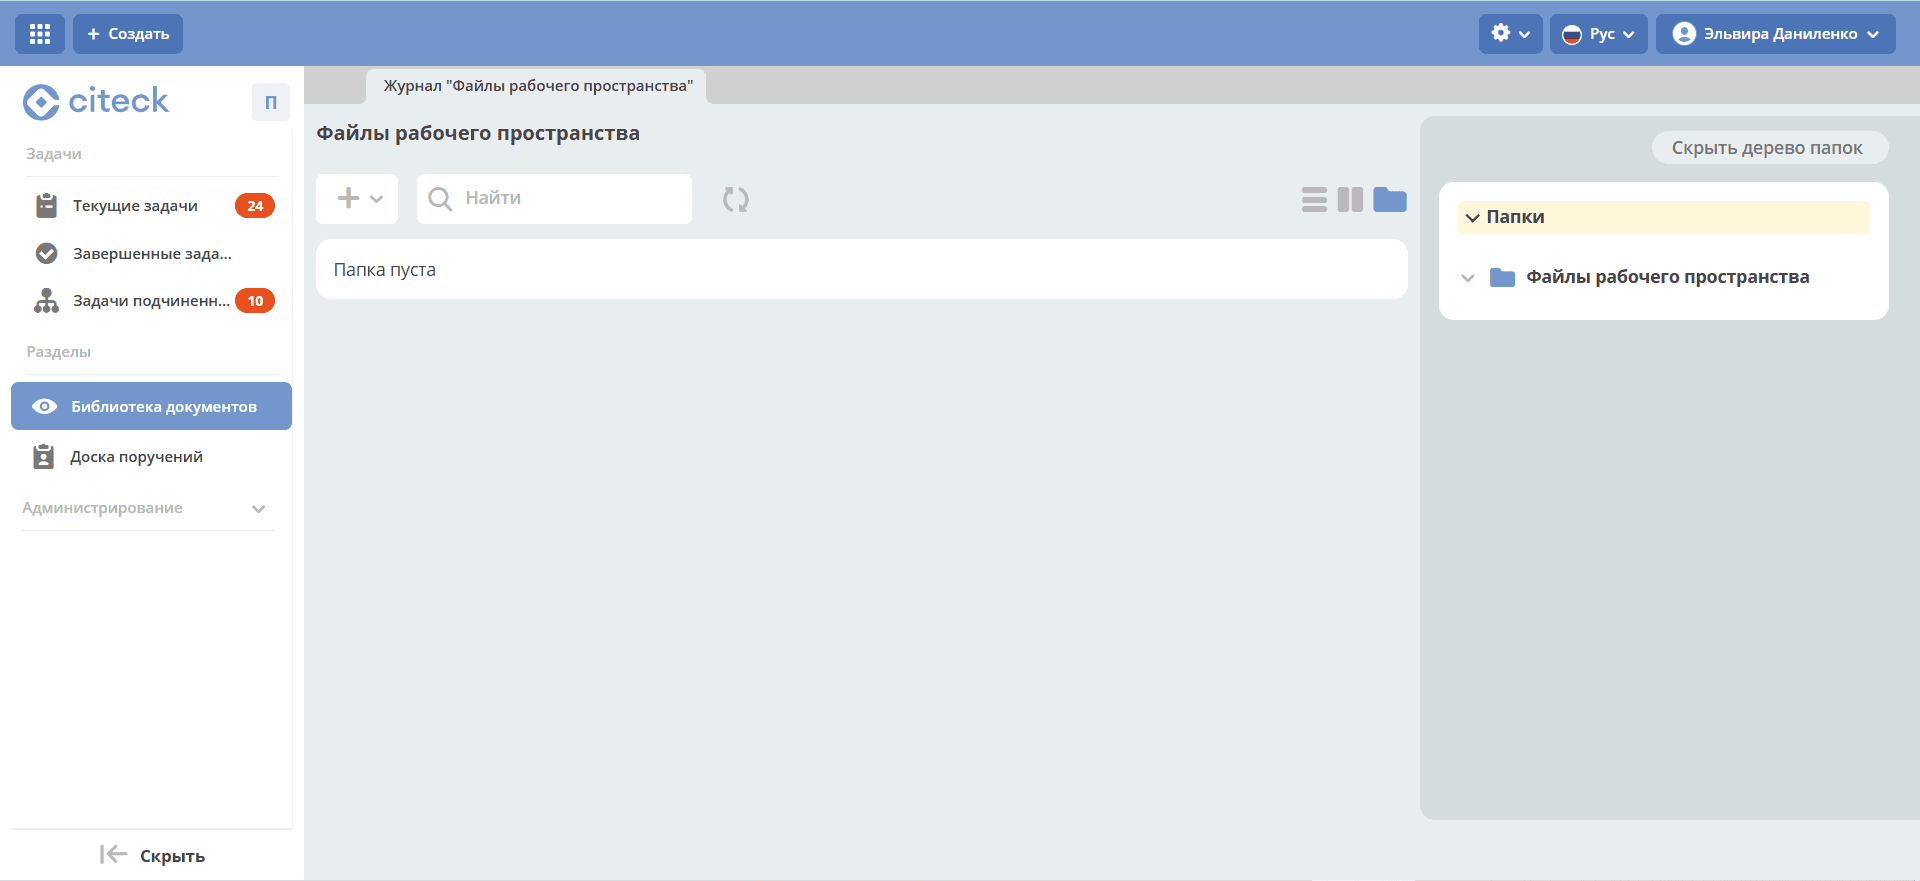
Users can add and edit files, and assign tasks.
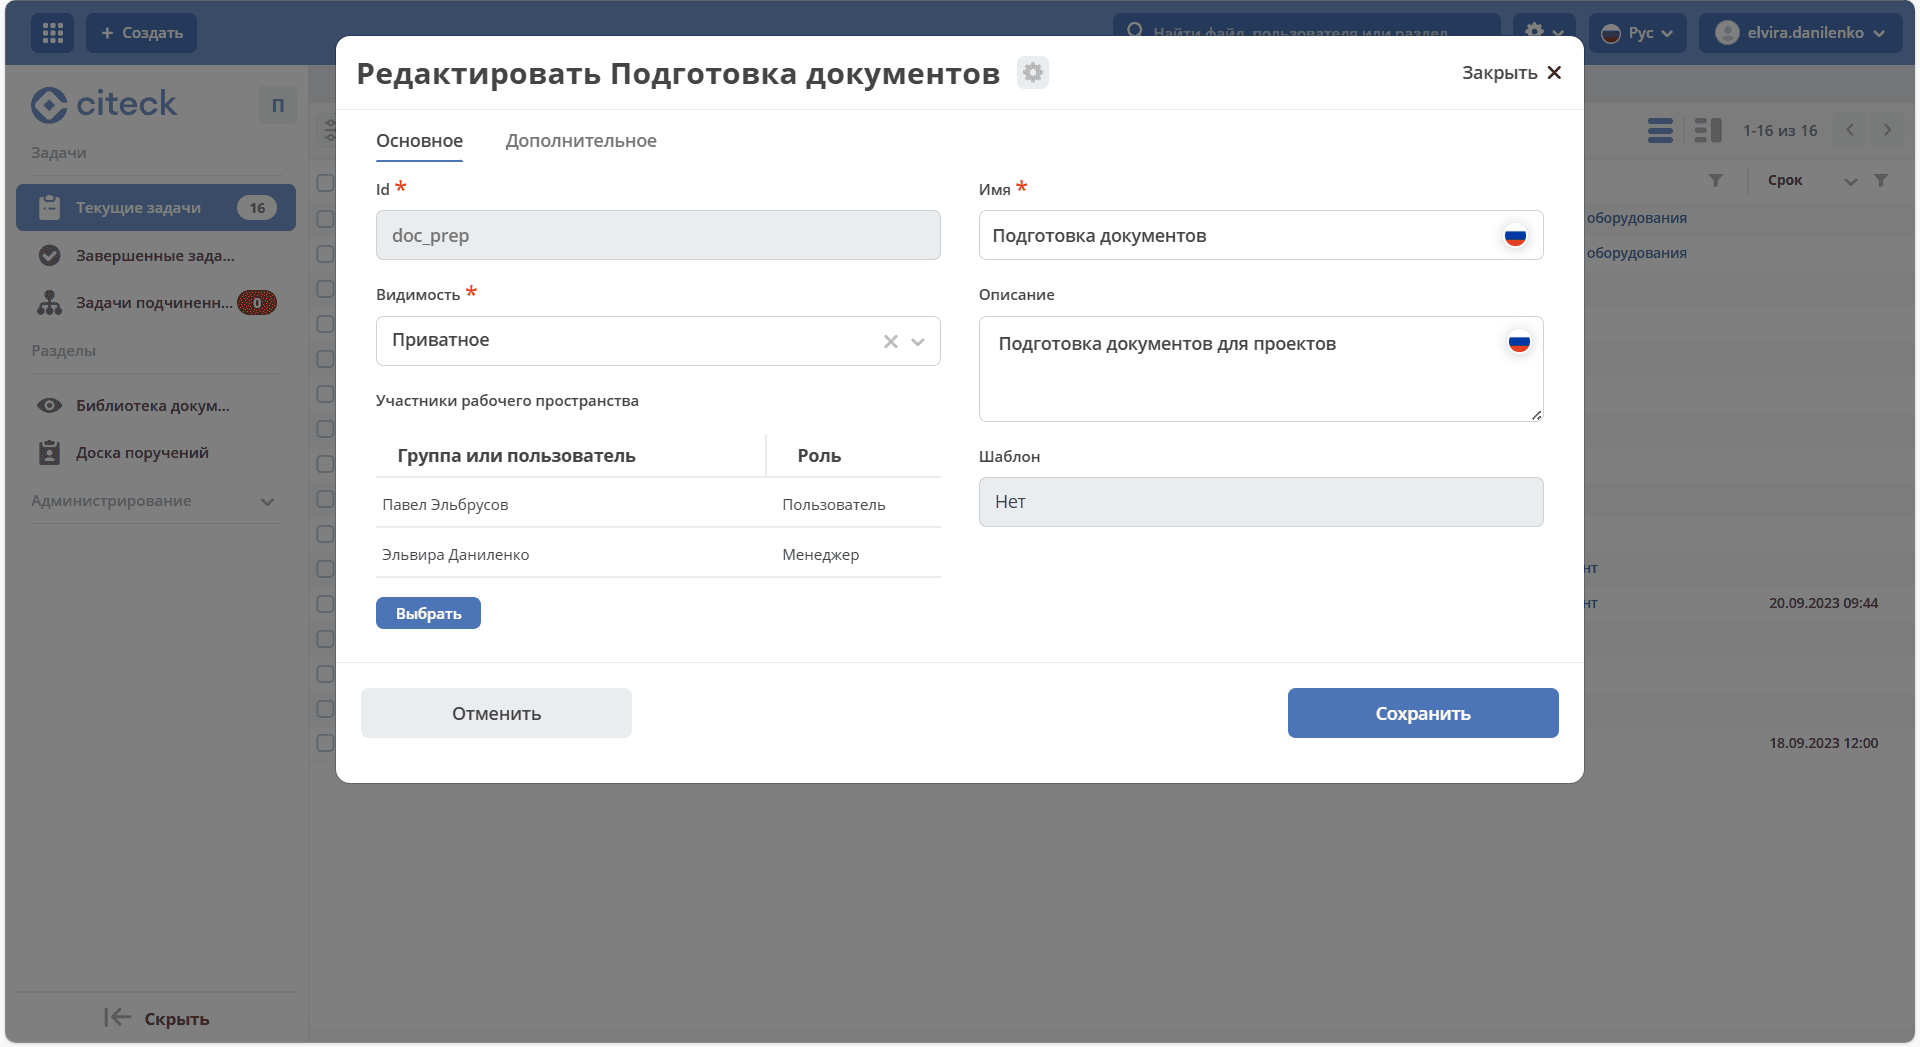
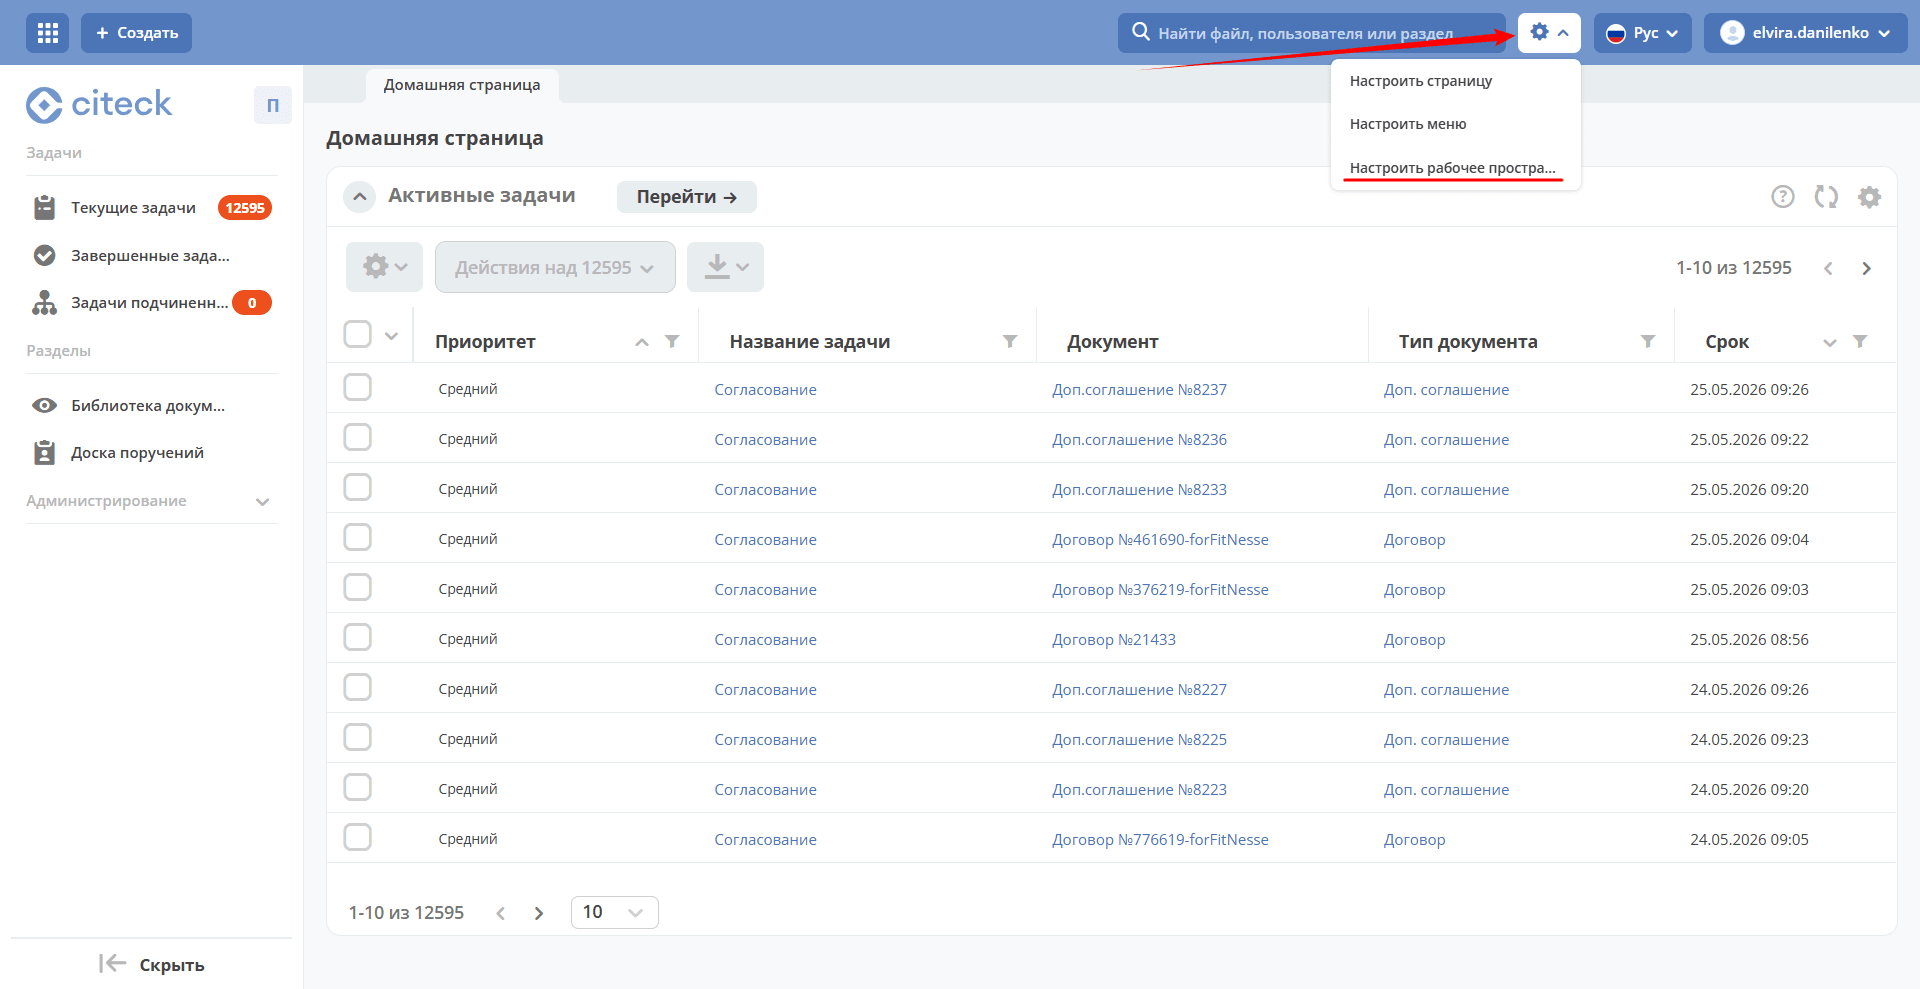
Editing
Editing a workspace is available to a user with “Manager” rights.
Go to settings and select “Configure Workspace”:
In the editing form, you can change member roles, add new members, and update the workspace description and visibility: