Creating a Process Using an AI Assistant
Note
This feature is available in the Enterprise edition only.
This article covers creating the training process “Equipment Purchase Request” using the AI assistant — without manual configuration.
We will generate a minimal set of artifacts: a data type and a business process.
Creating a data type
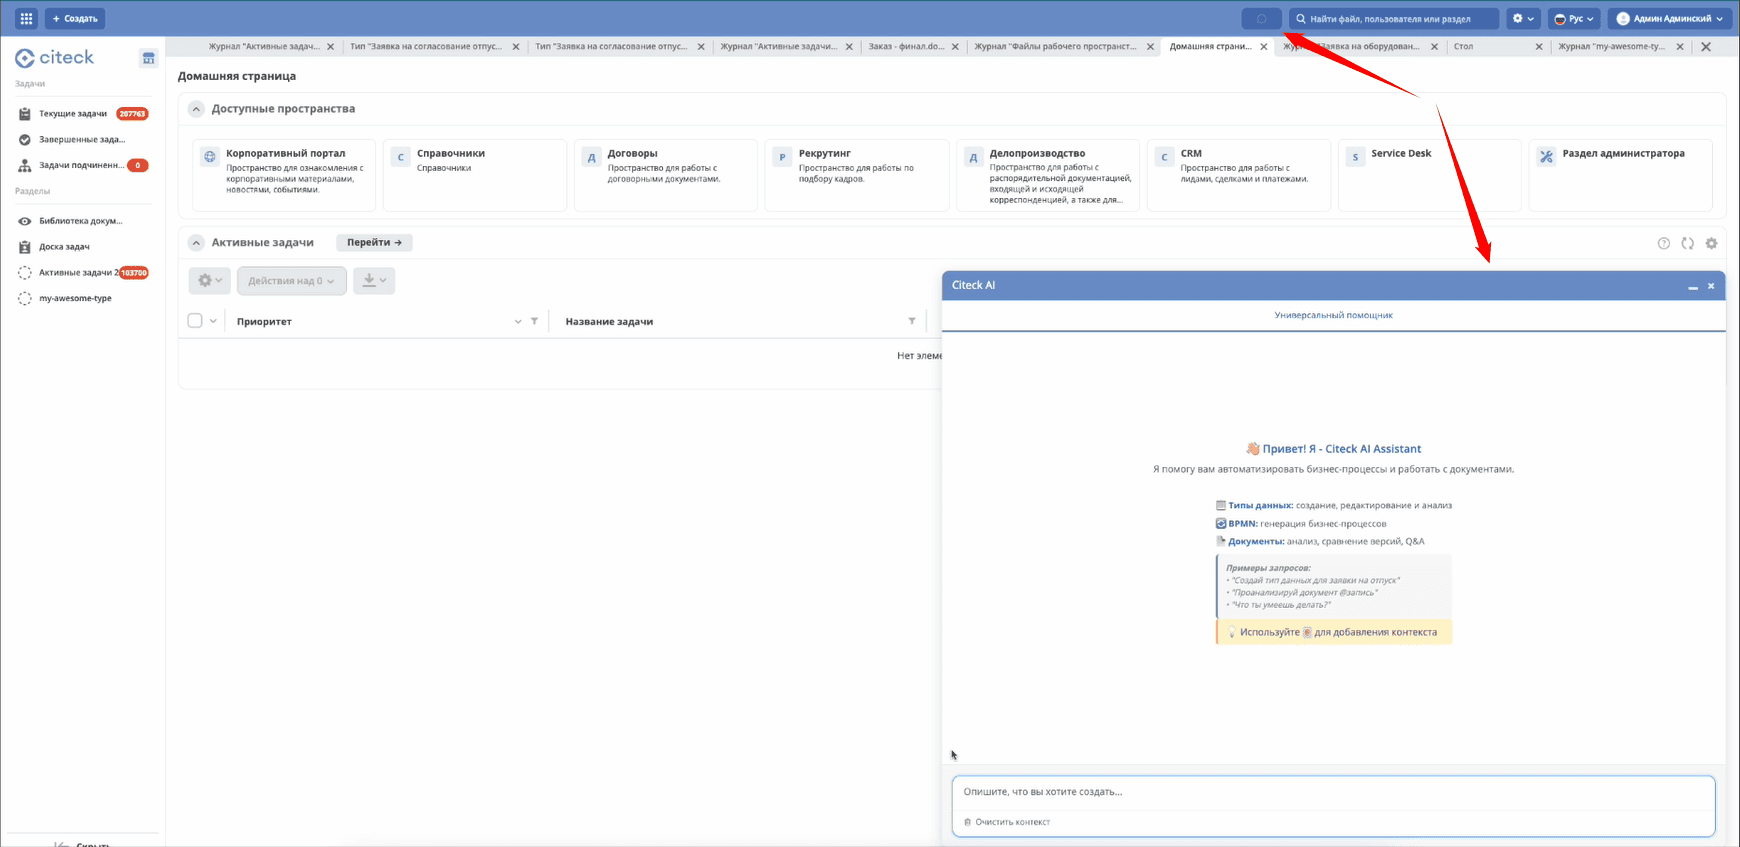
Go to the AI assistant:
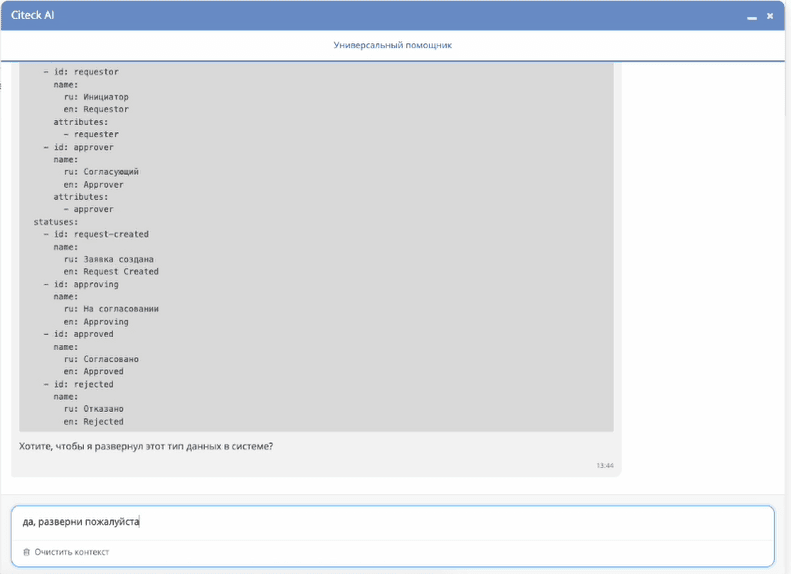
Create a data type using a pre-prepared query. The query describes the request entity, its attributes, roles, and statuses:
Создай тип данных по описанию ниже.
Заявка на оборудование – заявка, которая необходима для закупки оборудования
для операционной деятельности сотрудников.
Например, для подключения монитора к компьютеру сотруднику необходим специальный
кабель, которого на данный момент нет в наличии.
Обычно сотрудник обращается к своему руководителю с просьбой приобрести необходимое
оборудование. После успешного согласования и в соответствии с внутренними регламентами
происходит закупка. Согласующий также может отказать в покупке.
Атрибуты:
1. name, Название оборудования, Text
2. price, Стоимость, Number
3. requester, Инициатор, Person
4. approver, Согласующий, Person
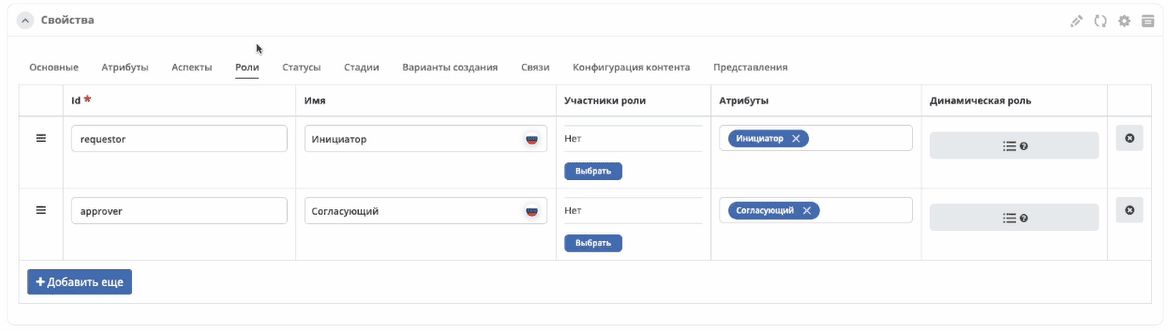
Роли:
5. requestor, Инициатор, из атрибута Инициатор
6. approver, Согласующий, из атрибута Согласующий
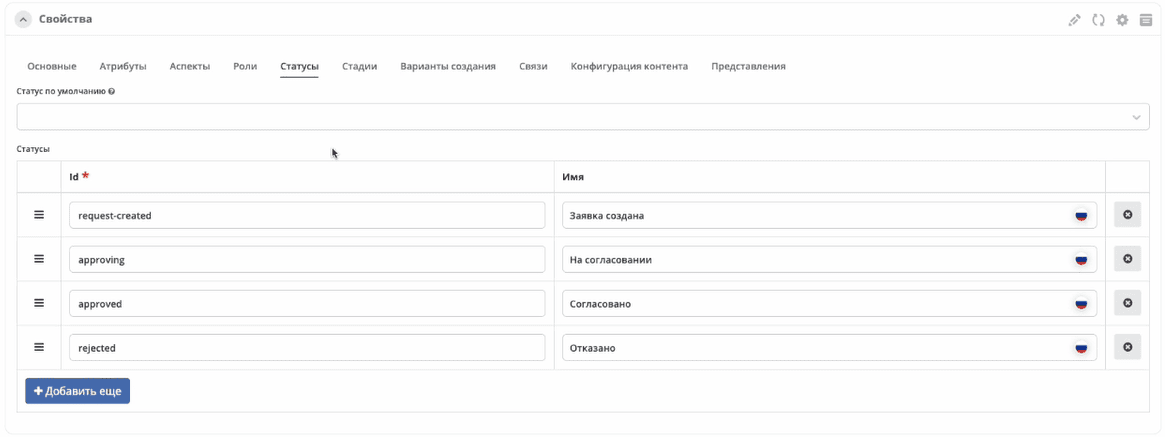
Статусы:
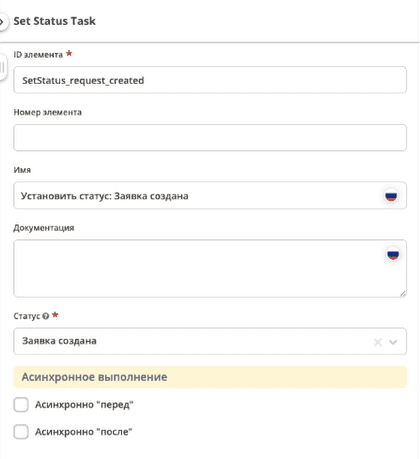
7. request-created, Заявка создана
8. approving, На согласовании
9. approved, Согласовано
10. rejected, Отказано
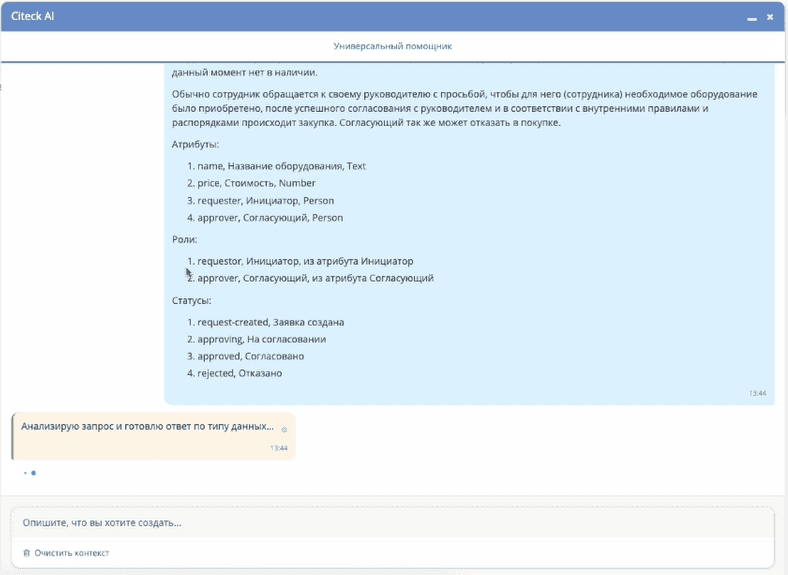
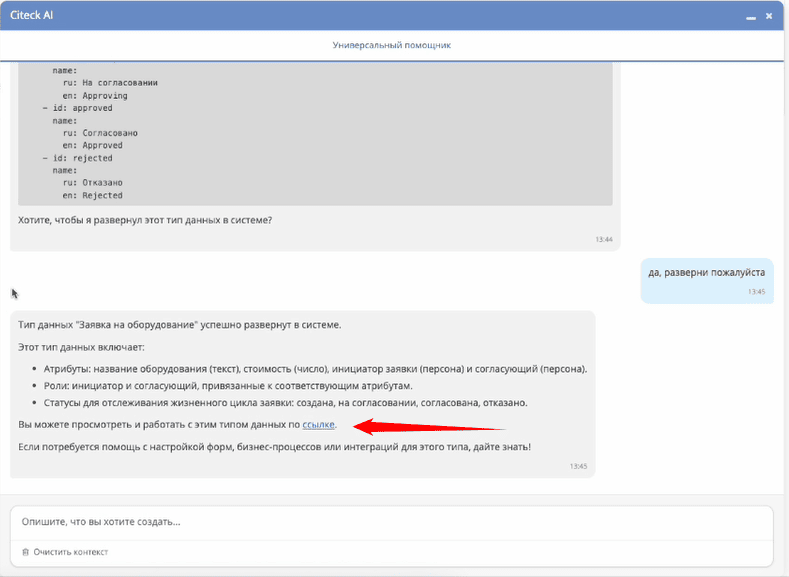
The assistant processes the query and returns the generated data type:
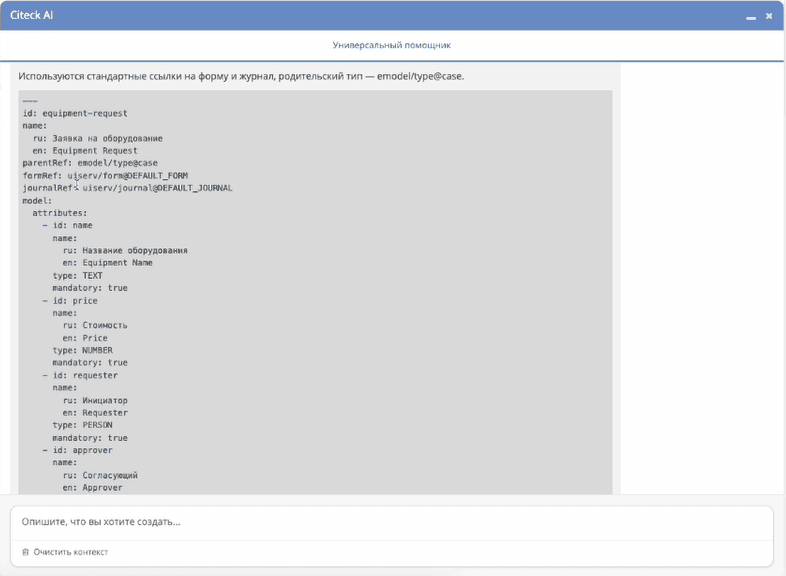
All required attributes, roles, and statuses are set. Confirm the deployment of the data type in the system:
Follow the link that appears to open the created data type and check its contents.
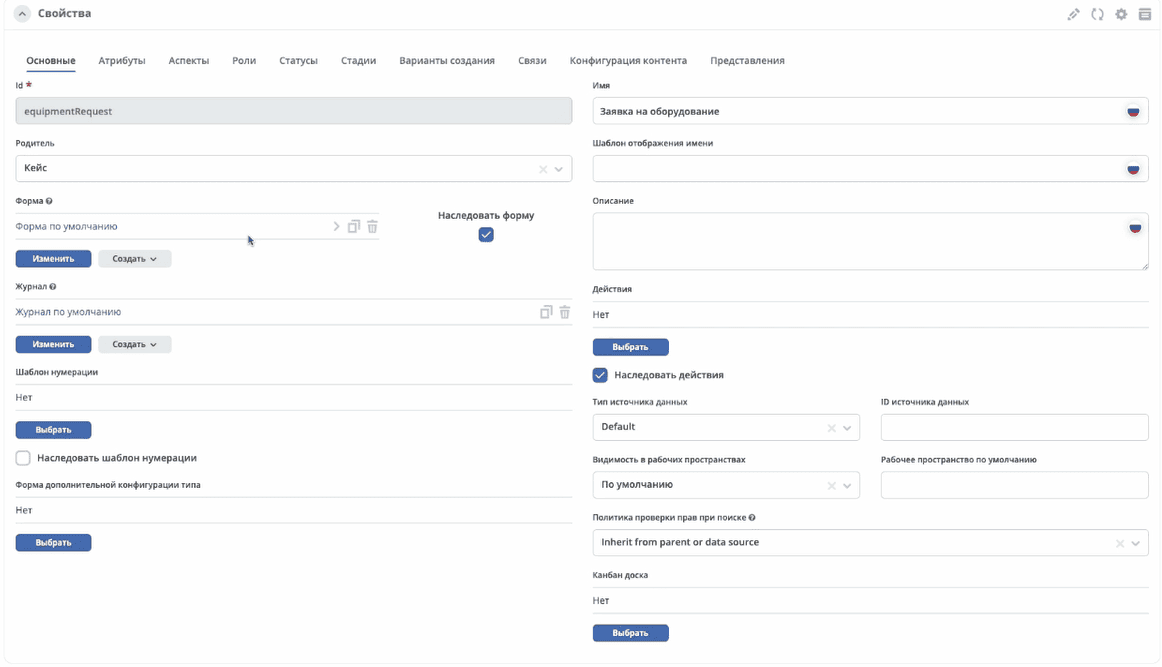
Basic tab — parent: Case, form and journal created by default:
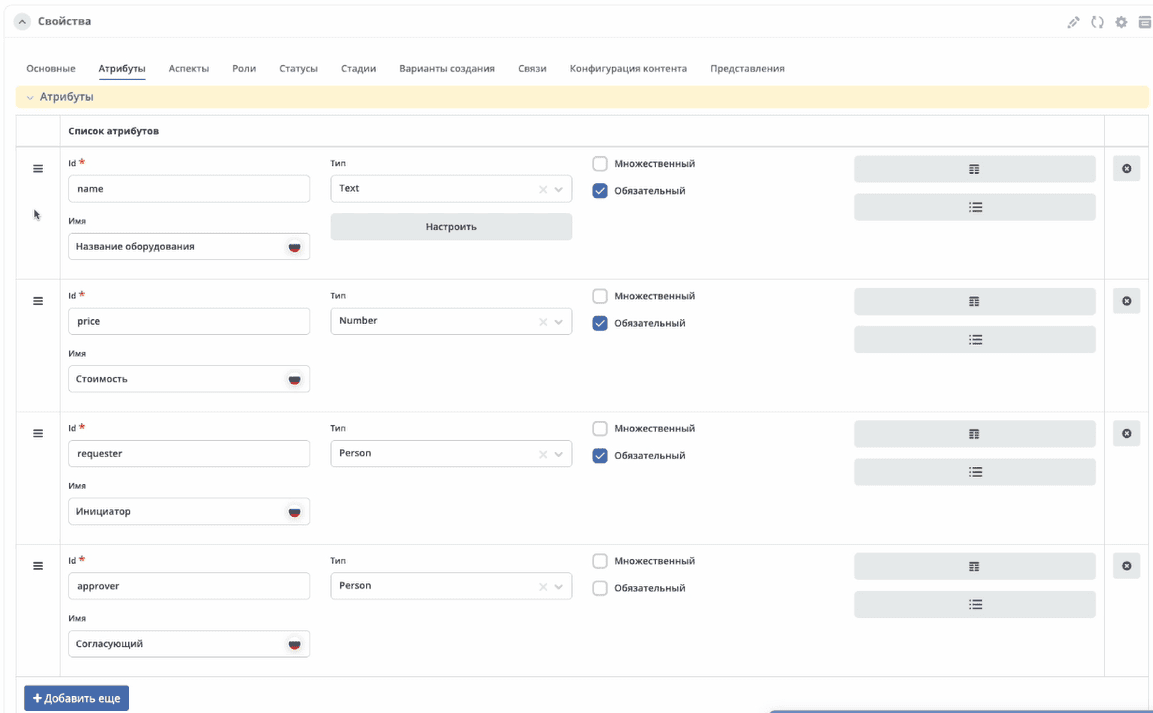
Attributes tab:
Roles tab:
Statuses tab:
The data type is ready. Proceed to creating the business process.
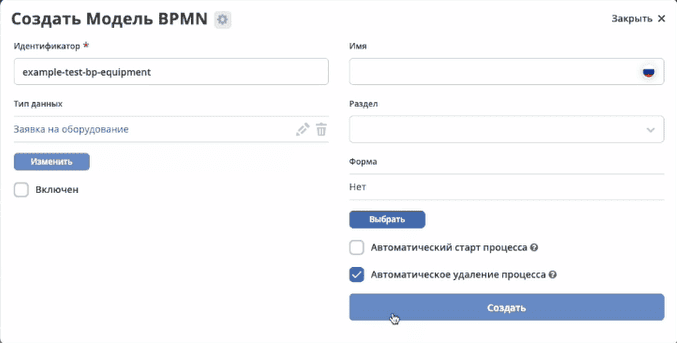
Creating a business process
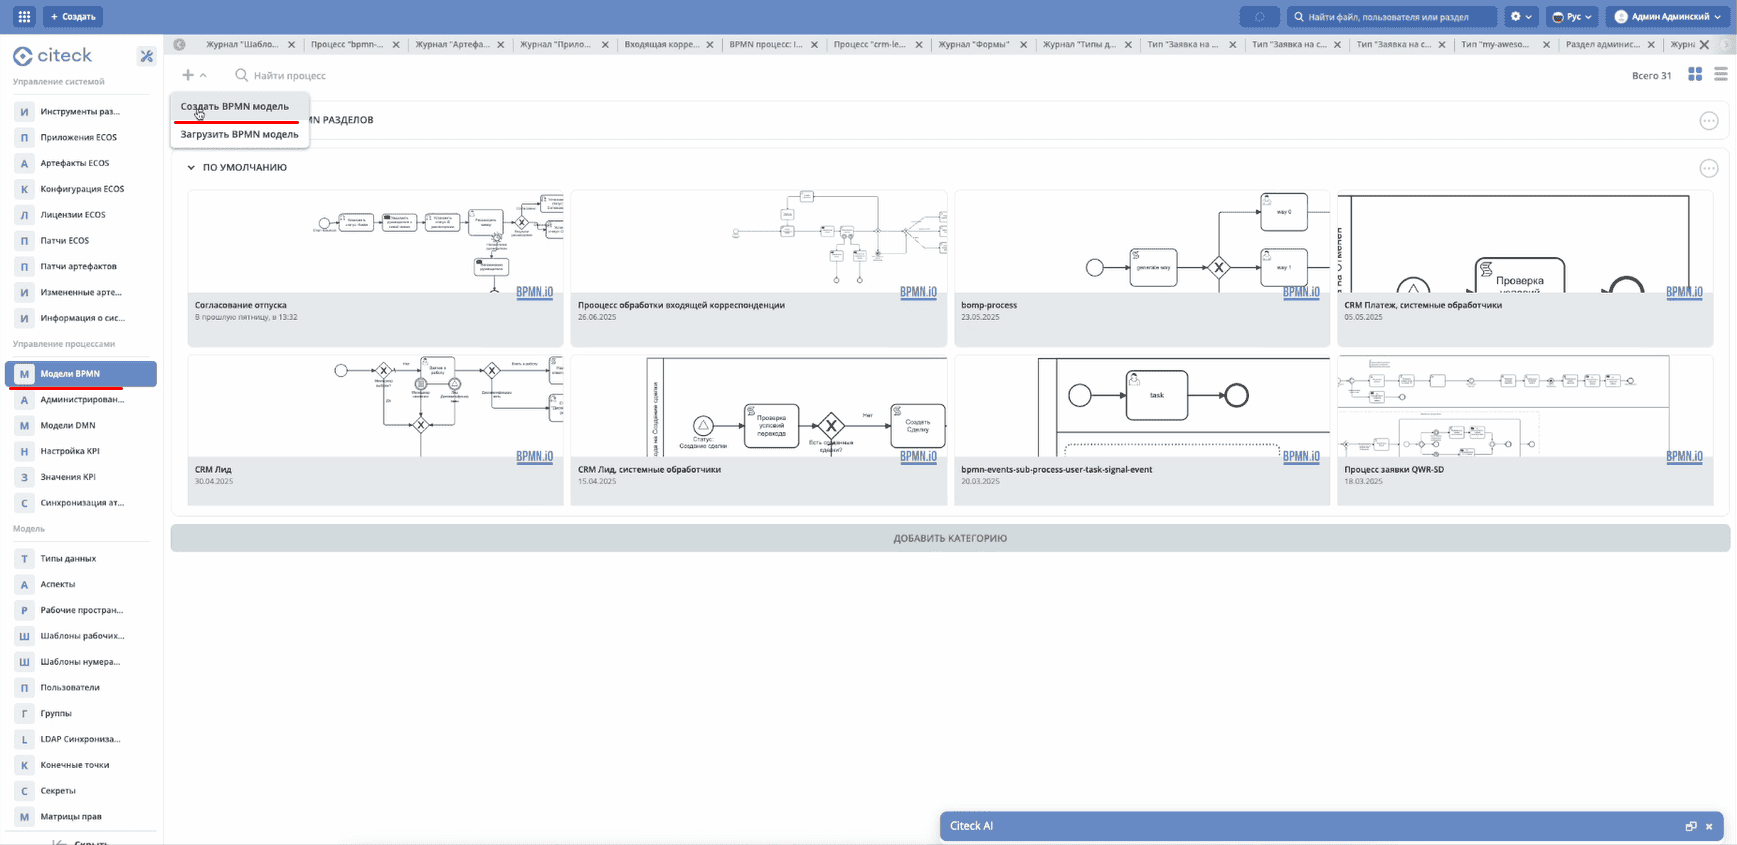
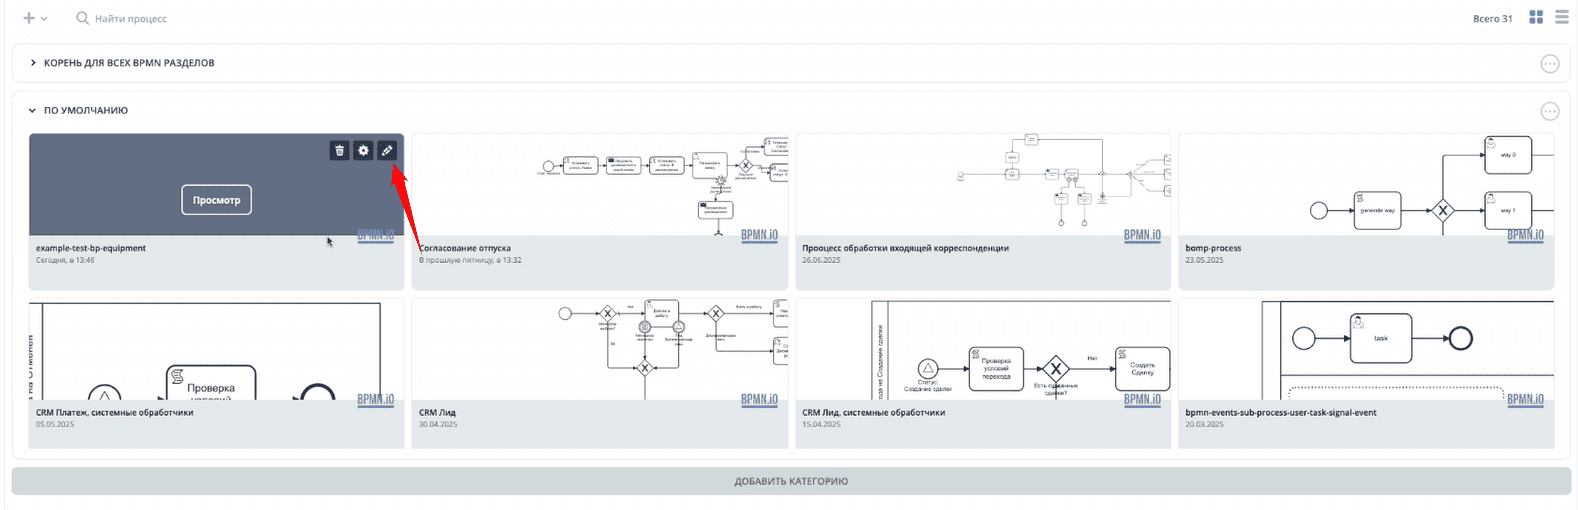
Go to the Administrator workspace, BPMN Models section:
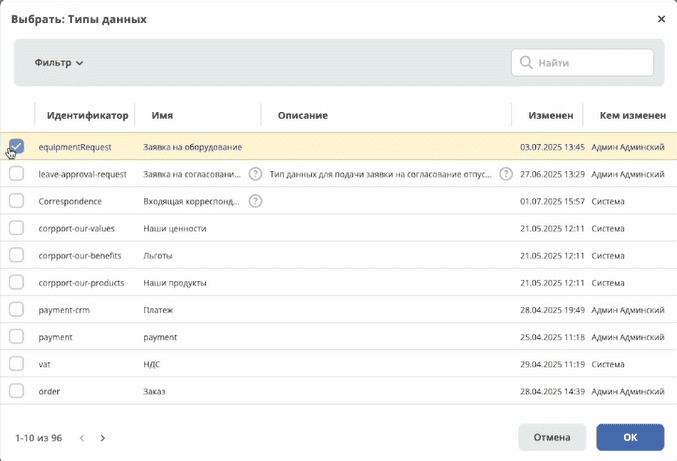
Create a model and select the previously created data type for it:
Click “Create”:
Go to the process editor:
In the assistant, open the “BPMN Editor” tab:
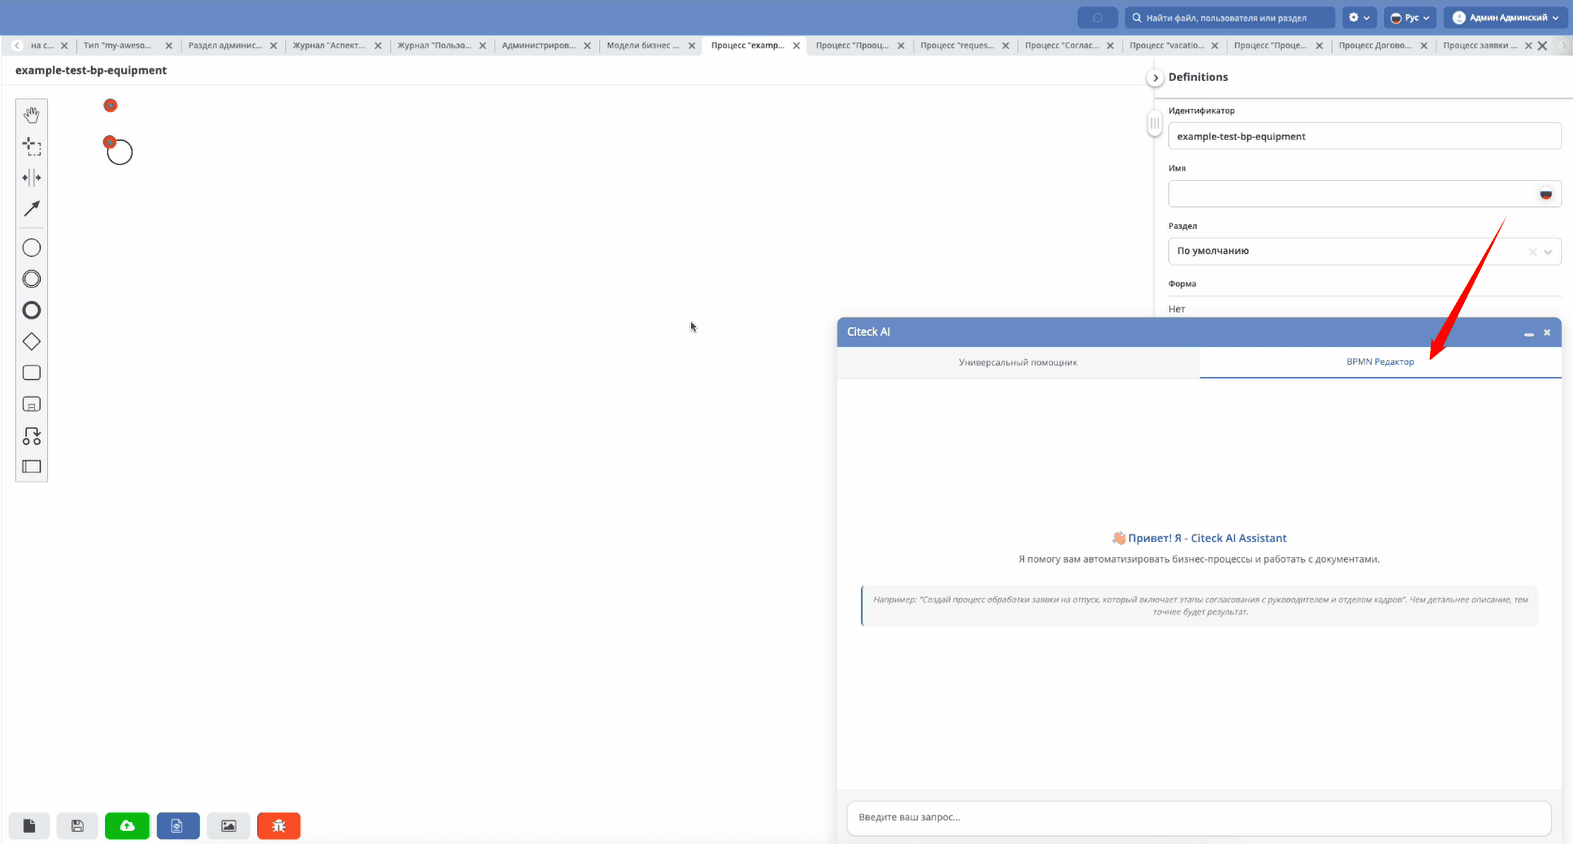
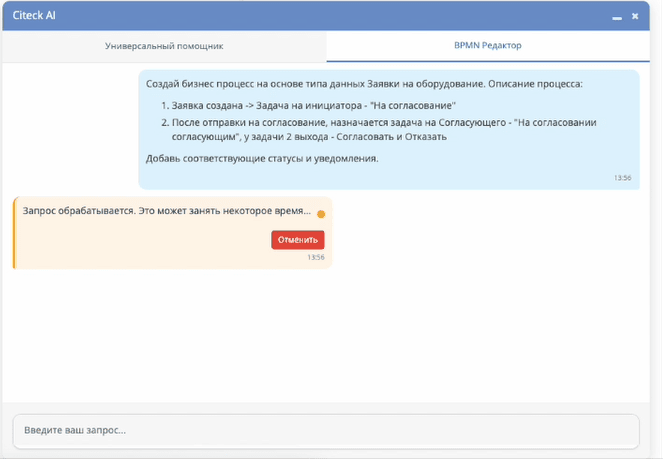
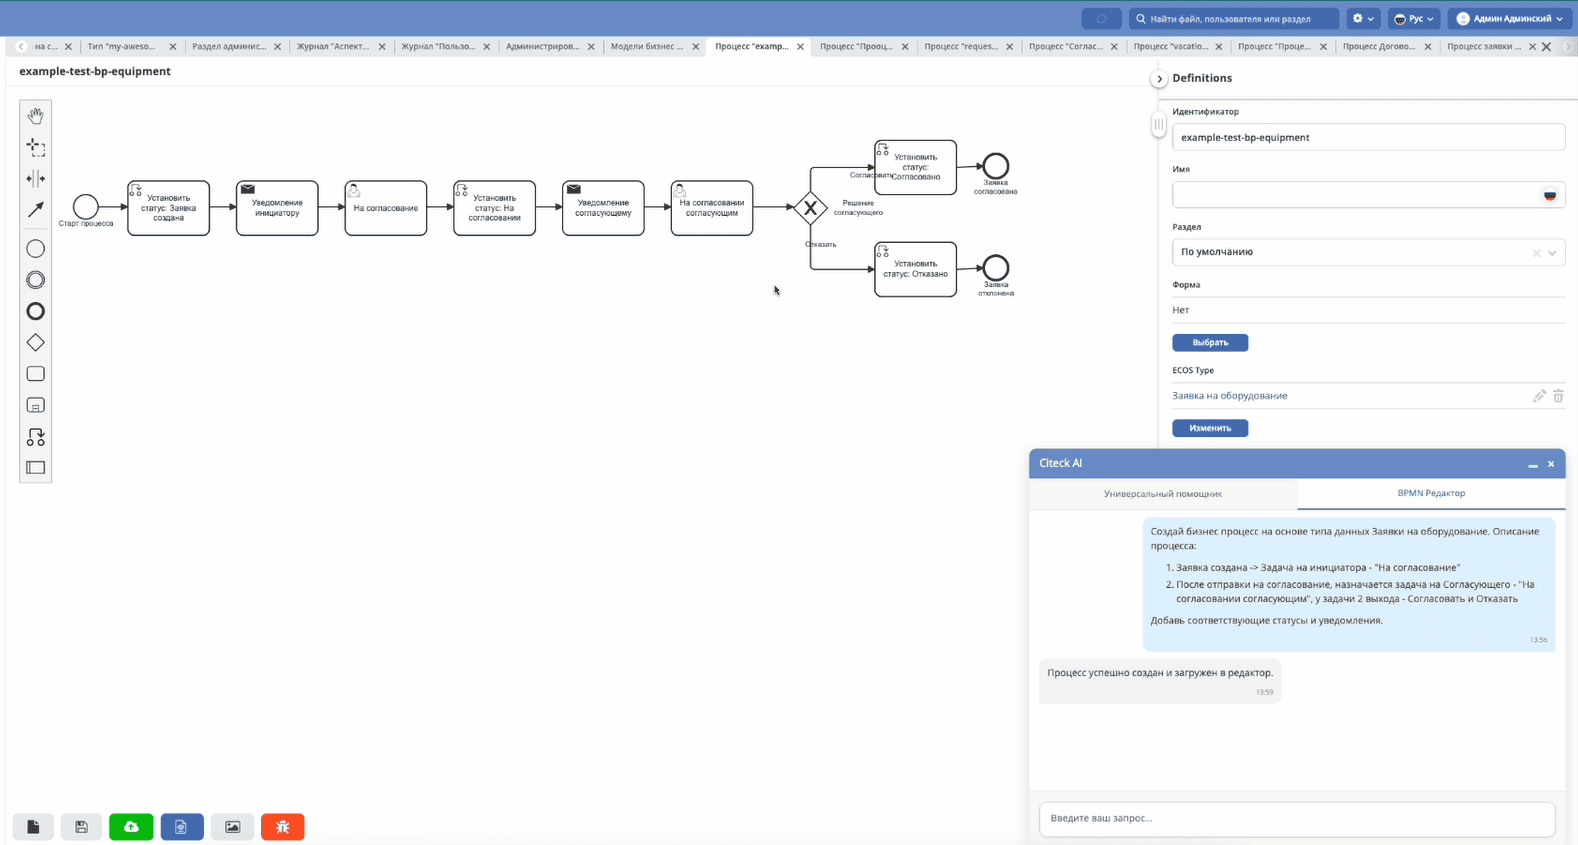
To generate the business process, use the following query:
Создай бизнес-процесс на основе типа данных Заявки на оборудование.
Описание процесса:
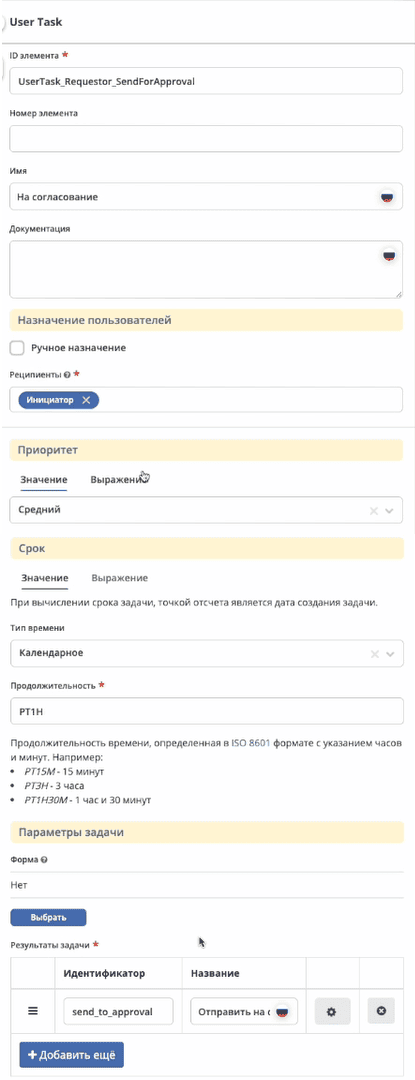
1. Заявка создана -> Задача на инициатора — «На согласование».
2. После отправки на согласование назначается задача на Согласующего —
«На согласовании согласующим». У задачи 2 выхода: «Согласовать» и «Отказать».
Добавь соответствующие статусы и уведомления.
Note
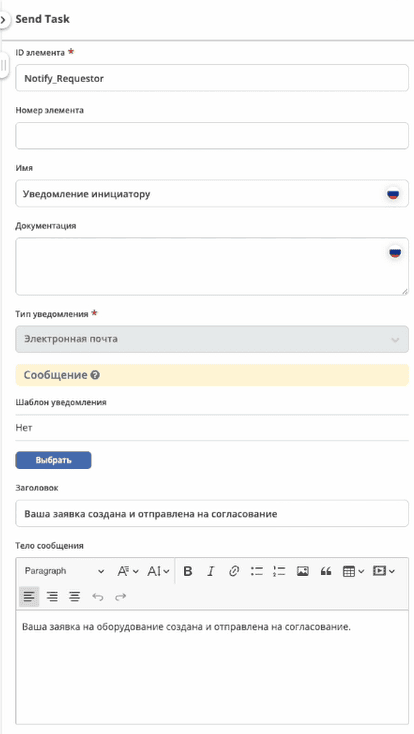
The query explicitly requests adding notifications — the assistant will take this into account when generating the process.
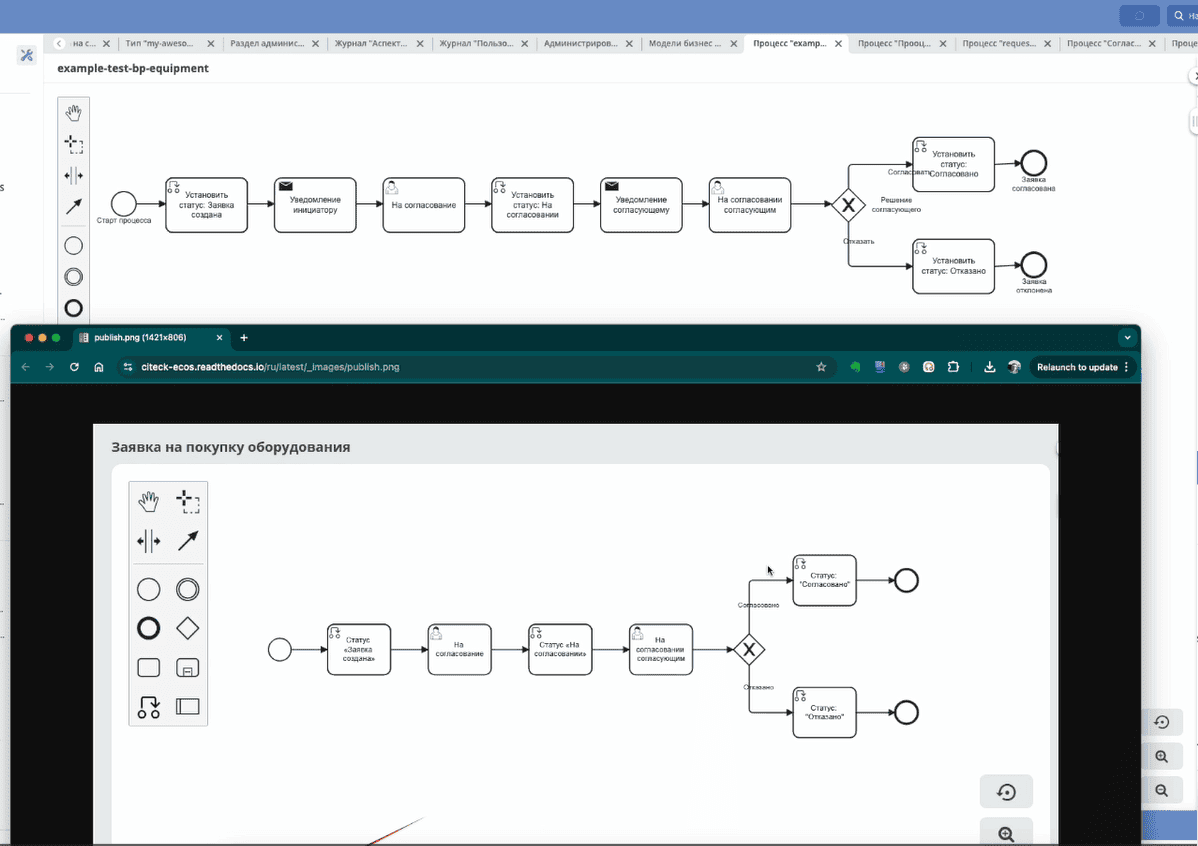
The process has been generated:
Key process element settings:

|
|

|
|

|
|

|
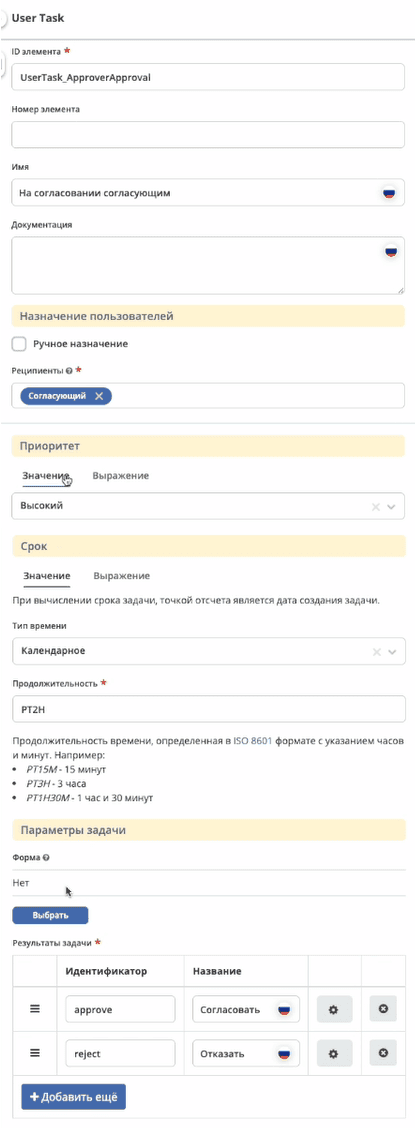
|
The resulting process matches the description from the query:
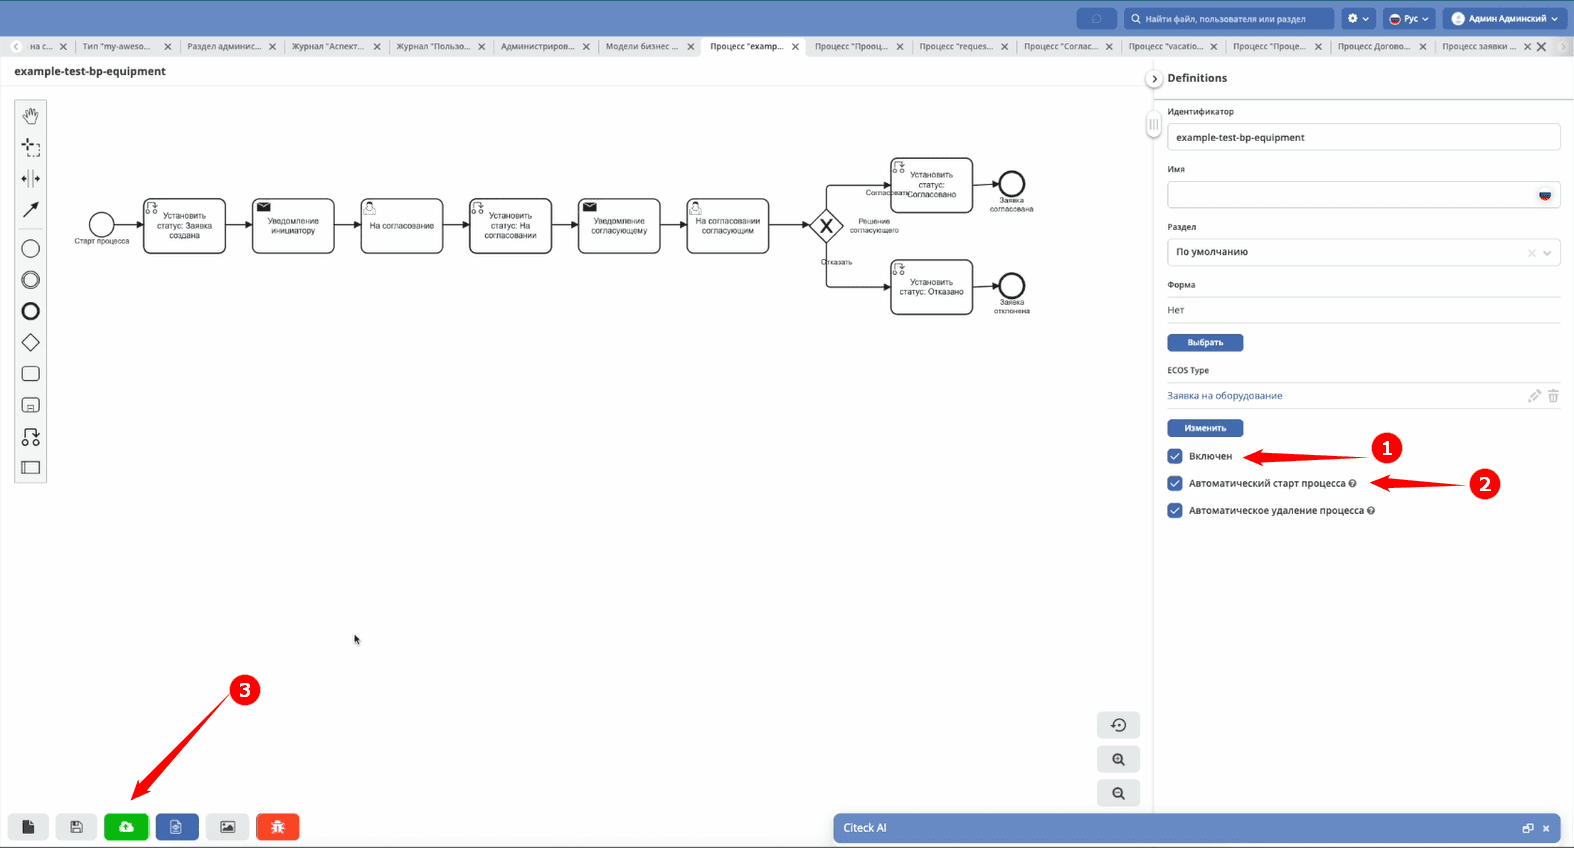
Enable the process (1), allow automatic start (2), and publish it (3):
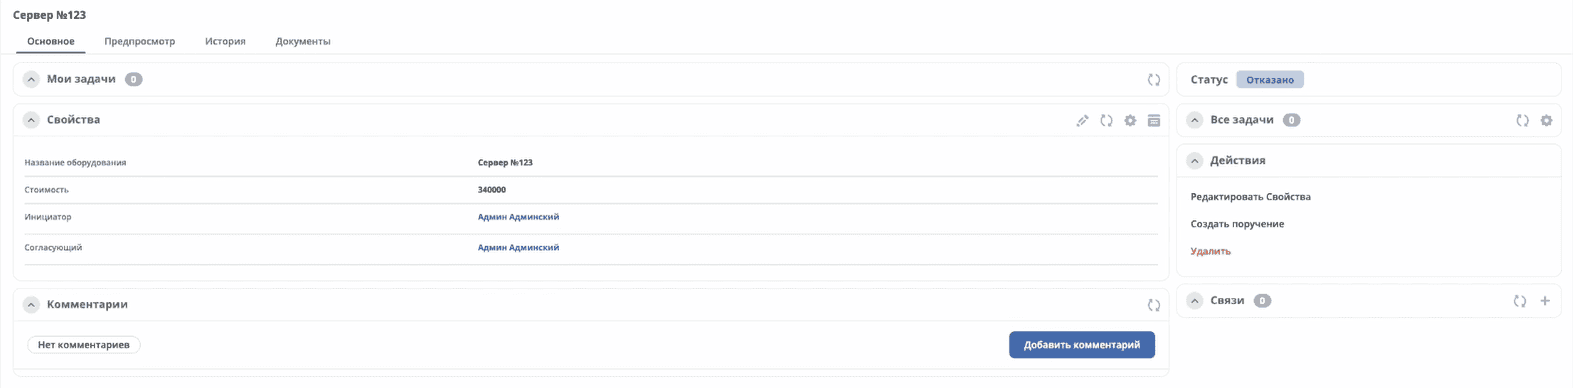
Starting and testing the process
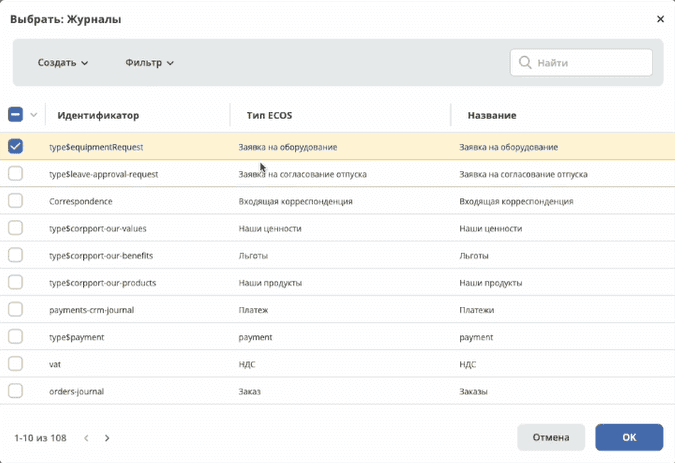
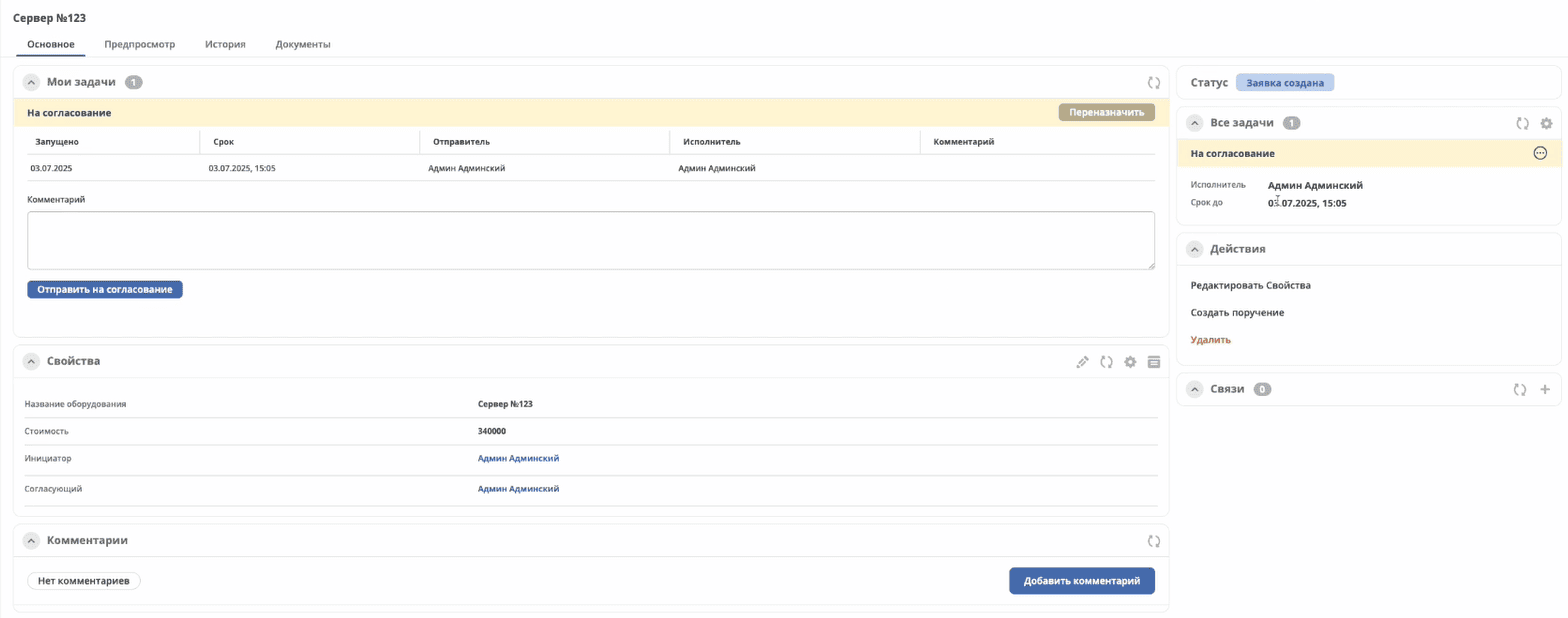
Go to your personal workspace and add the journal to the menu:

Open the journal and create a request. Click “Save” — this will start the process:

The first task “Send for Approval” will appear. Click “Send for Approval”:
The second task “Under Approval by Approver” will open. Enter a comment and click “Reject”:
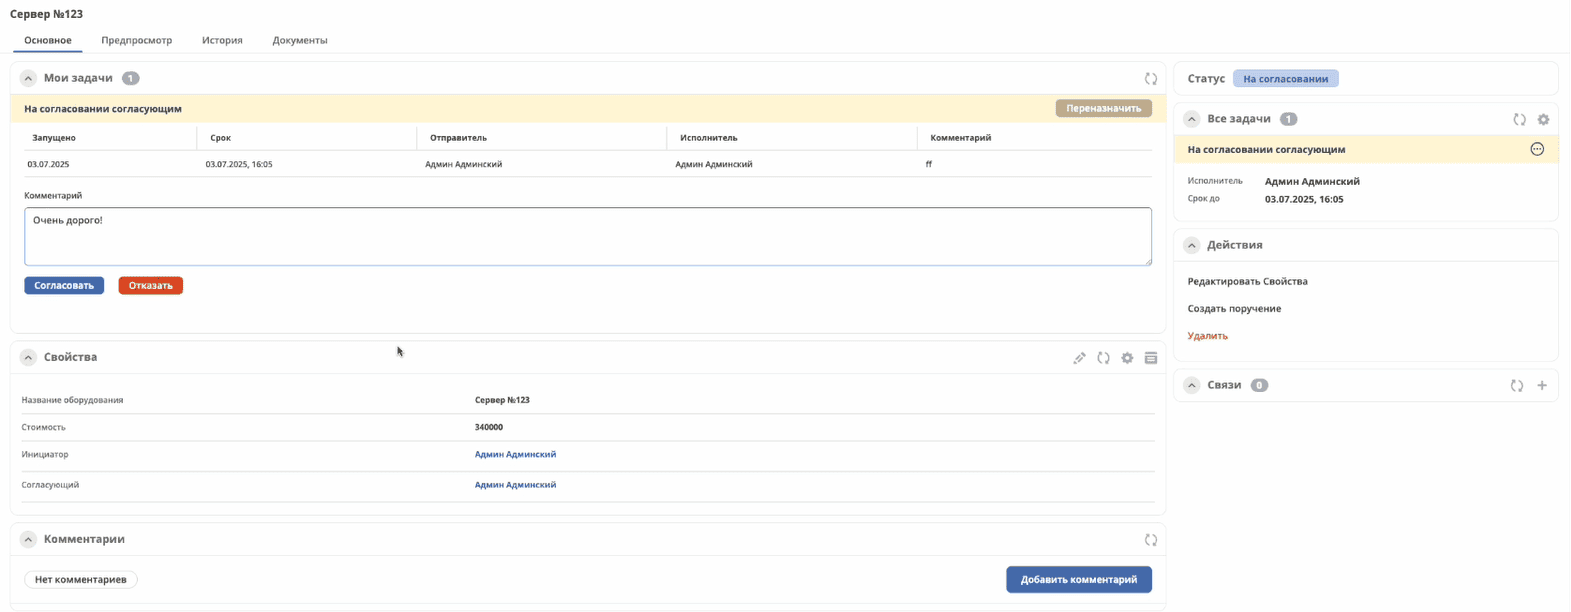
The request moves to the “Rejected” status: