Creating users for Citeck Community
Note
Citeck supports integration with LDAP for centralized user management. Users can also be created manually via Keycloak — this method is described below.
Creating a user in Keycloak
When Installing via Docker Compose
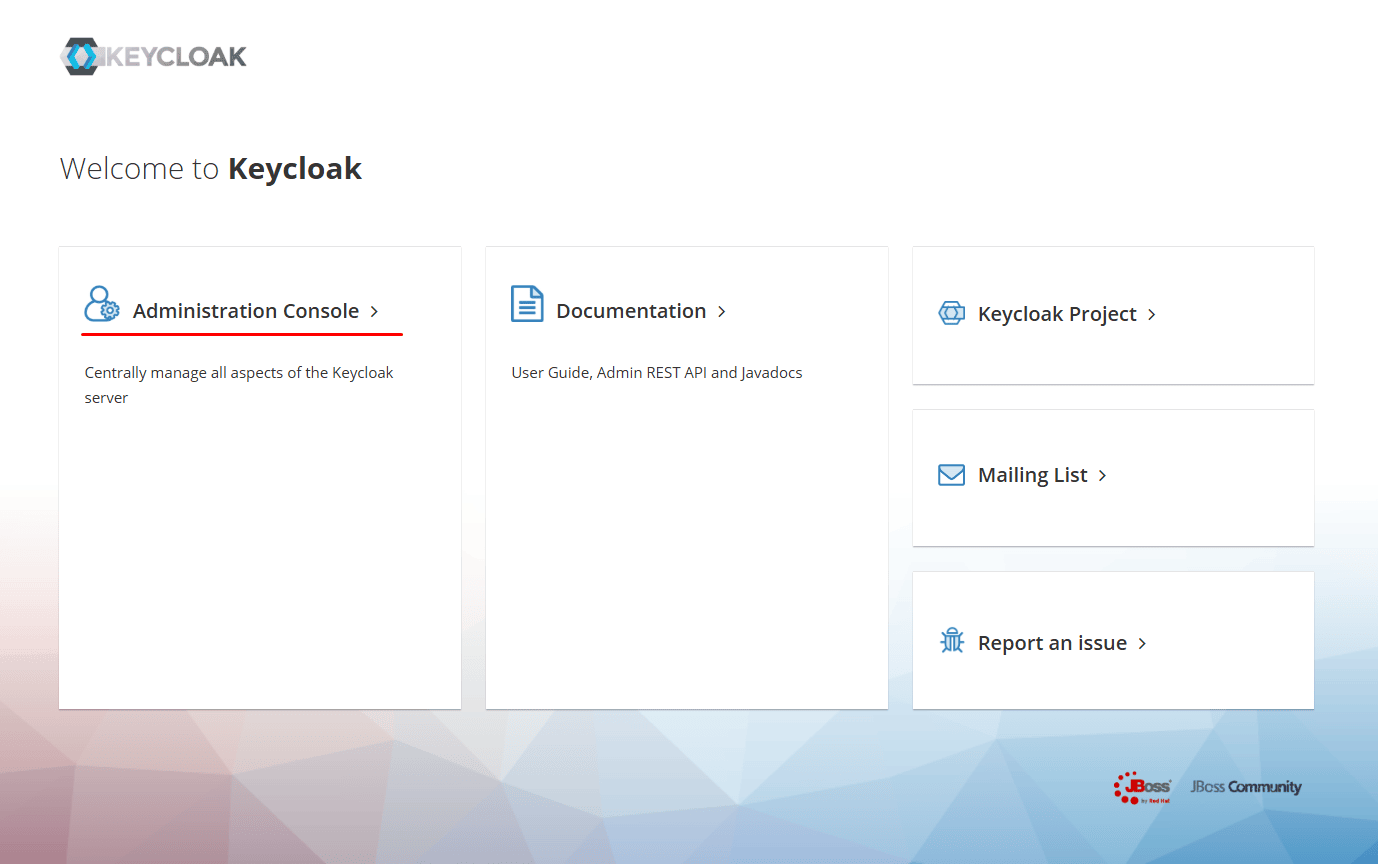
Open the Keycloak admin console at http://localhost/ecos-idp/auth
Go to Administration Console:
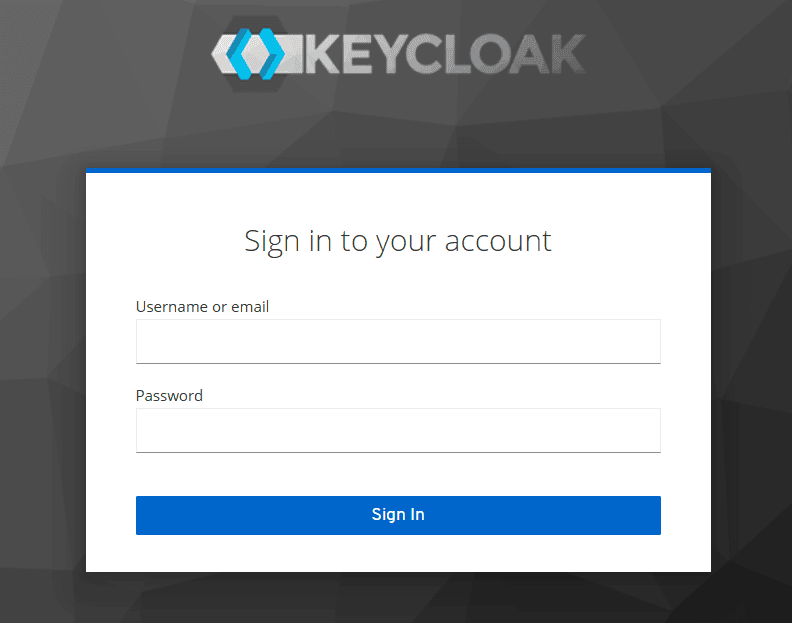
Log in with the default credentials: admin / VeryStrongPassword:
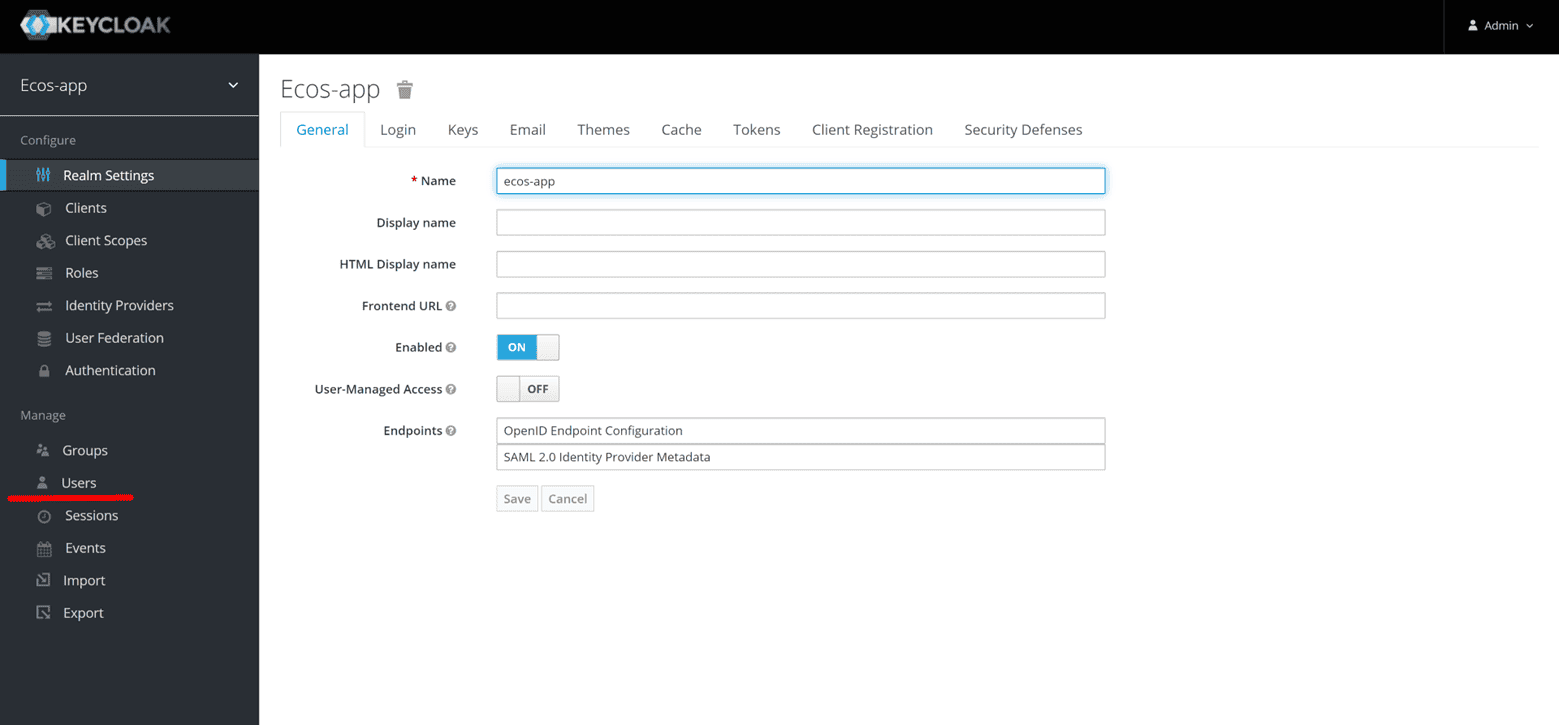
In the side menu, go to the Users section:
Creating a User
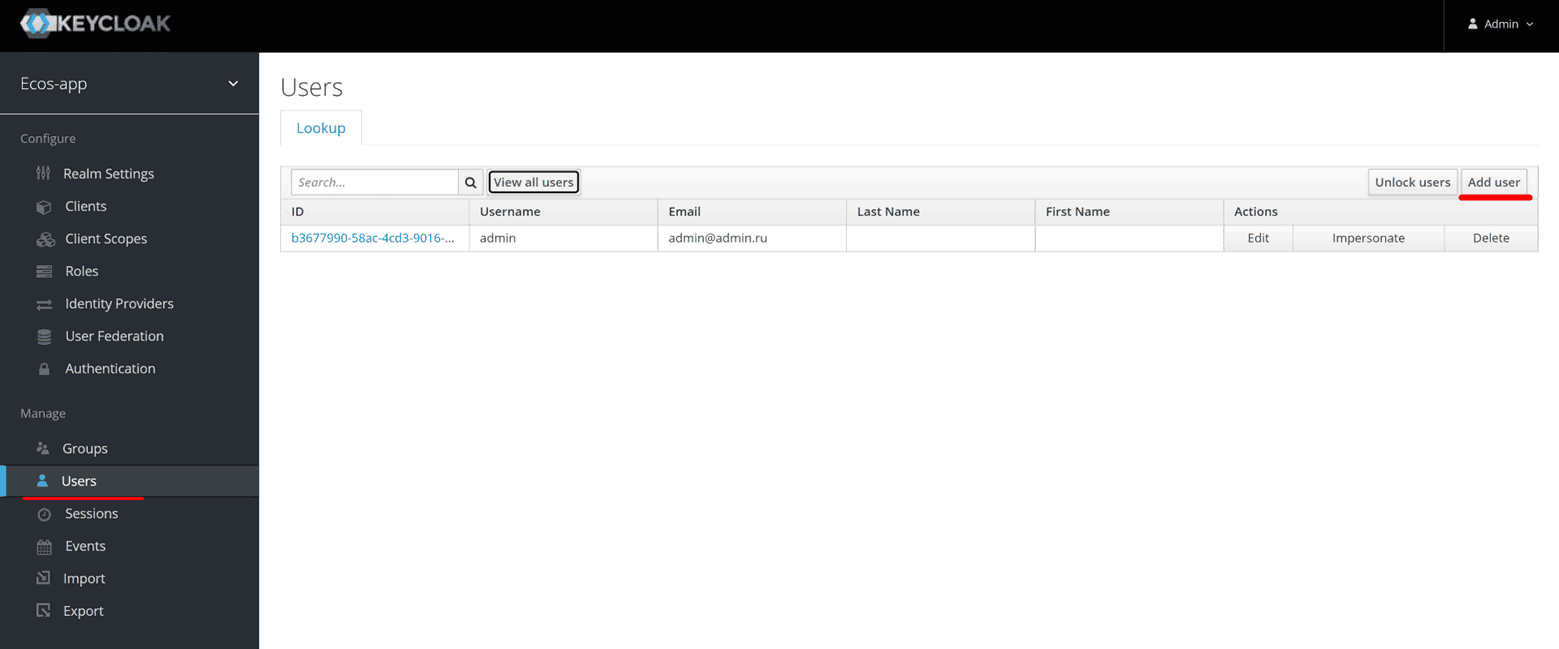
The View all users button displays a list of all existing users. To add a new user, click Add user:
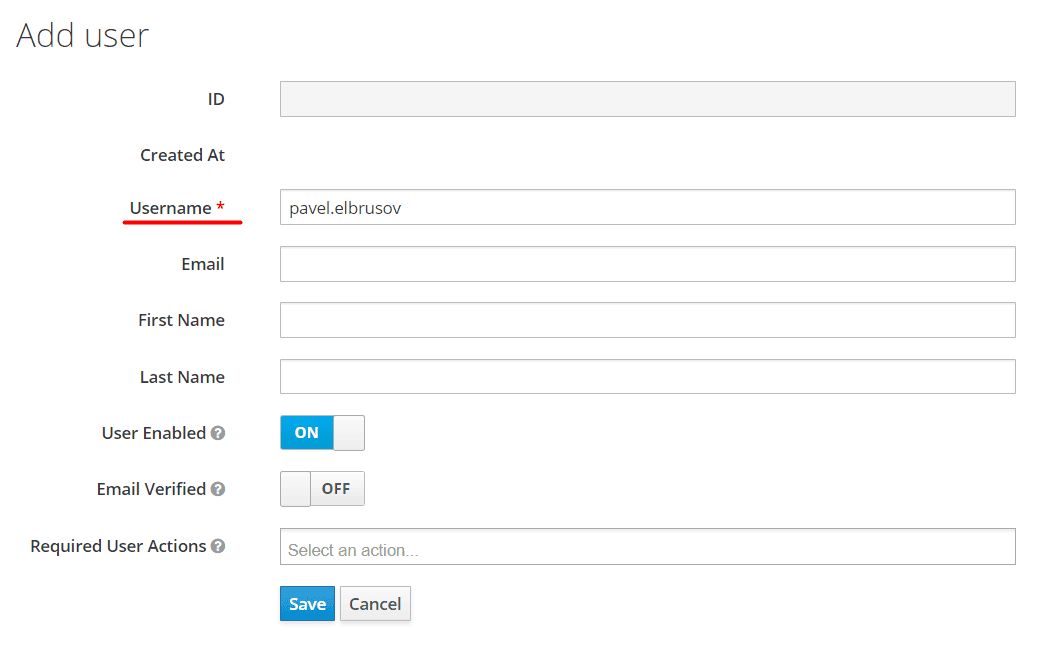
Fill in at least the Username field and click Save:
Setting a Password
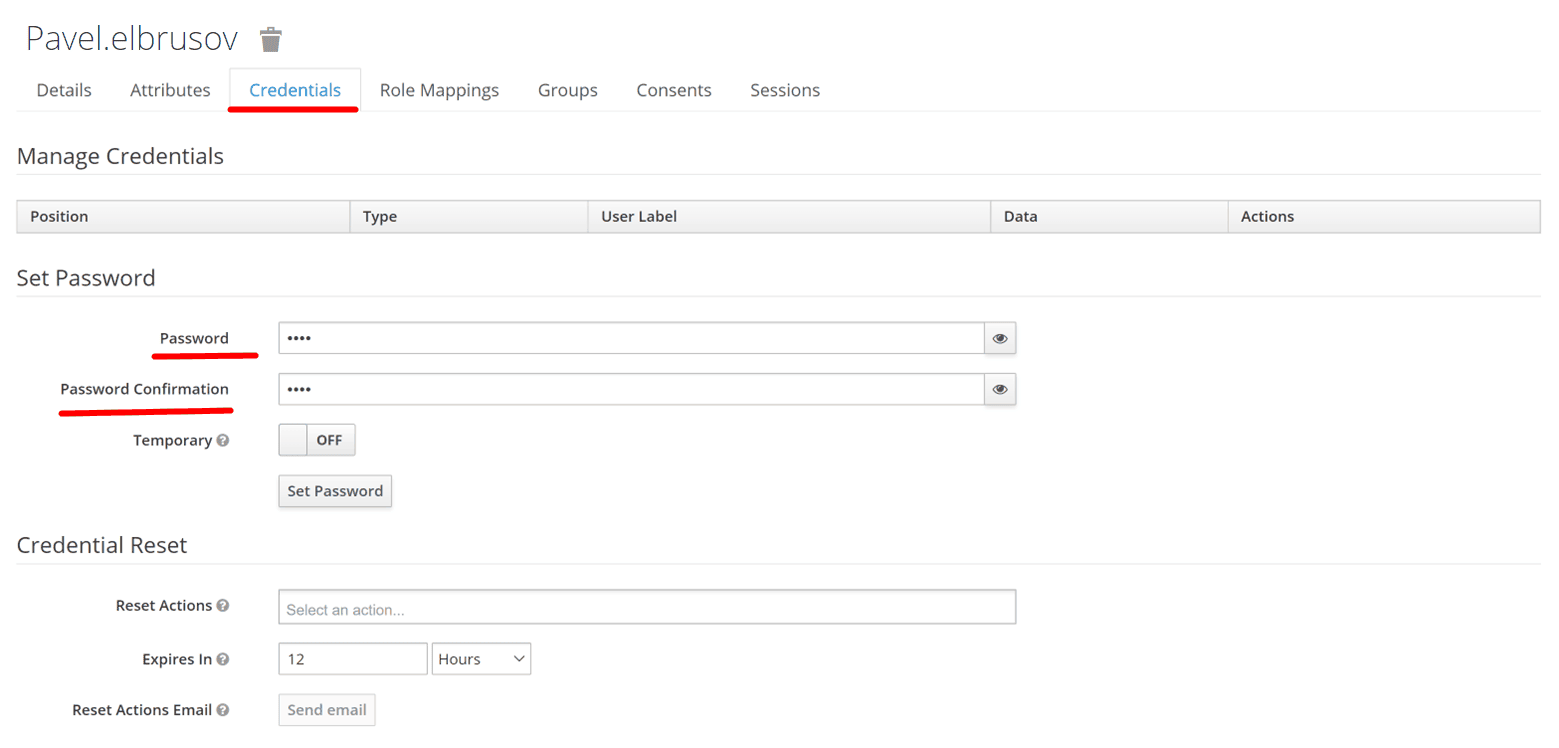
Go to the Credentials tab, enter the password and confirm it.
Note
If the password should be temporary (the user will be required to change it on first login), set the Temporary toggle to ON.
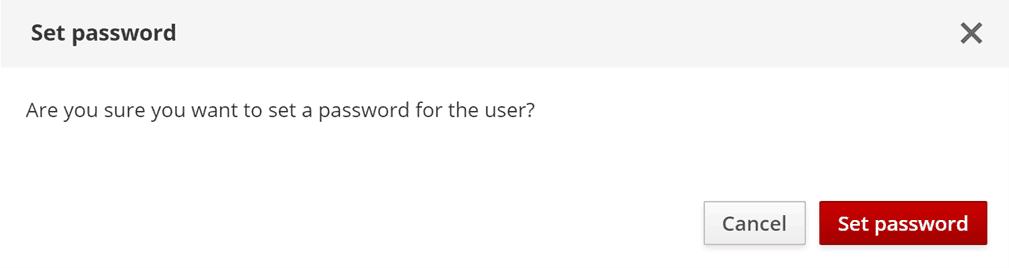
Click Set Password and confirm the action:
Important
After creation, the user must log in to Citeck for the first time using their credentials. Only the Username (system name) is passed to the system — the remaining details must be filled in separately.
When Deploying Using the Cross-Platform Launcher
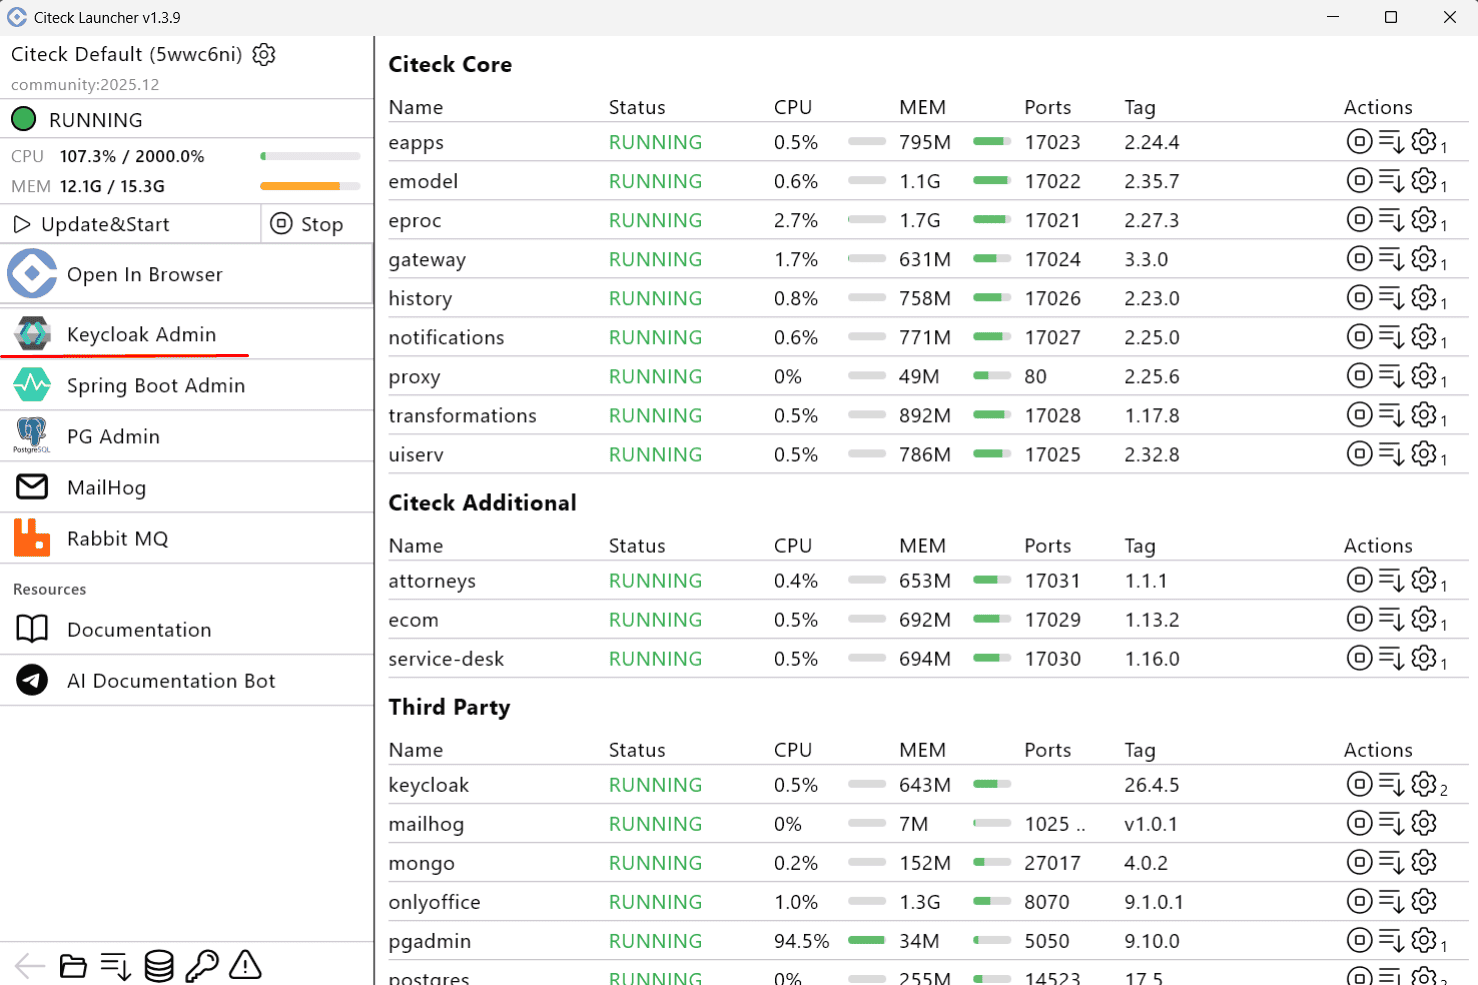
In the launcher, under services, select Keycloak Admin:
Go to Administration Console:

Log in with the default credentials: admin / admin.

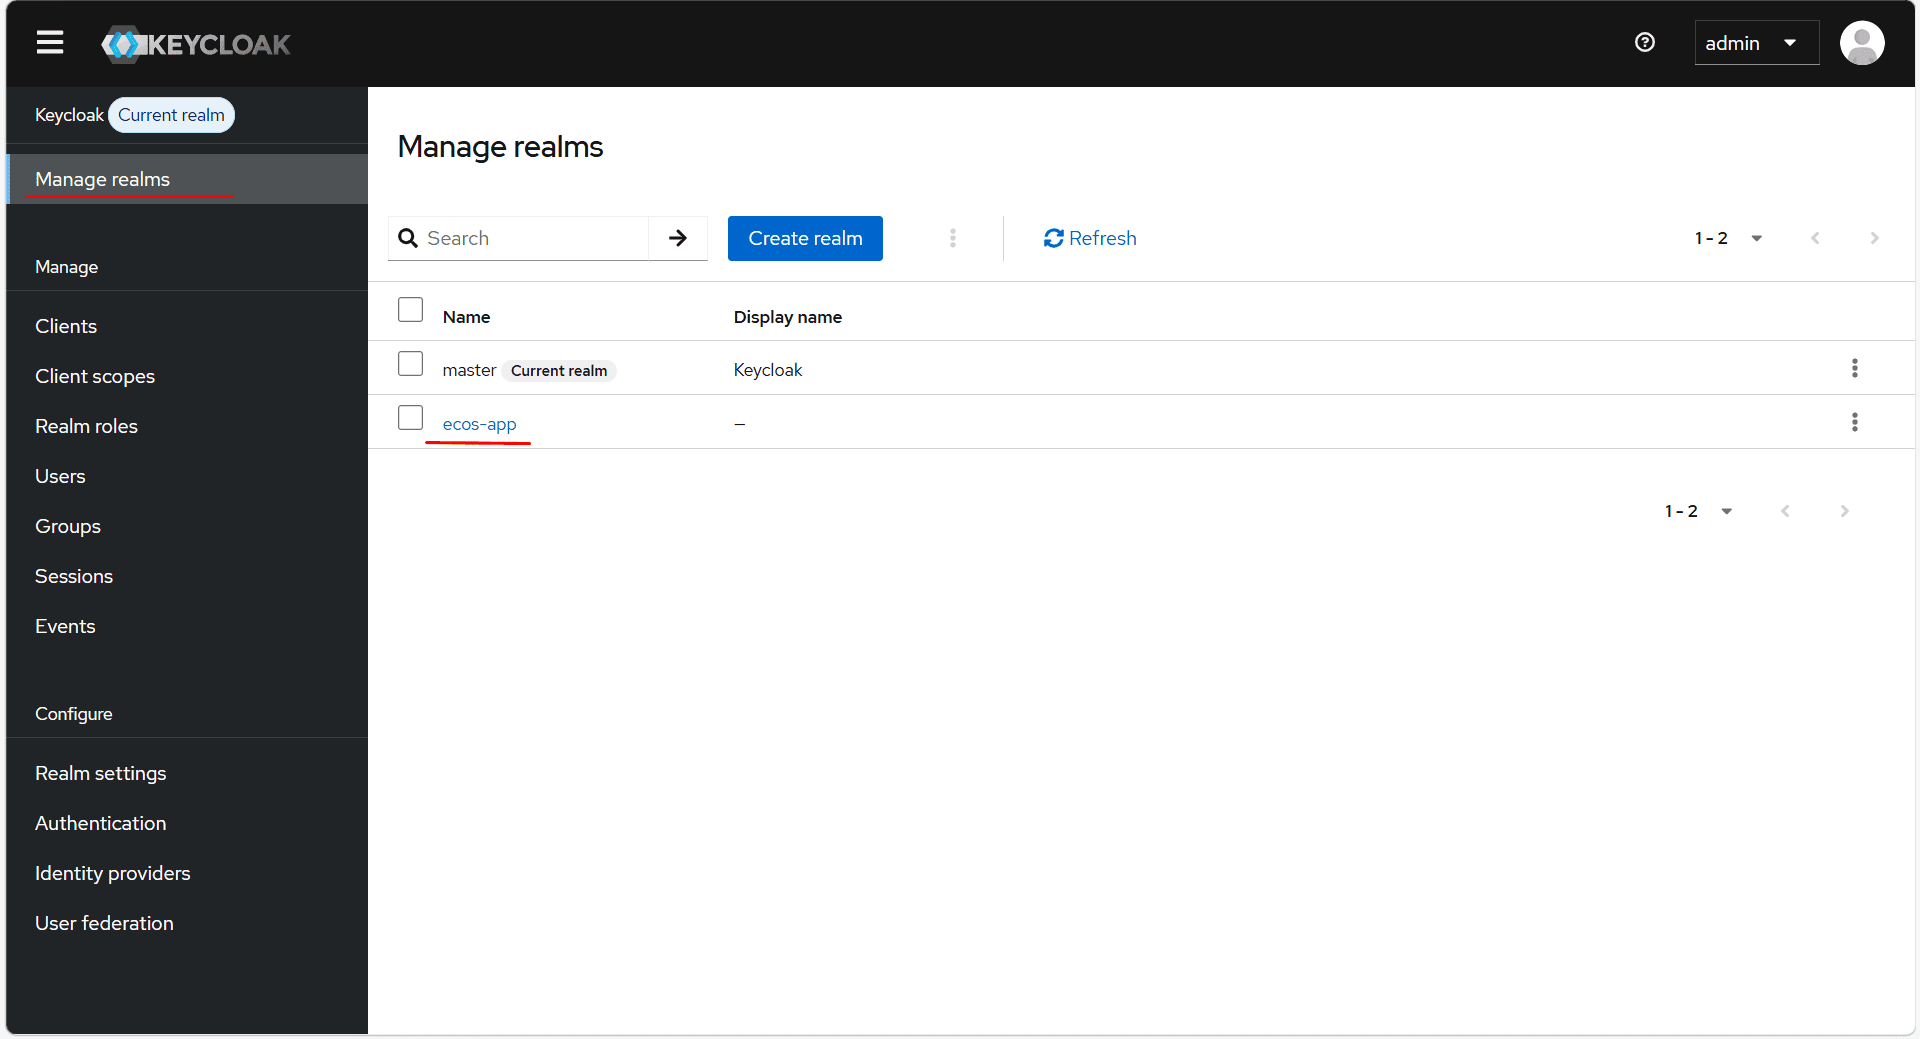
In the side menu, go to Manage realms and select ecos-app:
Creating a User
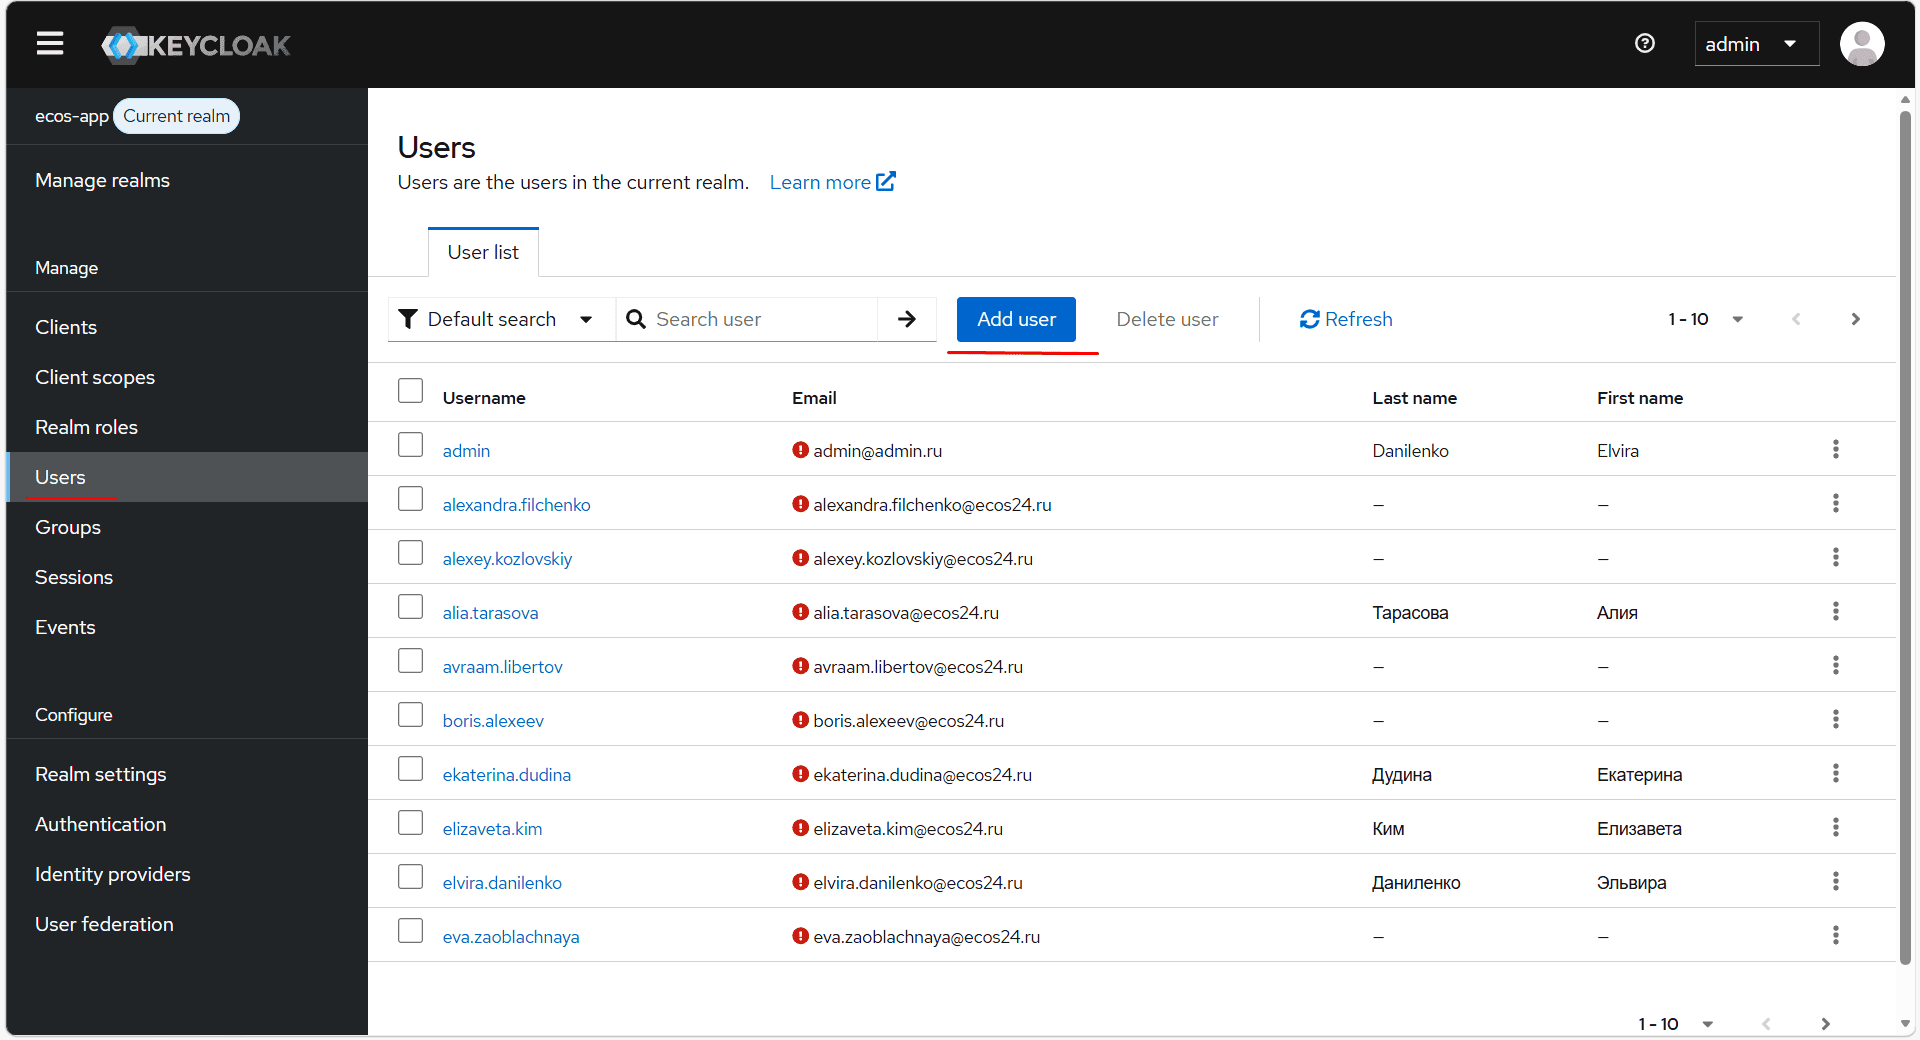
In the side menu, go to the Users section; to add a new user, click Add user:
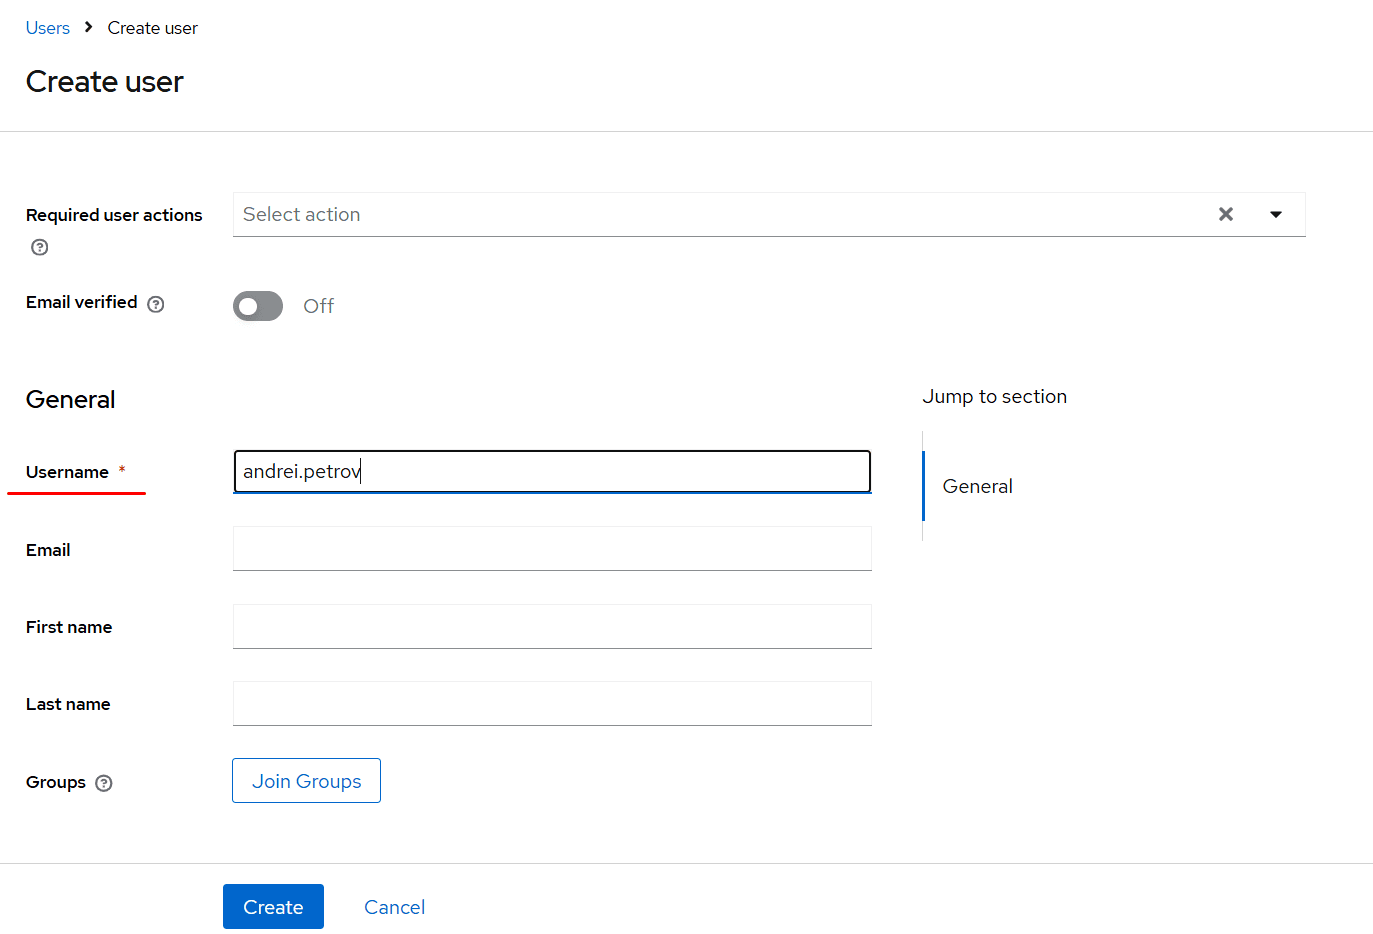
Fill in at least the Username field and click Create:
Setting a Password
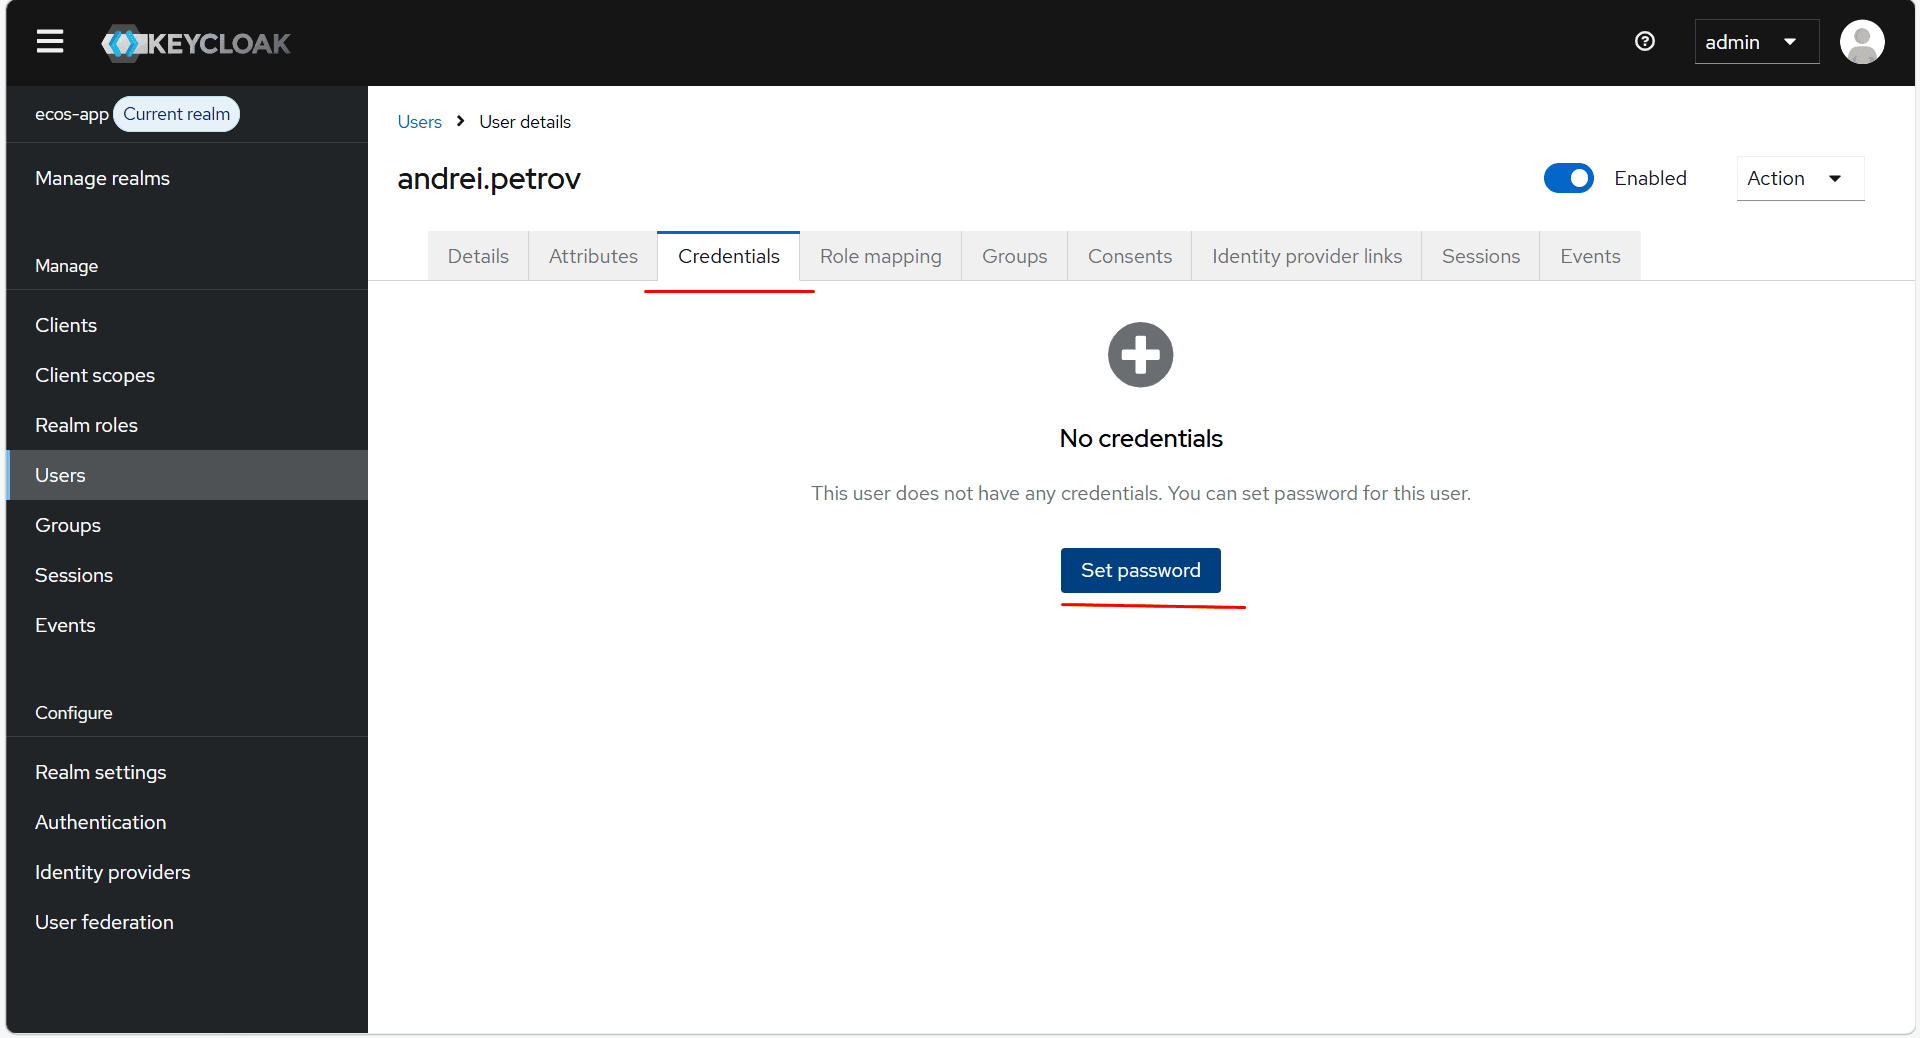
Go to the Credentials tab and click Set password:
Enter the password, confirm it, and click Save:

Note
If the password should be temporary (the user will be required to change it on first login), set the Temporary toggle to ON.
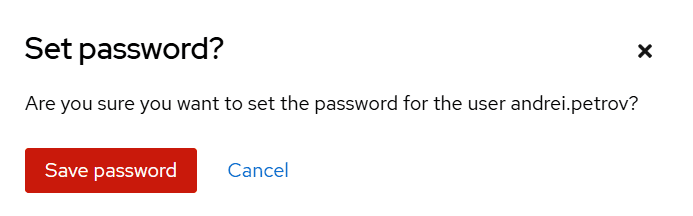
Click Save Password:
Important
After creation, the user must log in to Citeck for the first time using their credentials. Only the Username (system name) is passed to the system — the remaining details must be filled in separately.
Entering User Data in Citeck
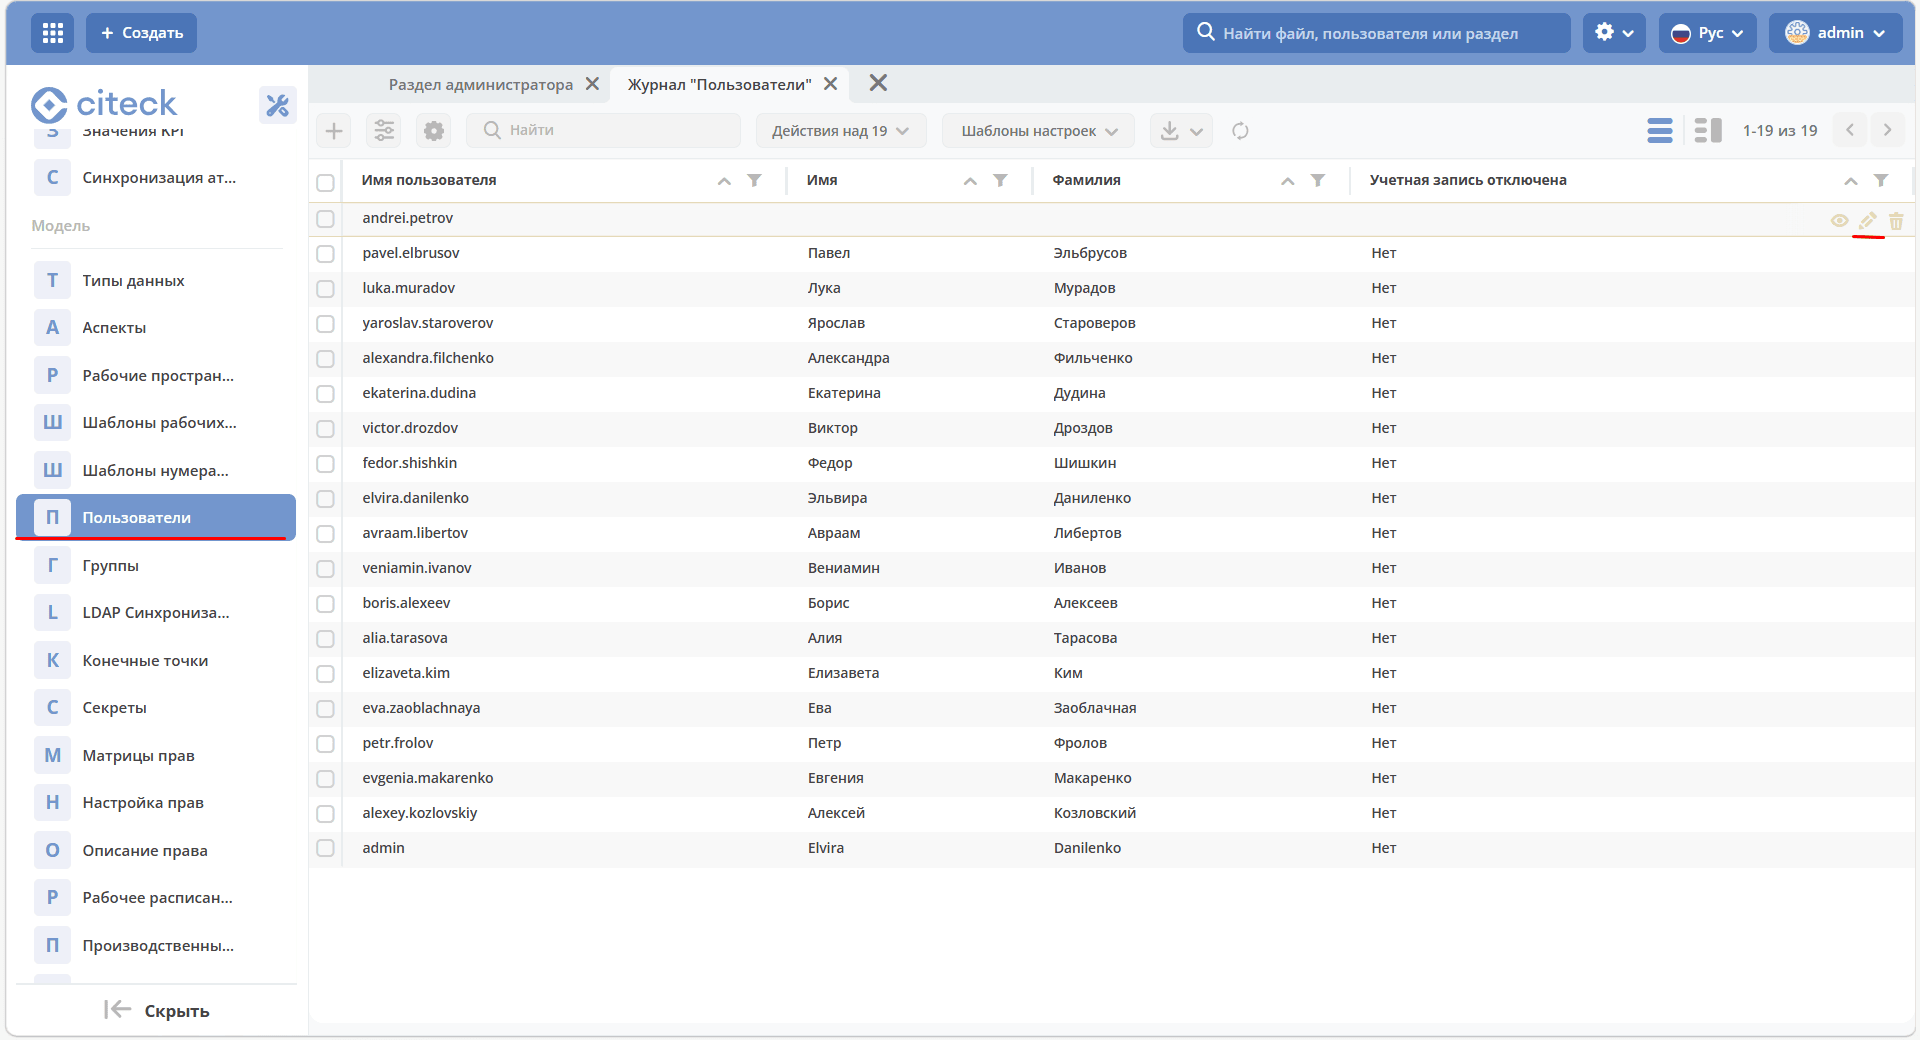
In the administrator section, go to Users and open the created user in edit mode:
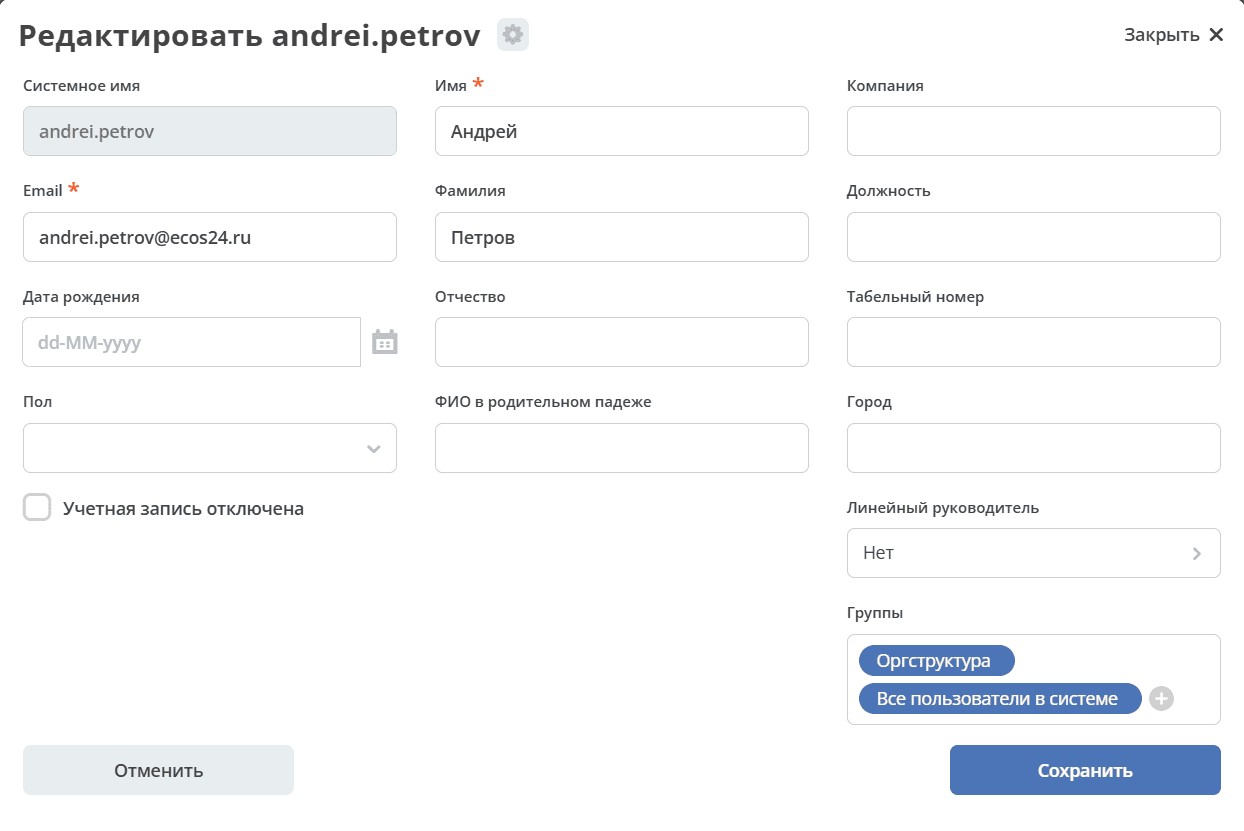
Fill in the required fields — Name and Email — as well as any other fields as needed:

Tip
To make the user’s tasks available to a manager for supervision, fill in the Line Manager field.
Adding to Groups
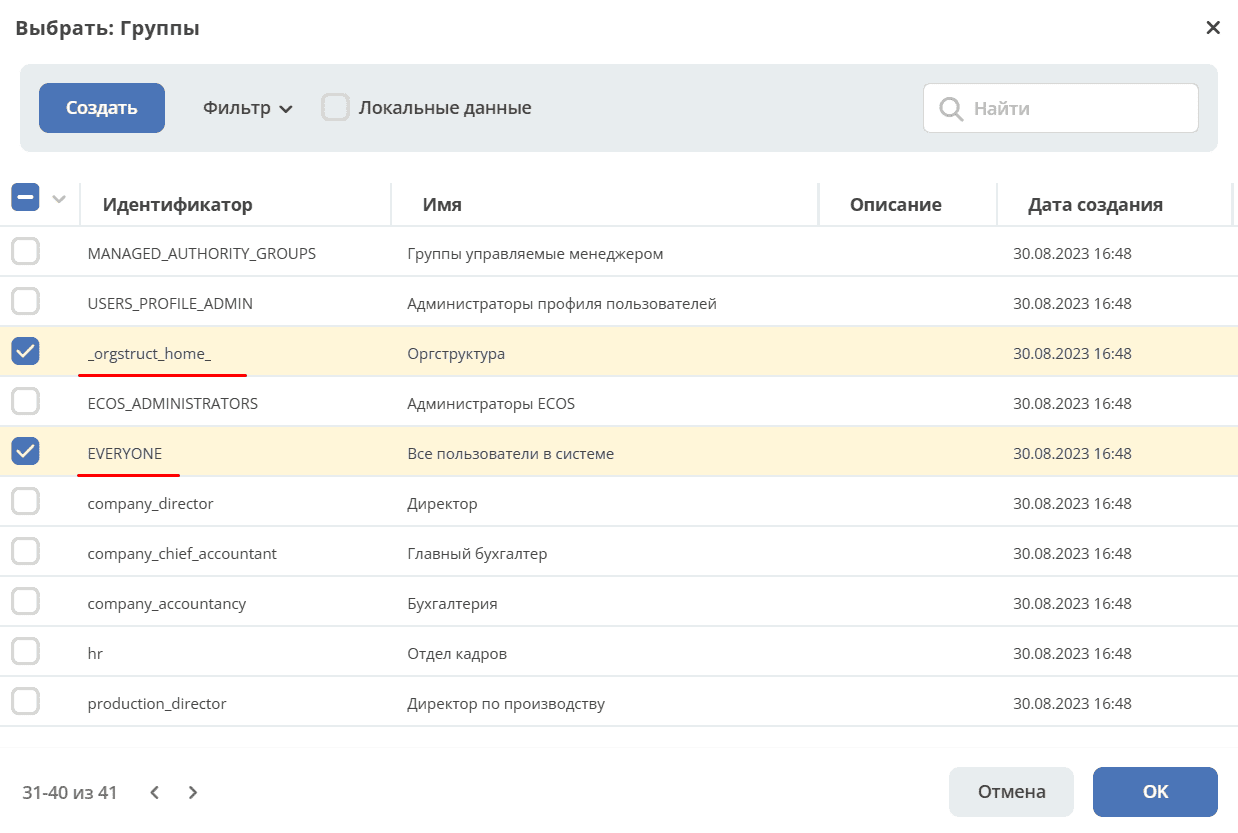
Click Select in the groups block and add the user to the EVERYONE and _orgstruct_home_ groups:
Click Save. The user will be granted permissions according to the selected groups.