Fast Development
Citeck provides tools for organizing development and managing configurations at any stage — from local prototyping to production deployment.
Artifacts (data types, journals, forms, business processes, and other entities) created in the platform designers can be packaged into an application — a zip archive with a fixed directory structure. The application can be downloaded, uploaded to another environment, deployed via Maven, or committed to a version control system.
If the standard capabilities of the designers are not sufficient, you can create a separate microservice on Spring Boot and implement custom business logic in it.
This page describes:
How to Create a New Citeck Application
How to Transfer Between Environments
How to Deploy Locally/To an Environment
How to Commit to Version Control System
How to Create a Microservice
If you develop in the IntelliJ IDEA environment, we have a special plugin that simplifies working with Citeck projects and artifacts.
IntelliJ IDEA plugin for Citeck
The plugin for IntelliJ IDEA integrates Citeck tools directly into the IDE: it allows you to manage artifacts, synchronize changes with the environment, and run builds without switching between windows.
Getting Started
Create business process artifacts. For example, creating an equipment purchase request process is described in the article
How to Create a New Citeck Application
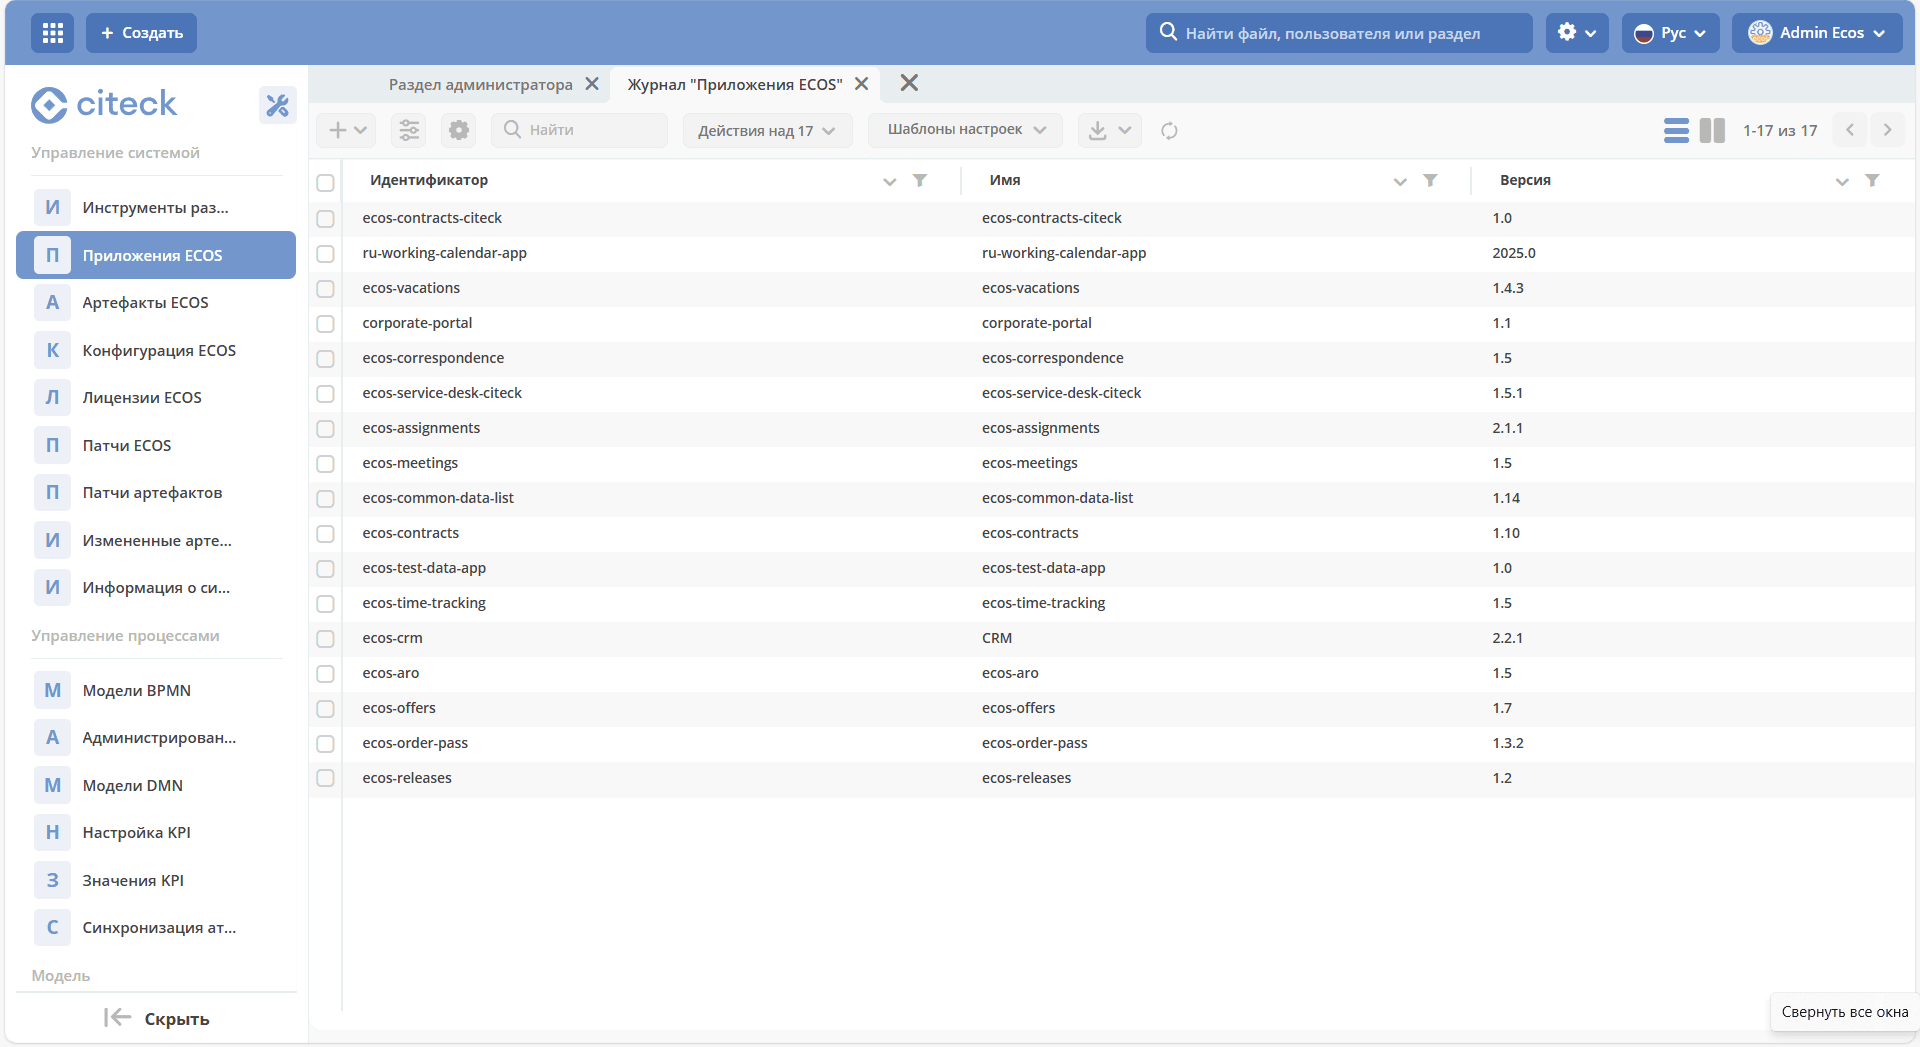
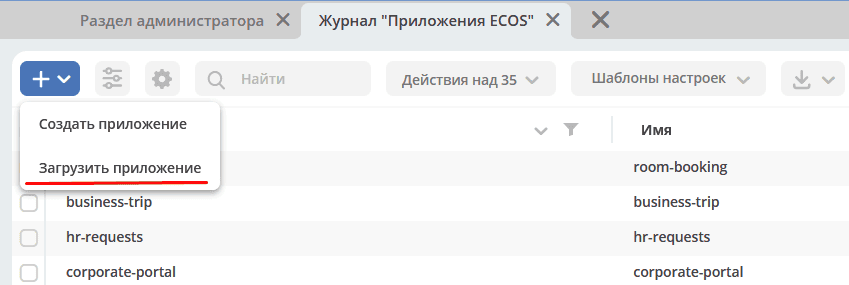
To create an application, go to the administrator workspace, in the System Management section, go to ECOS Applications:
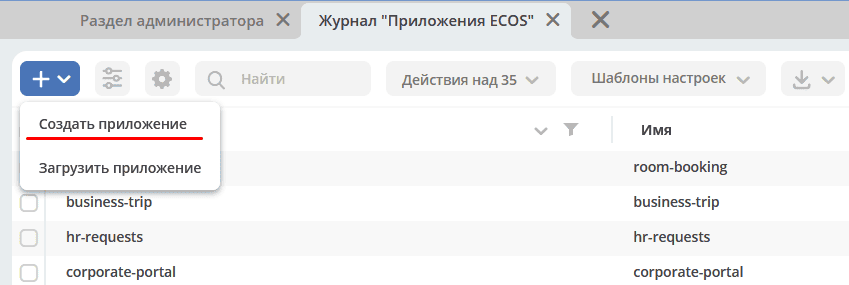
Click + - Create Application:
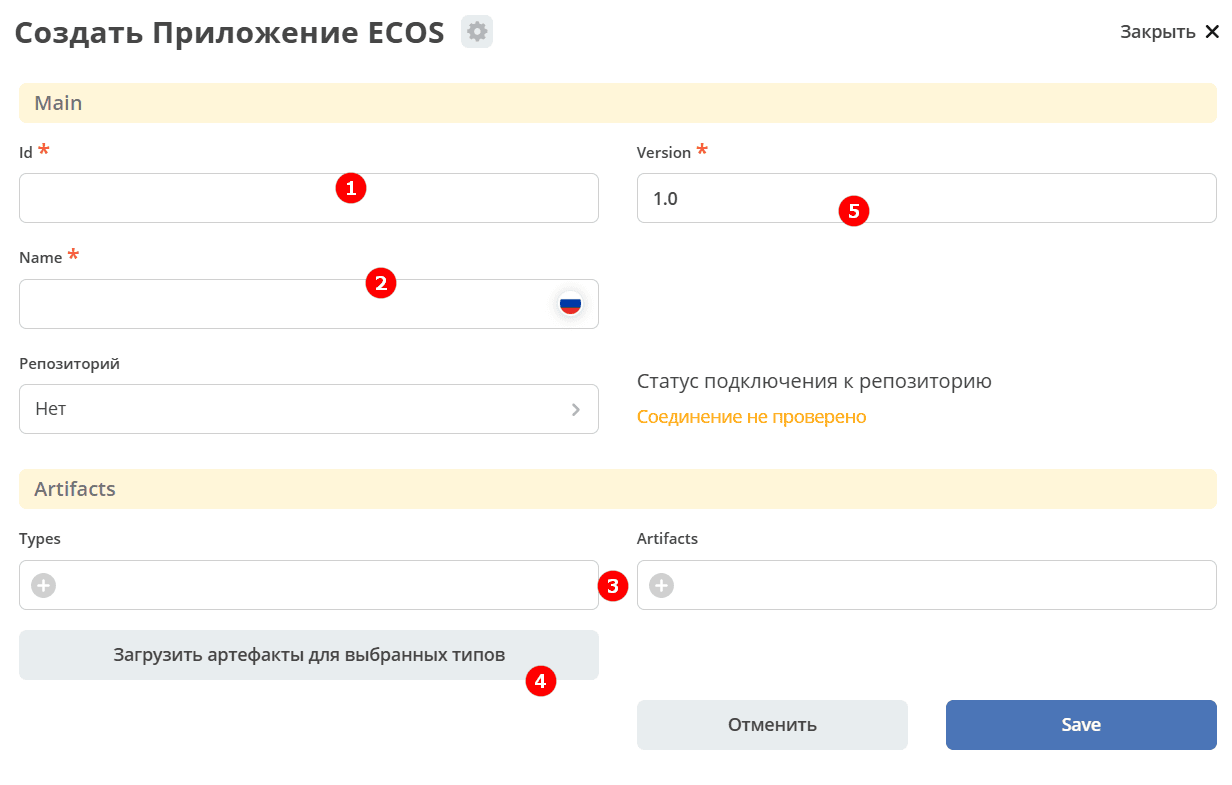
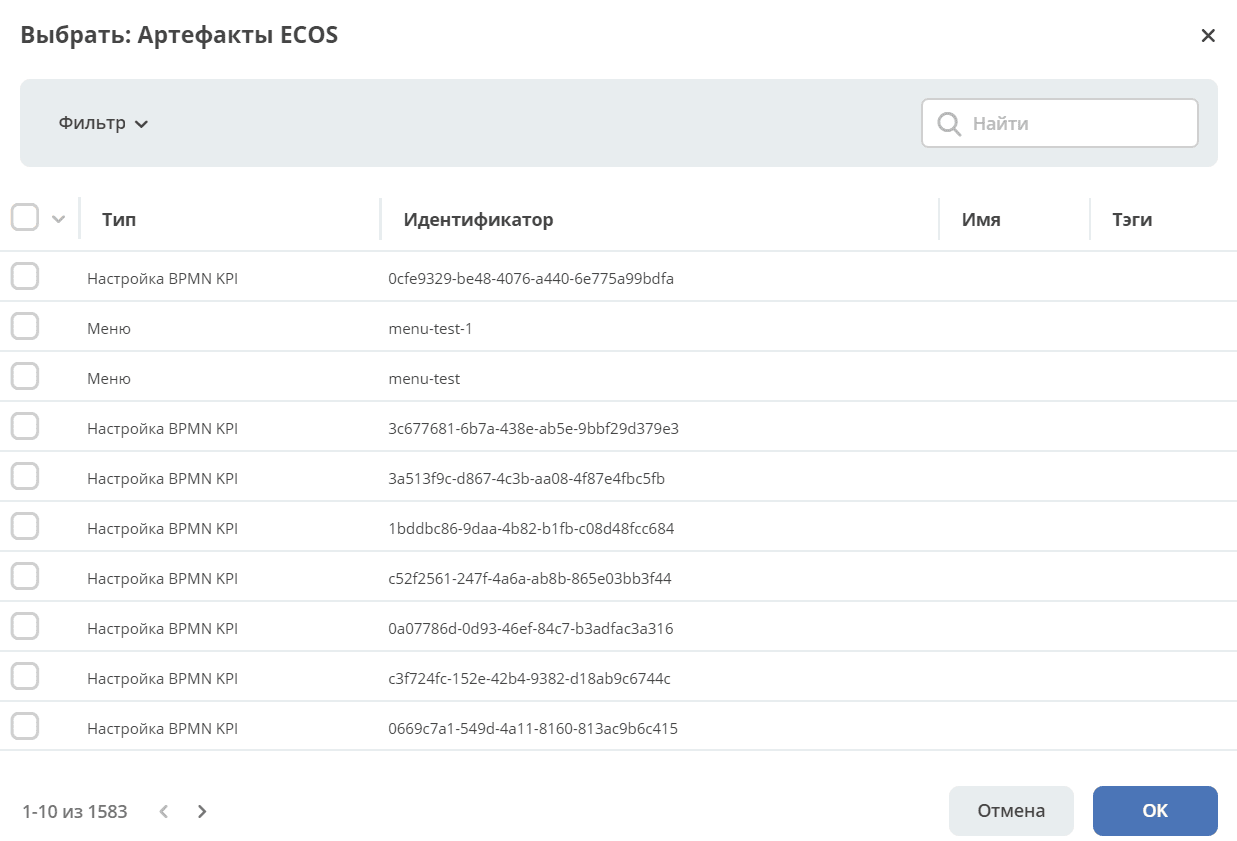
Specify Id (1), Name (2), select all created data types (3) of your process, change Version (5) if necessary.
For automatic loading of artifacts, you can click “Load artifacts for selected types” (4).
Note
Not all artifact types are loaded automatically. Supplement the resulting list of artifacts by clicking “Add”:
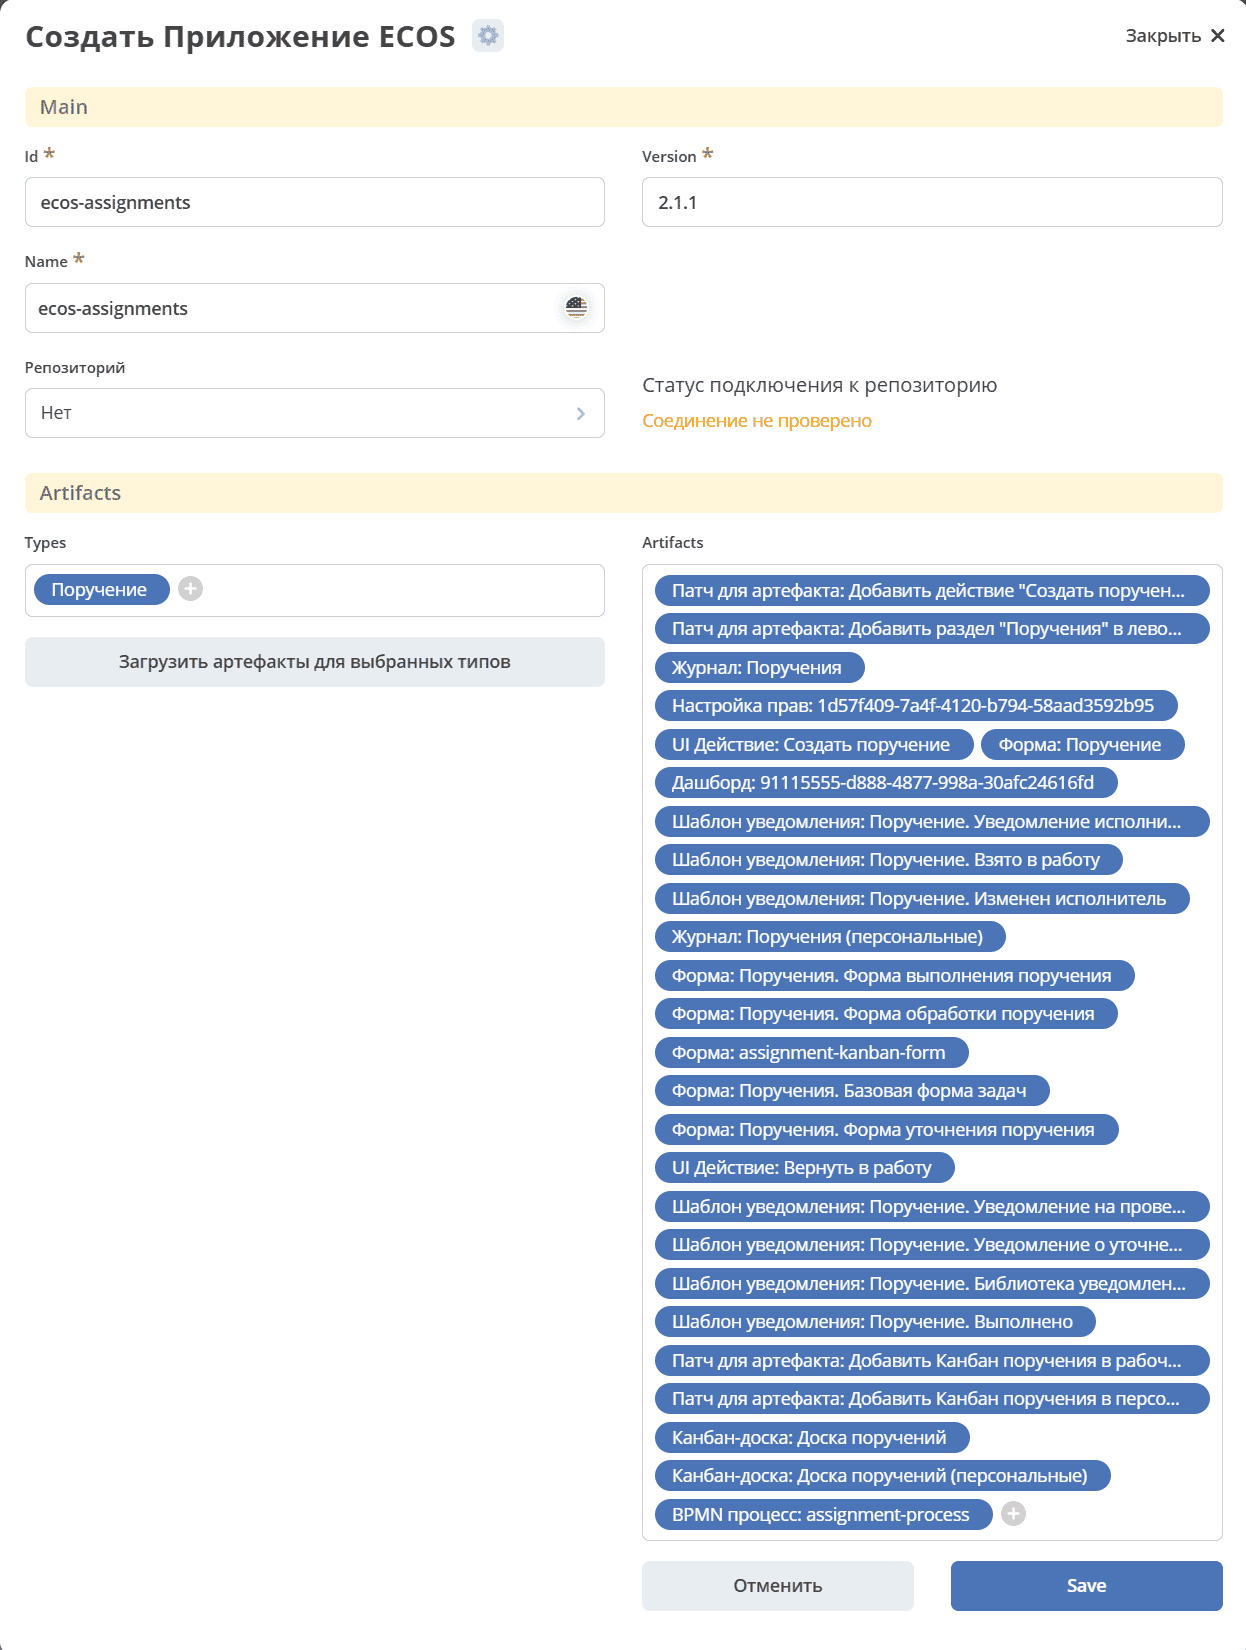
Save.
The archive can then be downloaded to transfer it to another environment, deploy it locally, or commit it to a version control system.

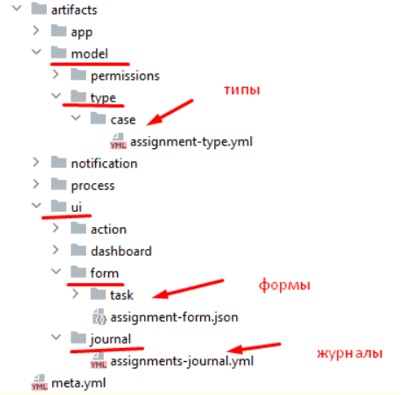
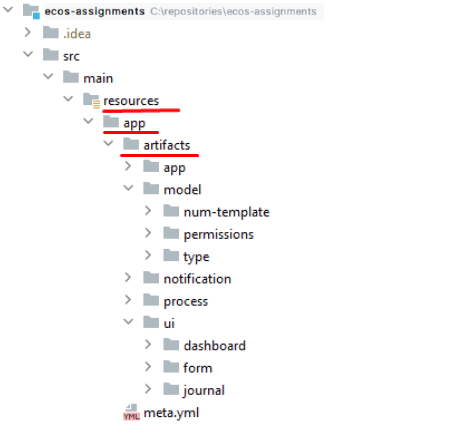
The zip archive has the following structure - all artifacts are located in directories according to their type:
How to Transfer Between Environments
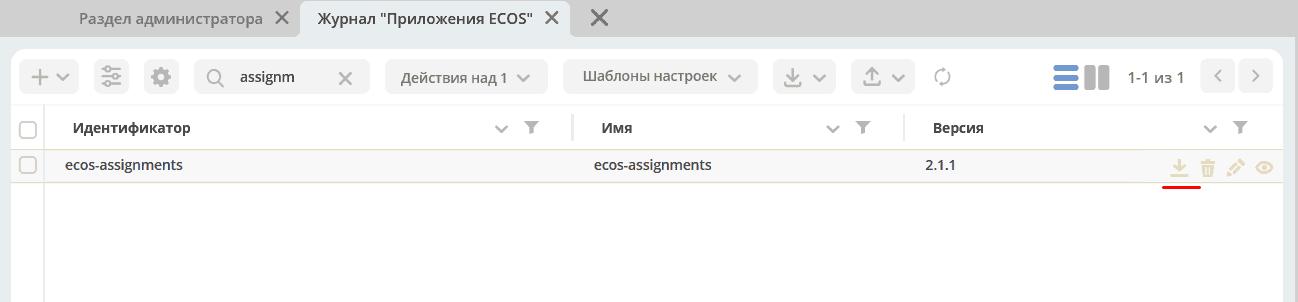
Download the application:
Upload the application to the required environment:
How to Deploy Locally/To an Environment
Create a local Maven project with the application name, copy the contents of the zip archive to the src/main/resources/app folder:
Place the meta.yml file in the application root, specifying:
id: name
id: String - application identifier. Defaults to the project’s artifactId
name: MLText - application name
For example:
ecos-assignments
Configure the main pom file as follows:
<?xml version="1.0" encoding="UTF-8"?>
<project xmlns="http://maven.apache.org/POM/4.0.0"
        xmlns:xsi="http://www.w3.org/2001/XMLSchema-instance"
        xsi:schemaLocation="http://maven.apache.org/POM/4.0.0 http://maven.apache.org/xsd/maven-4.0.0.xsd">

    <modelVersion>4.0.0</modelVersion>

    <groupId>ru.citeck.ecos.eapps.assignments</groupId>
    <artifactId>ecos-assignments</artifactId>
    <version>1.0.0-SNAPSHOT</version>

    <parent>
        <groupId>ru.citeck.ecos.eapps.project</groupId>
        <artifactId>ecos-apps-simple-parent</artifactId>
        <version>1.0.3</version>
    </parent>

    <repositories>
        <repository>
            <id>citeck-public</id>
            <url>https://nexus.citeck.ru/repository/maven-public</url>
        </repository>
    </repositories>

</project>
Specify groupId, artifactId, version in it.
Create a Jenkinsfile with the content:
ecosBuild()
Create ecos-build-config.yml with the content:
---
type: maven-ecos-apps
Build the application with the command:
mvn clean package
When building the application, a zip archive is created in the target/classes/apps folder:
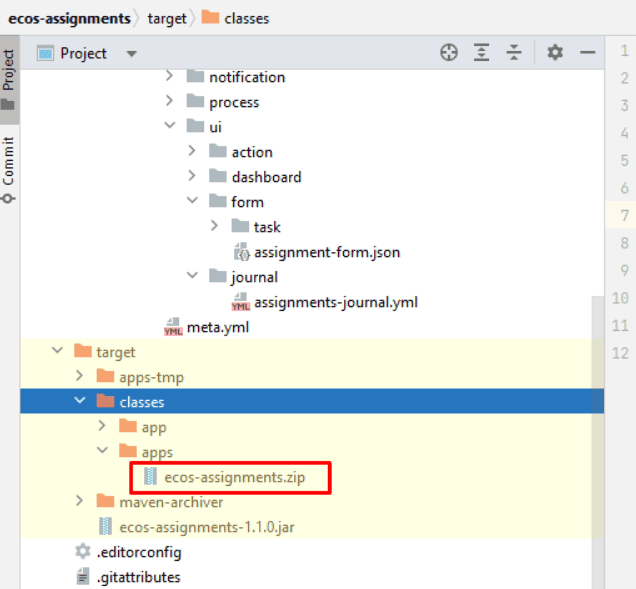
Then upload the created archive to the required environment, as described in the chapter above.
How to Commit to Version Control System
Create a repository with the application name in the version control system.
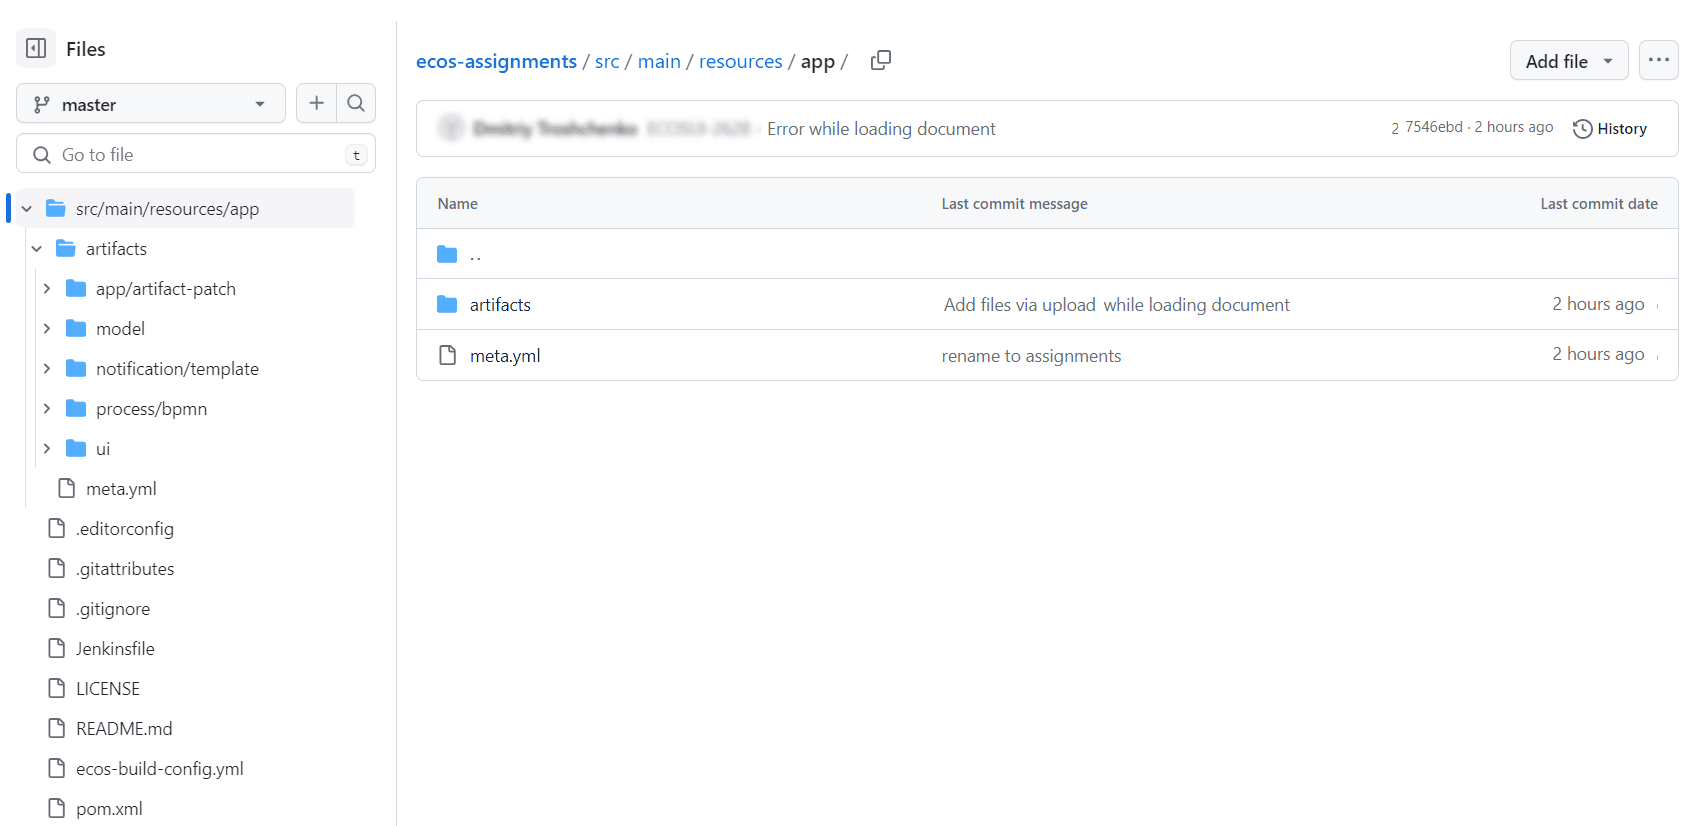
Transfer to the repository:
the
srcfolder with all contents;the created pom.xml;
Jenkinsfile;
ecos-build-config.yml.
How to Create a Microservice
If artifacts configured in the constructor do not cover the required functionality, you can create a separate microservice - a full-fledged Java application on Spring Boot where you can write your own code, use third-party libraries, and implement any business logic beyond the standard capabilities of the platform.
To create a microservice, use the instruction
Note
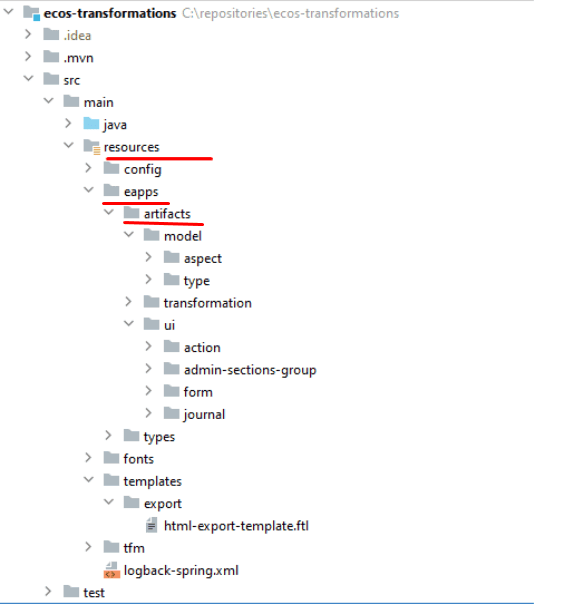
For a microservice, the created artifacts must be copied to the src/main/resources/eapps/artifacts folder
See the article about the application demonstrating Citeck’s capabilities.