Menu
The Menu is Citeck’s navigation panel displayed on the left side of the interface, providing quick access to journals, dashboards, Kanban boards, knowledge bases, and other system sections.
The menu configuration is flexibly tailored to user groups: each group or specific user is assigned their own configuration. Three independently configurable blocks are supported — the left menu, the Create menu, and the user menu.
This article describes the algorithm for selecting a menu configuration for a user, the structure and versions of configurations, menu item types, group priority settings, and common configuration issues.
Settings Dependencies
Important
Display is affected by the following settings:
Main Menu Interface (Configuration Journal) - a global setting for the entire application and all users.
Group Priorities (Menu Settings > Global Settings) - a global setting for all configurations and users.
Groups or Users (Menu Settings > Current Configuration) - assignment to a single menu configuration.
Section Availability (Menu Settings > Configuration Settings > Menu Items > Section) - assignment of a single section to users.
Workspaces since release 2025.1.2
Menu Selection for User
Search among all menu configurations except the default ones:
Search for a personal configuration for the user (a specific user is specified in authorities). If several options are found, return any one.
Take the user’s groups, sort them according to the menu-group-priority configuration, and search for the first suitable configuration. If several are found for one group, take any one.
If items 1 and 2 yield no result, return default-menu-v1.
After the introduction of workspaces, the logic was updated (release 2025.1.2):
If the workspace is default or absent (workspaces are disabled), then the old logic applies (see above) - search only for configurations without a workspace.
If a workspace exists and it is not default, then search among all menu configurations except the default ones:
Search for a personal configuration for the user in the current workspace (a specific user is specified in authorities). If several options are found, return any one.
Take the user’s groups, sort them according to the menu-group-priority configuration, and search for the first suitable configuration in the current workspace. If several are found for one group, take any one.
If items 1 and 2 yield no result:
If the workspace is personal, return default-personal-ws-menu.
If the workspace is not personal, return default-ws-menu.
Menu Settings
The main approach to customizing the menu for a project/module is to create a new menu. Default configurations have the lowest priority and are not applied if other suitable options exist.
Configuration Journal
In the journal, the Main Menu Interface setting (main-menu-type) determines which variant (version) of the menu will be used in the system.
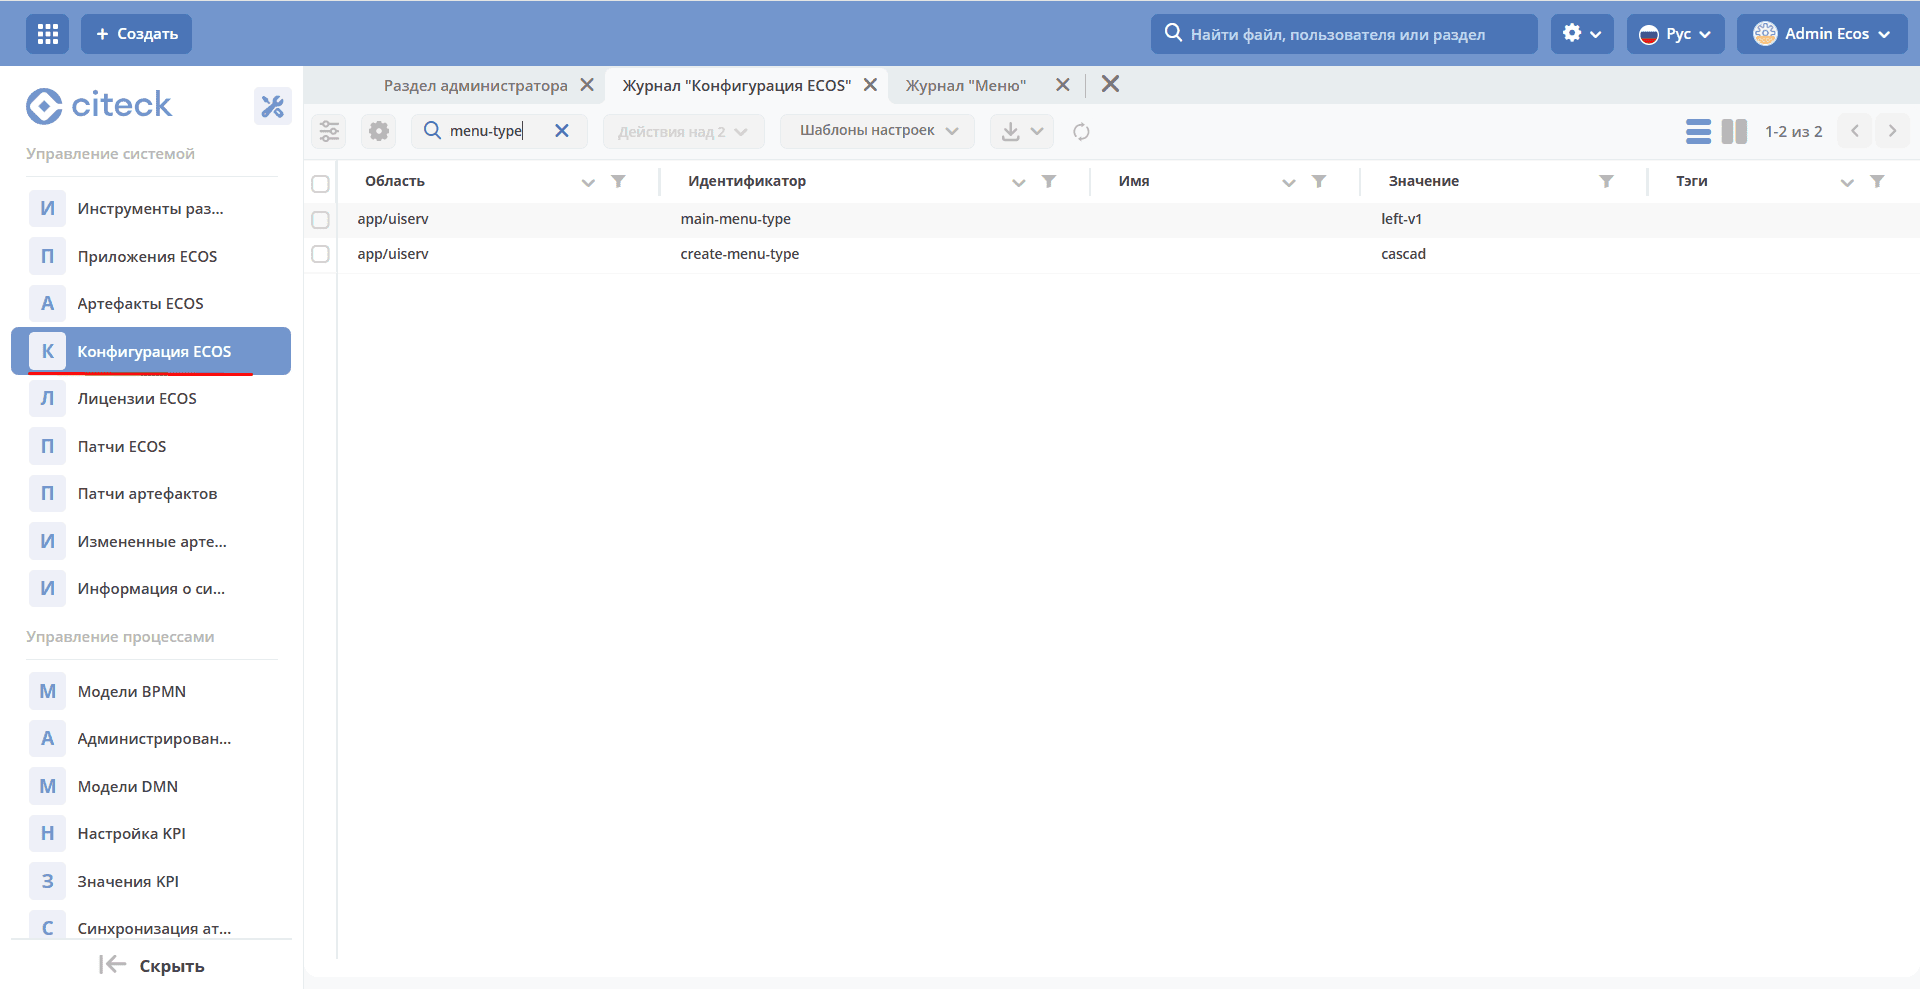
where left-v1 is the first version of the left menu configuration (viewing and editing are supported).
Menu Journal
The journal lists all configurations of different versions.
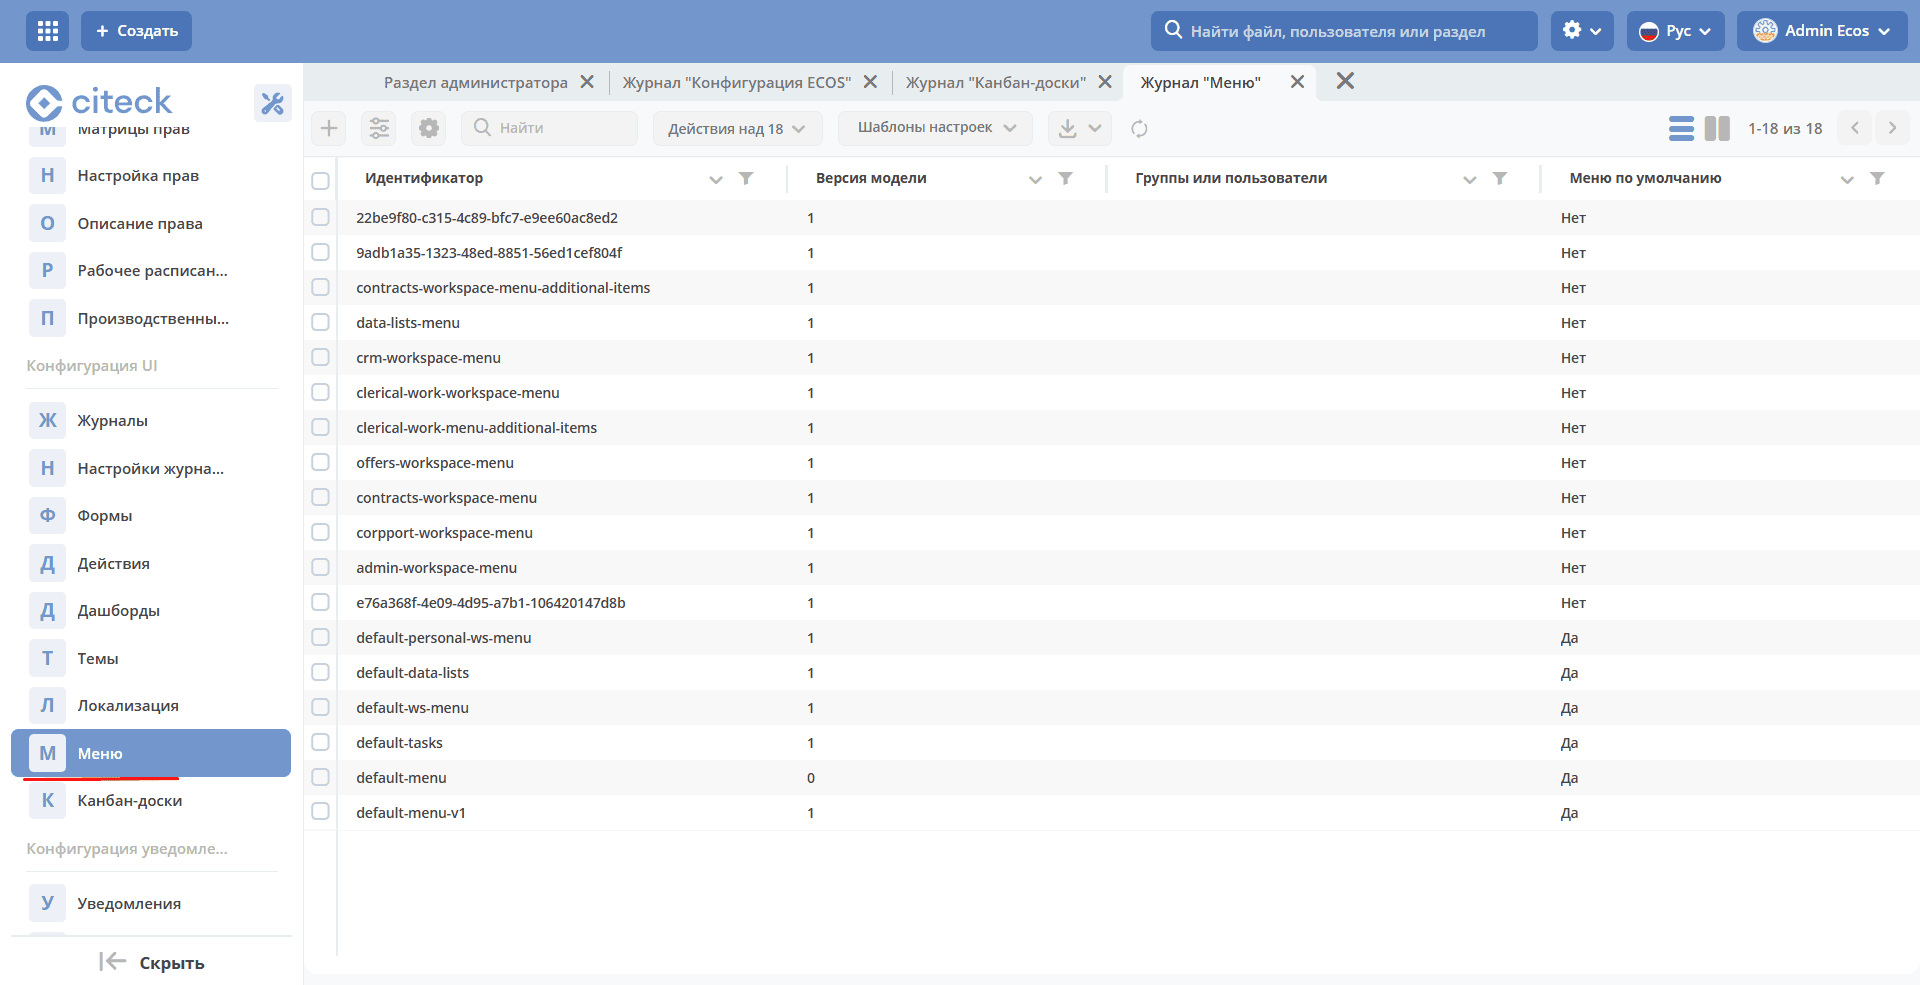
Menu Configuration Version
The menu configuration has a Model Version field that determines the model version. The current list of versions:
0 - deprecated XML configuration format
1 - current JSON configuration format
Default Menu Configurations
default-tasks contains all items from the “Tasks” section in the default menu, including the section itself.
default-data-lists contains all items from the “Directories” section in the default menu, including the section itself.
default-personal-ws-menu contains tasks (default-tasks) via the INCLUDE_MENU item and a “Sections” section, which includes a link to a doclib of type workspace-file and a link to the kanban-task kanban board.
default-ws-menu contains tasks (default-tasks) via the INCLUDE_MENU item and a “Sections” section, which includes a link to a doclib of type workspace-file and a link to the kanban-task kanban board.
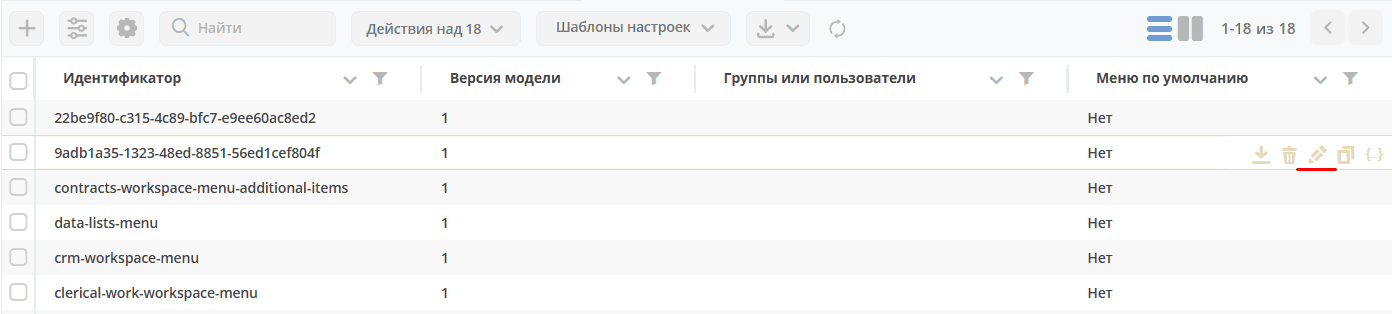
Action Availability in the Journal
default - default menu configurations
user - configuration for Groups or Users
Actions |
default |
user |
|---|---|---|
Edit |
|
|
Delete |
|
|
Copy |
|
|
Edit JSON |
|
|
Download |
|
|
Menu Settings
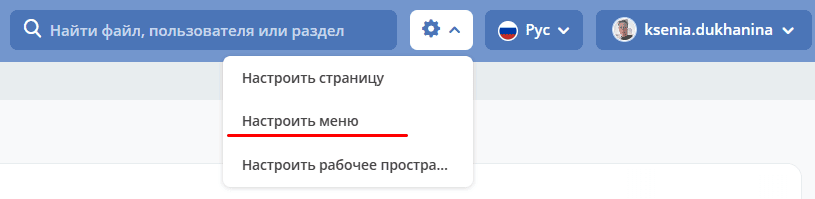
Ways to Open
Via the site header, click the “Gear” icon > Configure Menu.
Note
When using this method, the menu configuration currently used in the interface is loaded into the settings window. That is, it is primarily for configuring the administrative menu.
Via the UI Configuration journal - Menu action Edit
Settings Window
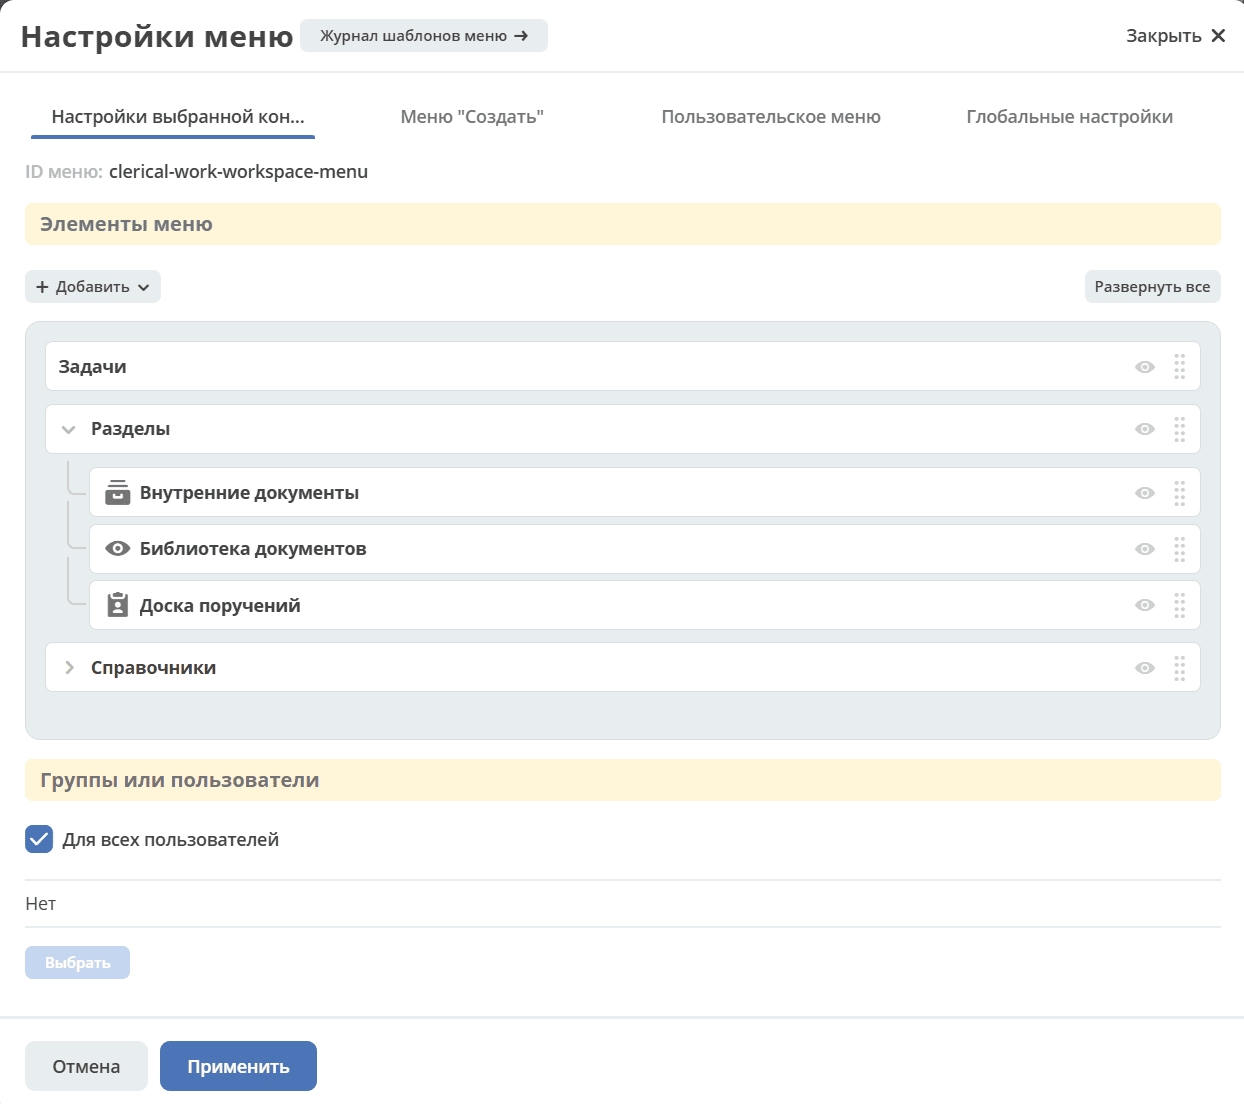
The settings contain four tabs:
Selected Configuration Settings - describes the state of the displayed menu (menu items, version, assignment, etc.).
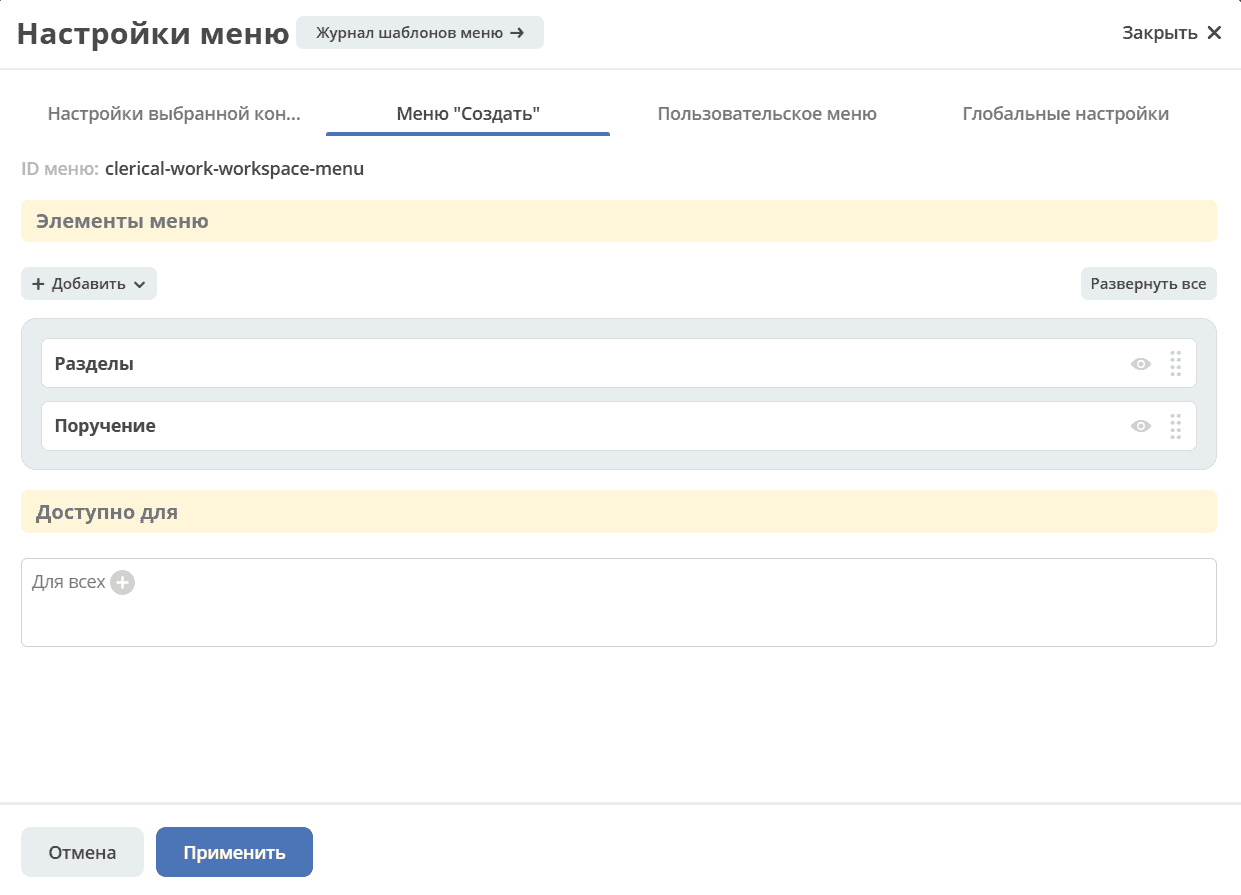
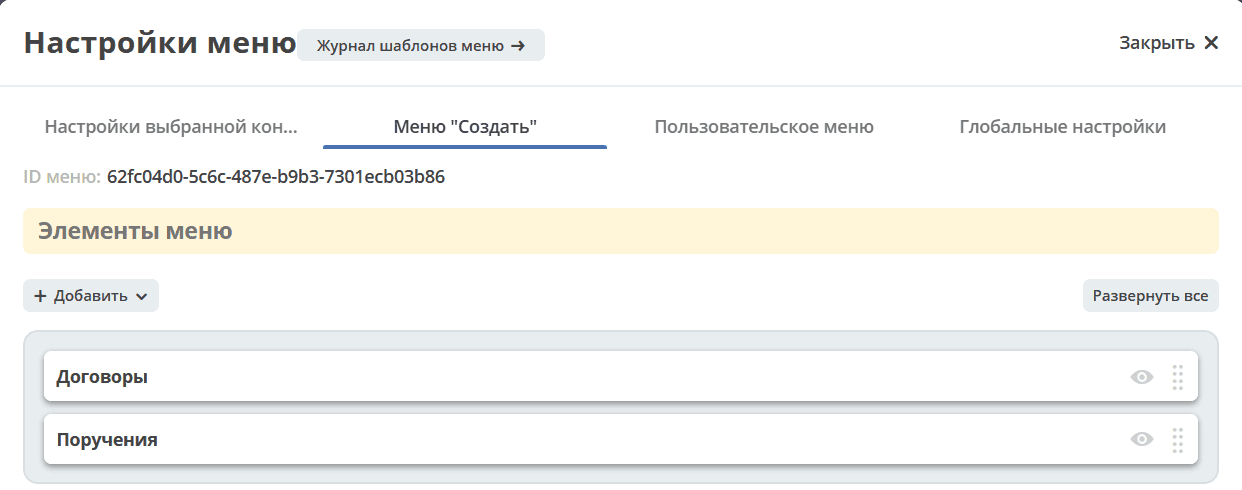
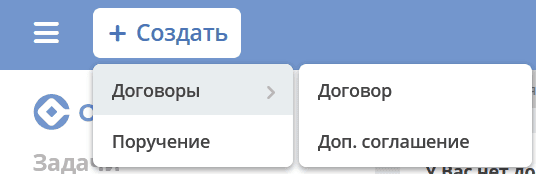
“Create” Menu - for editing menu items available by clicking the Create button
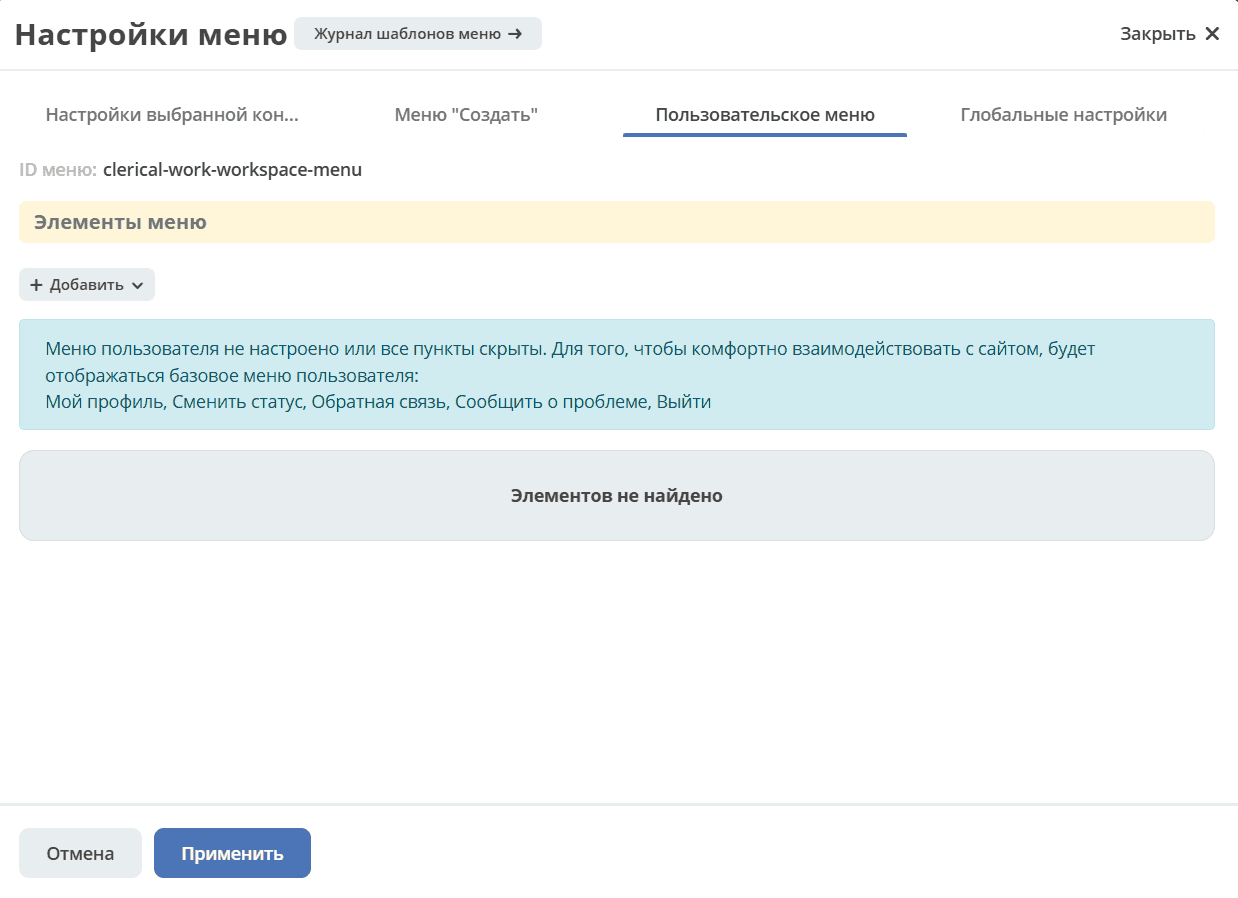
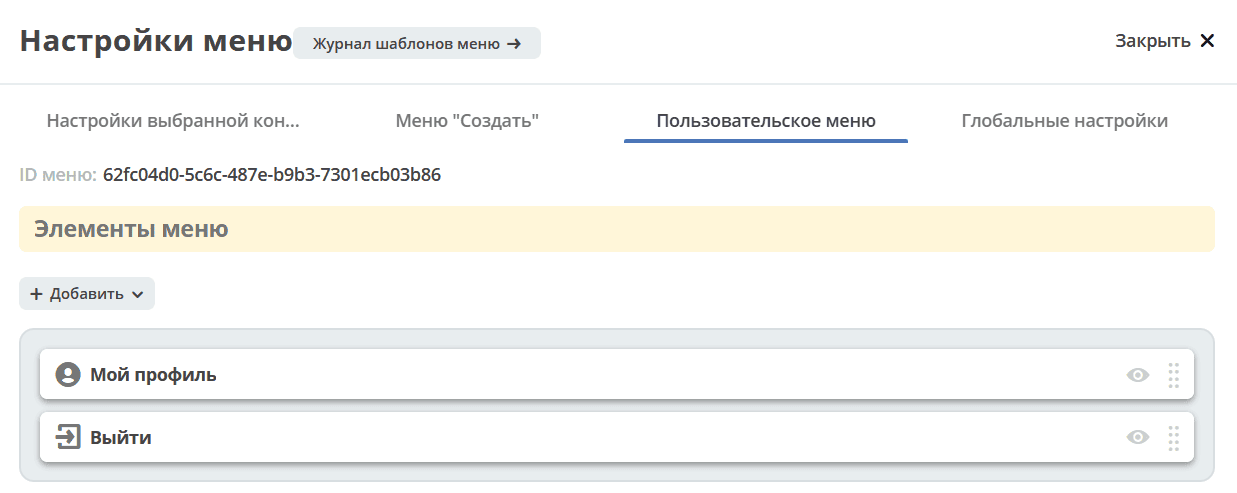
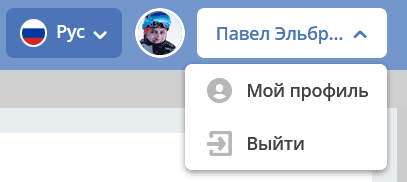
User Menu - for editing menu items available by clicking the username in the upper right corner.
Global Settings - those settings that affect the entire system and all users (priorities).
Edit Mode Overview
Editing
Important
Settings on the “Selected Configuration Settings (Left Menu)” tab and the “Create Menu” tab are stored together. That is, the Create Menu is subject to the same rules as the Left Menu.
A - created automatically by the system
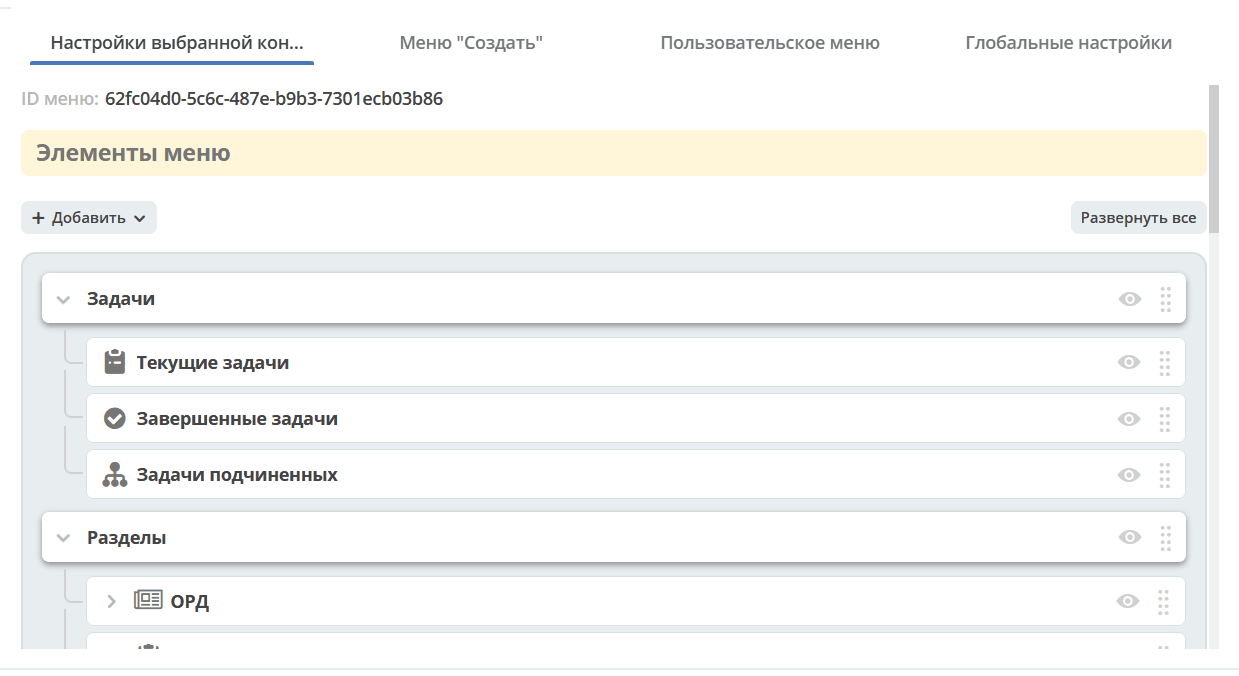
Tab “Selected Configuration Settings”
Menu Items
Possible item types and their availability at each level:
Type/Level |
1 |
2 |
|---|---|---|
Section |
|
|
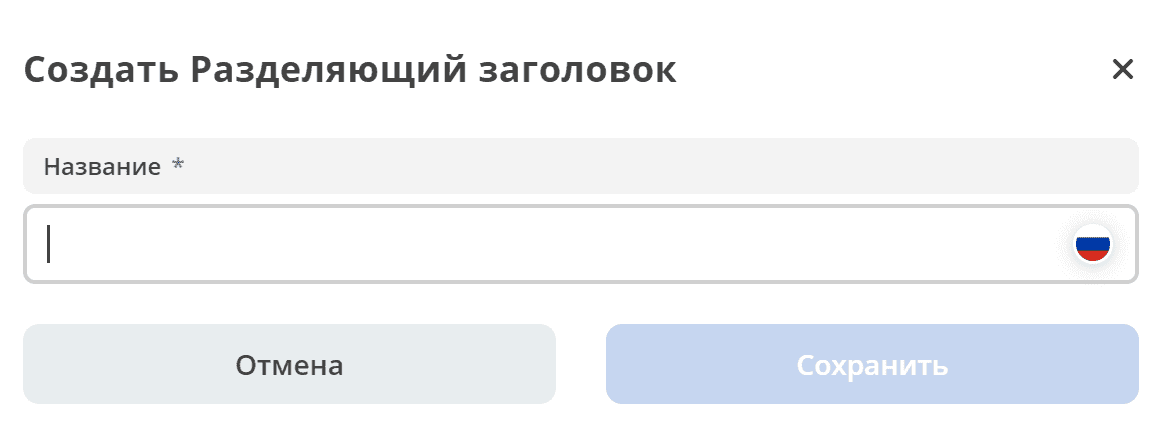
Divider Header |
|
|
Journal |
|
|
Kanban Board |
|
|
Dashboard |
|
|
Knowledge Base |
|
|
DocLib |
|
|
List |
|
|
Custom Menu Item |
|
|
Link to Create Case |
|
|
Start Business Process |
|
Availability of Additional Characteristics:
Type/Level |
1 |
2 |
3 |
|---|---|---|---|
Section |
No Title |
Icon |
Counter |
Divider Header |
|||
Journal |
Counter, Icon |
Counter |
|
Kanban Board |
Icon |
||
Dashboard |
Icon |
||
Knowledge Base |
Icon |
||
DocLib |
Icon |
||
List |
Icon |
||
Custom Menu Item |
Icon |
||
Link to Create Case |
Icon |
||
Start Business Process |
Icon |
More about some types:
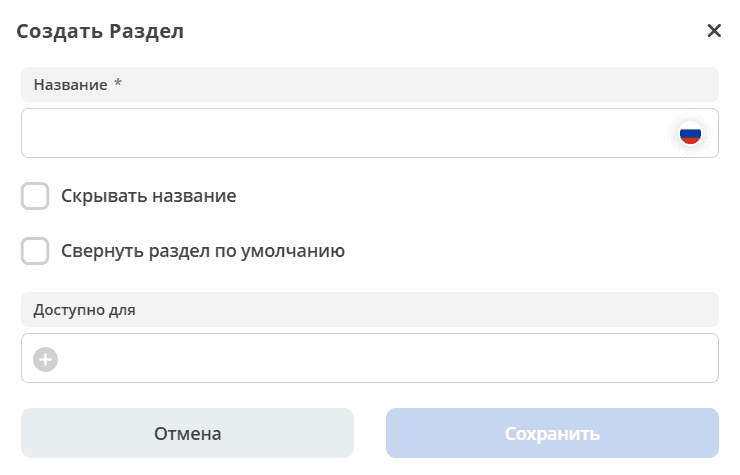
Hide Title - available only at the top level. In the menu, sub-items are displayed outside the group but together.
Collapse section by default — the section content will be collapsed by default.
Available For - the ability to restrict access to the section to users who have access to the other menu items.
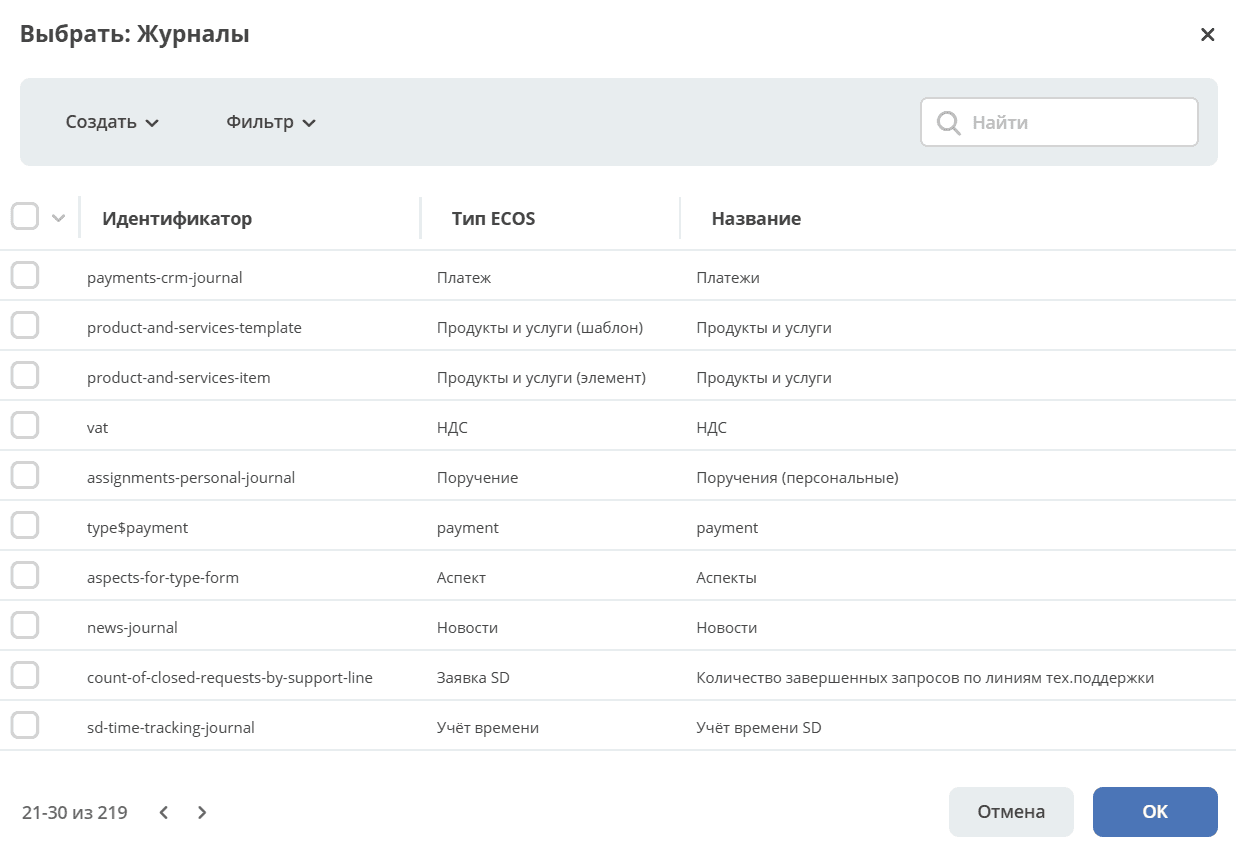
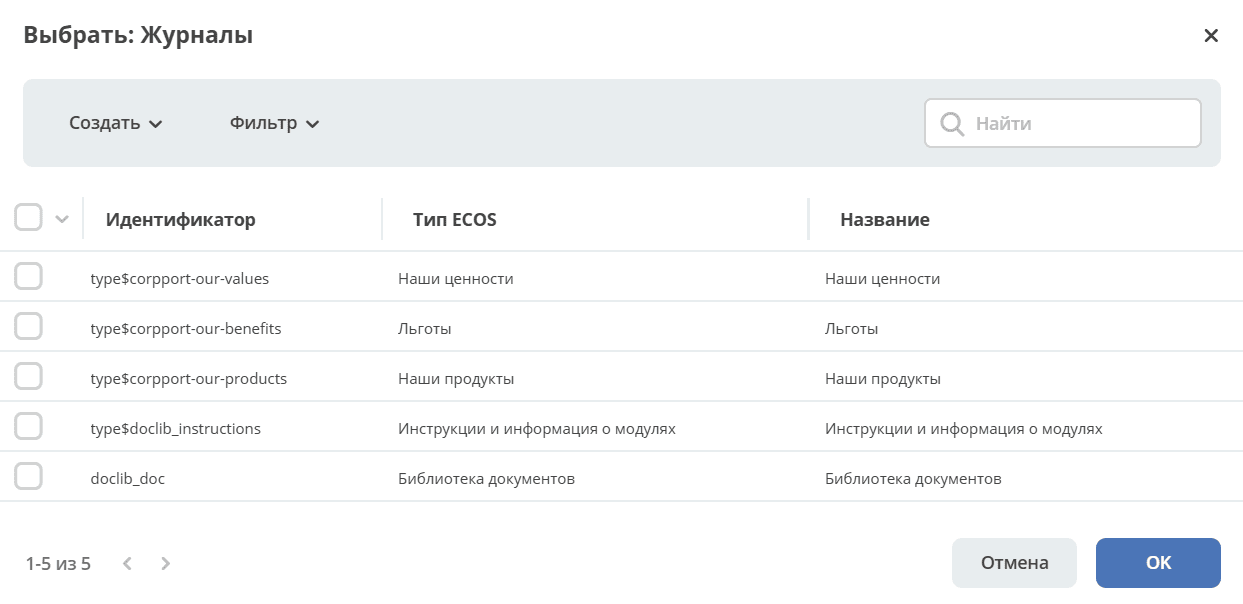
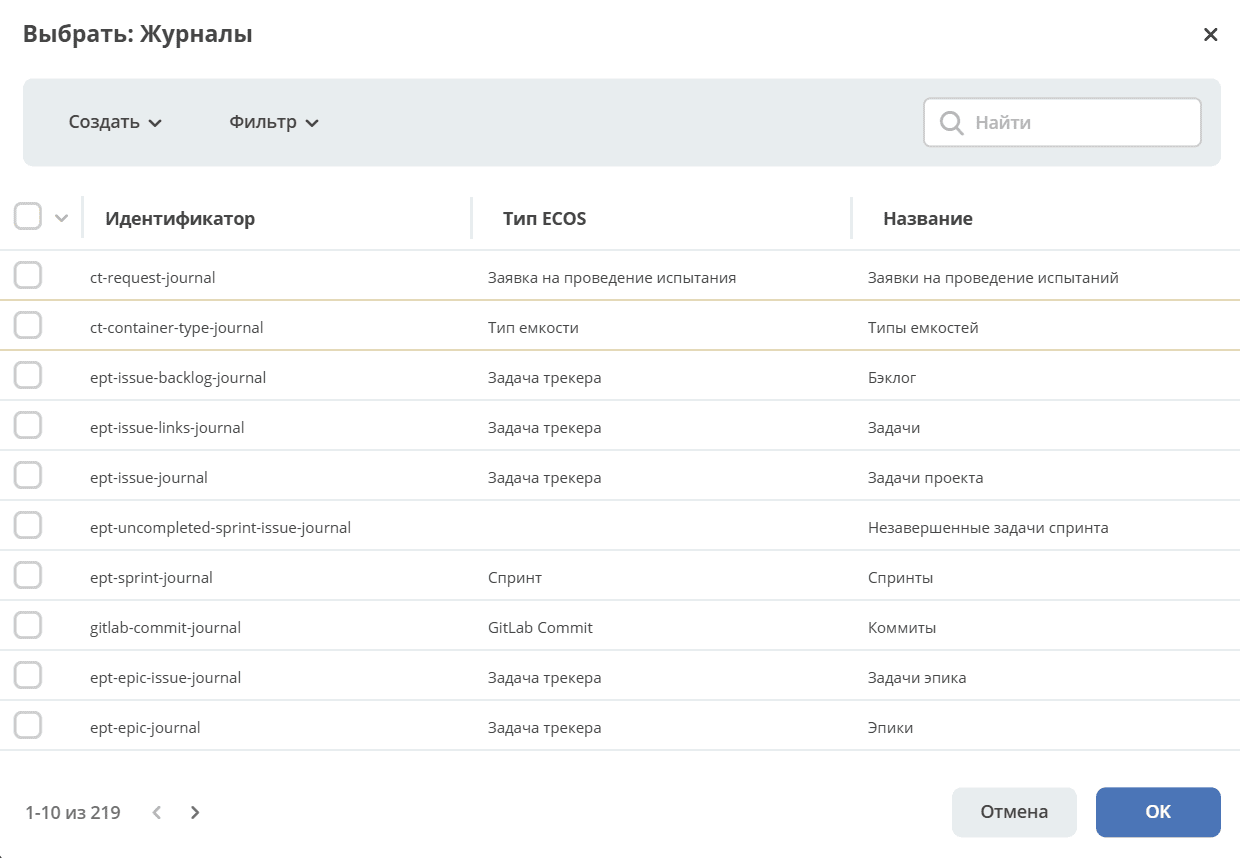
Adding items is done by selecting elements from the journal. Editing is not available, only deletion. The necessary information comes from the element’s configuration. Multiple selected values can be added at once.
Adding items is done by selecting elements from the kanban boards journal:
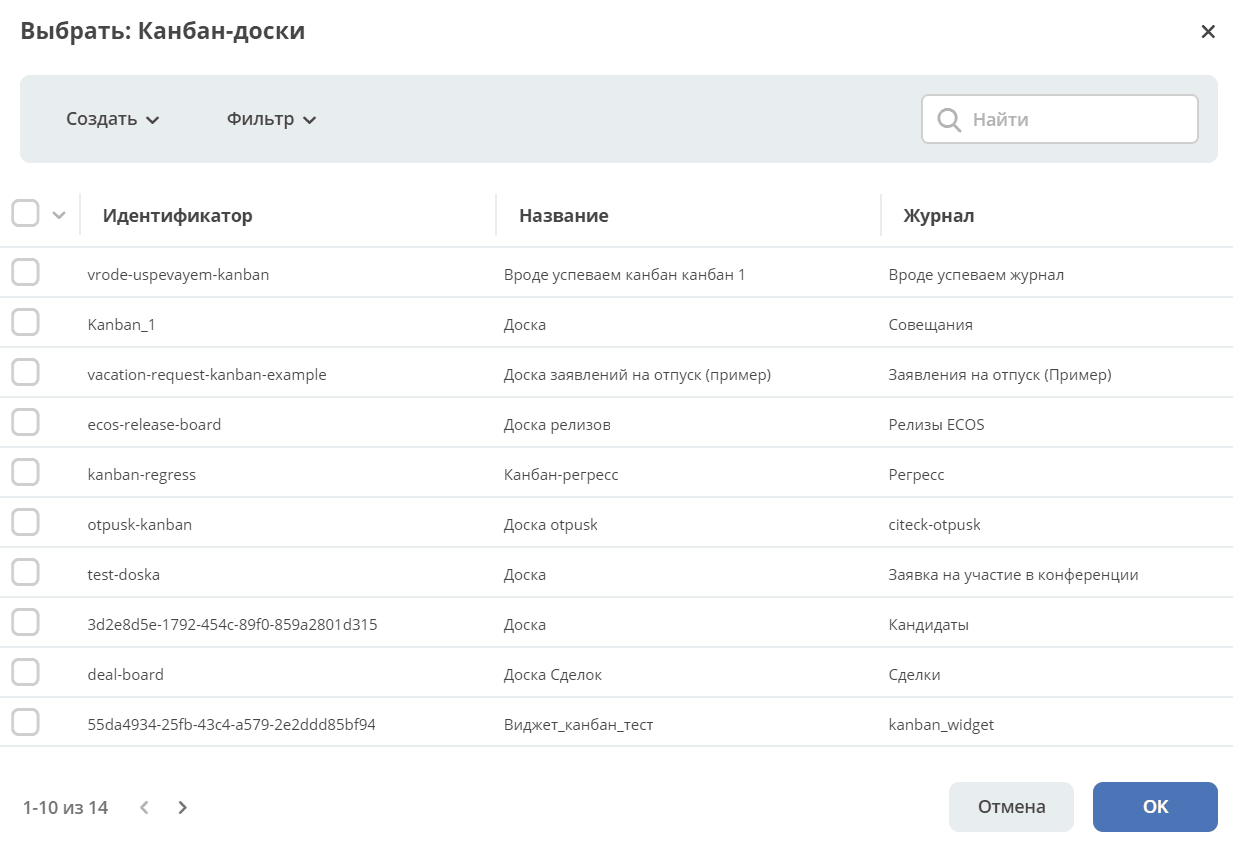
Note that only those kanban boards that have a journal specified in their settings are available for selection.
Adding a new empty dashboard. Specify its name, select an icon, and save.
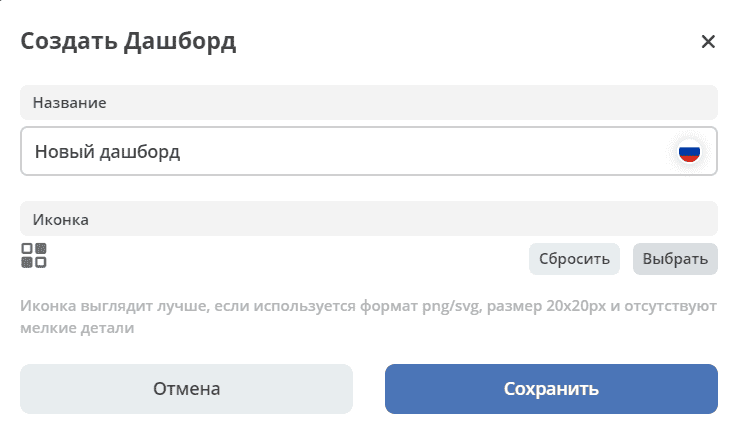
Then go from the menu to the created dashboard and click “Configure”.

For configuration, see dashboard settings. The following widgets are available for adding to the dashboard:
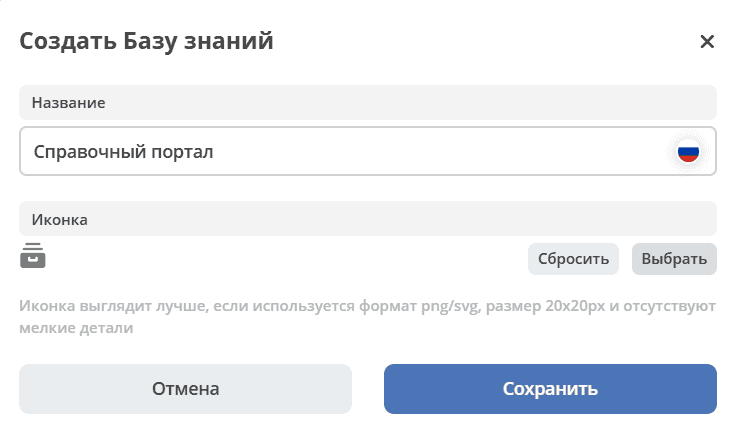
Adding a new empty knowledge base. Specify its name, select an icon, and save.
Adding items is done by selecting elements from the journal, which contains created document libraries:
Adding items is done by selecting elements from the journal:
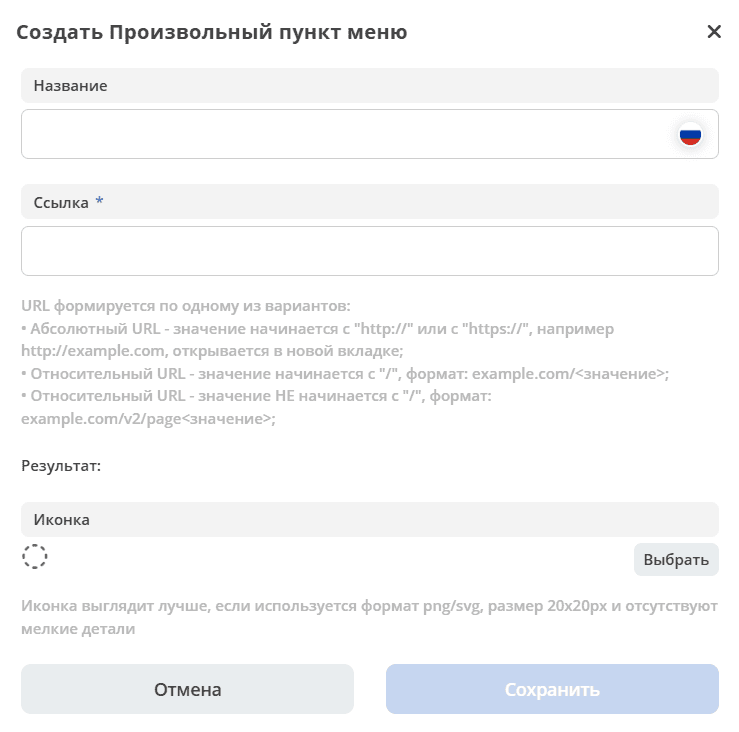
Link - Depending on the value, the corresponding transition path is formed. Below the description field, the result of the generated link is displayed.
Note
More about Absolute and Relative Links.
Absolute URL - if a full path is specified. The link will open in a new browser tab.
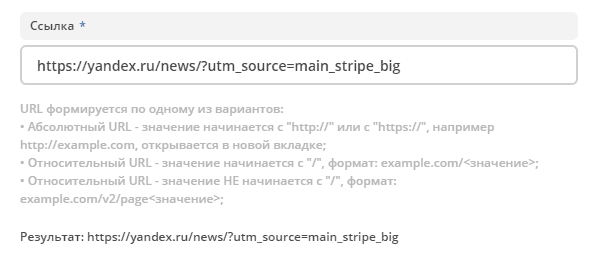
Relative URL. Formation options:
A workspace attribute can be added in the form
%/journal?journalId=${attrName}If the value starts with “ / ”, then the final link is formed as host + value.
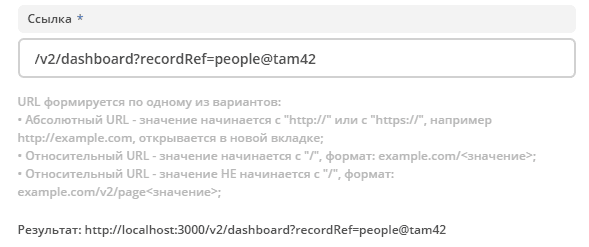
If the value does not start with “ / ”, then the final link is formed as the current link in the address bar + the value.
Warning
May lead to unexpected results.

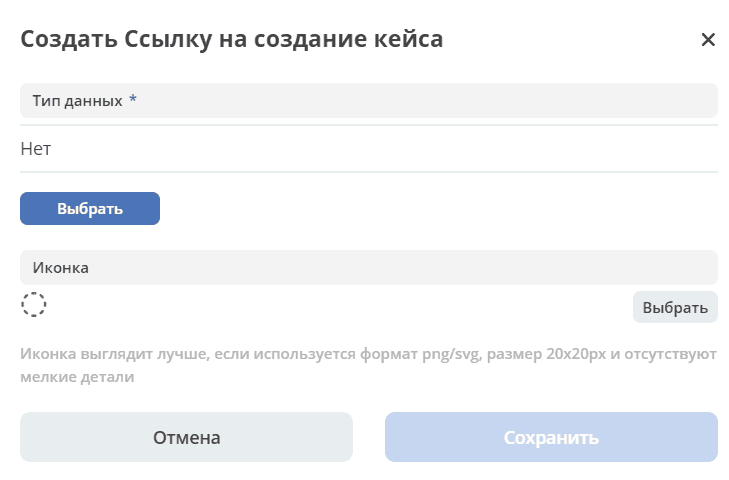
For a Link to Create Case, the data type is selected in the settings, but the menu itself uses the actual creation options for records of this data type. The creation options are configured in the data type itself on the Creation Options tab.

For Start Business Process, a BPMN process is selected in the settings. The menu itself uses the business process start form defined in its settings.
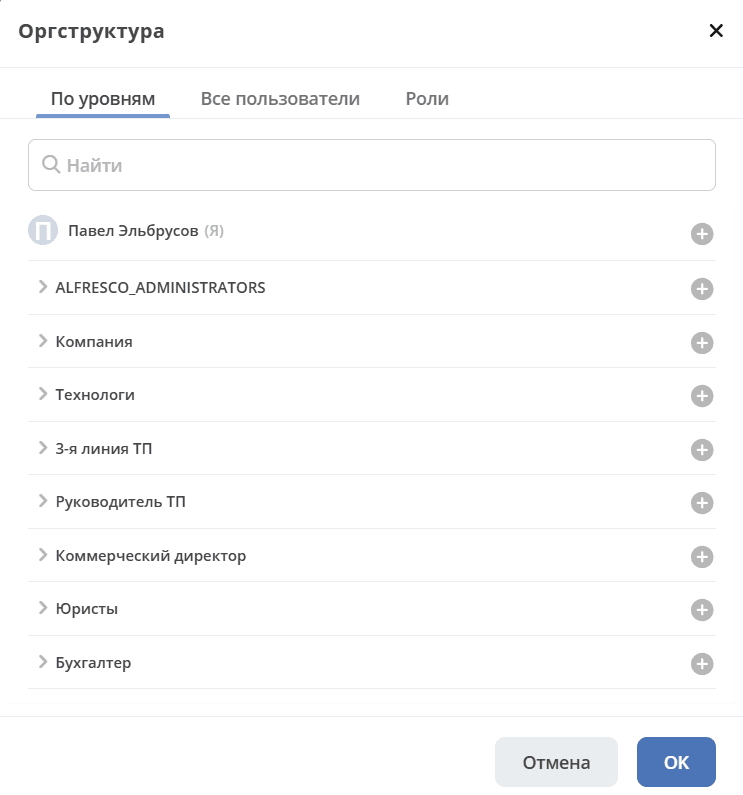
Section “Groups and Users”
Selection of groups and users to whom the edited menu will be assigned:
User has the highest priority. Dependencies of other settings should also be considered.
If multiple configurations are assigned to a user/group, this may lead to an undefined result and the wrong menu may appear.
The assigned groups are added to the group priorities, at the end of the list by default.
Tab “Create Menu”
Possible item types and their availability at each level:
Type/Level |
1 |
2 |
3 |
4 |
|---|---|---|---|---|
Section |
|
|
|
|
Creation Options from Section |
|
|
|
|
Custom Menu Item |
|
|
|
|
Link to Create Case |
|
|
|
|
Start Business Process |
|
|
|
|
Availability of additional characteristics:
Only Counter and Icon are not available
More about some types:
Repeating types from the first tab are similar.
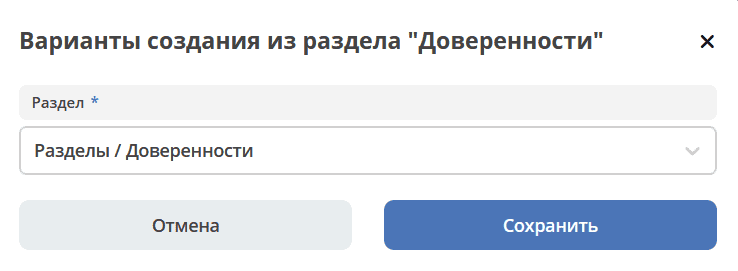
Creation Options from Section
The selection is compiled based on the Left Menu configuration and contains all items of type Section. Presented as a flat list, including child items.

After creating an item, only the section name is displayed in the settings.
In the actual “Create Menu”, after applying the settings, the item turns into items - creation options (similar to the Link to Create Case type).
Note
I.e., this type replaces the manual addition of items of type Link to Create Case if all options from the section are needed.
The Create button is available to everyone by default.

It can be made available only to selected users/groups.

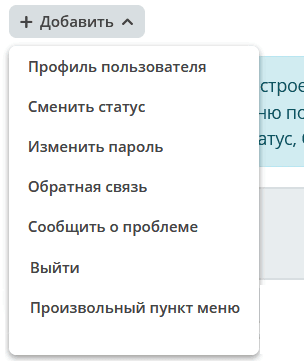
Tab “User Menu”
Possible item types:

The following items are available for configuration:
More about some types:
The “Custom Menu Item” type is similar to the first tab.
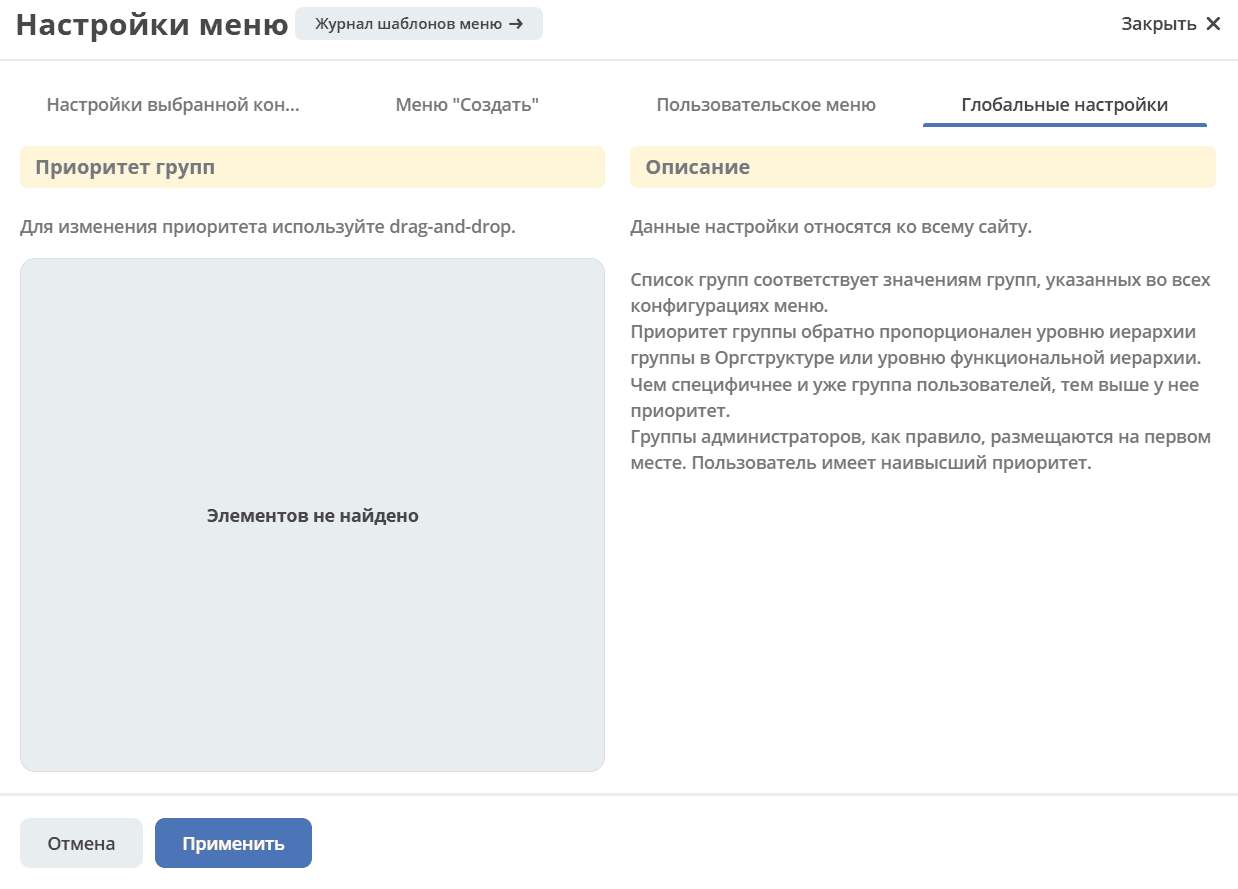
Tab “Global Settings”
Note
These settings apply to the entire system.
Section “Group Priorities”
The list of groups corresponds to the group values specified in all menu configurations.
The priority of a group is inversely proportional to its level in the organizational hierarchy or functional hierarchy. The more specific and narrower the user group, the higher its priority.
Administrator groups are typically placed first.
User has the highest priority (users are not displayed in the priorities).
How it works
Menu configurations specify groups or users for whom the menu is configured. Group priorities is a global setting; based on its configuration and the specified members, the appropriate menu for the user is returned.
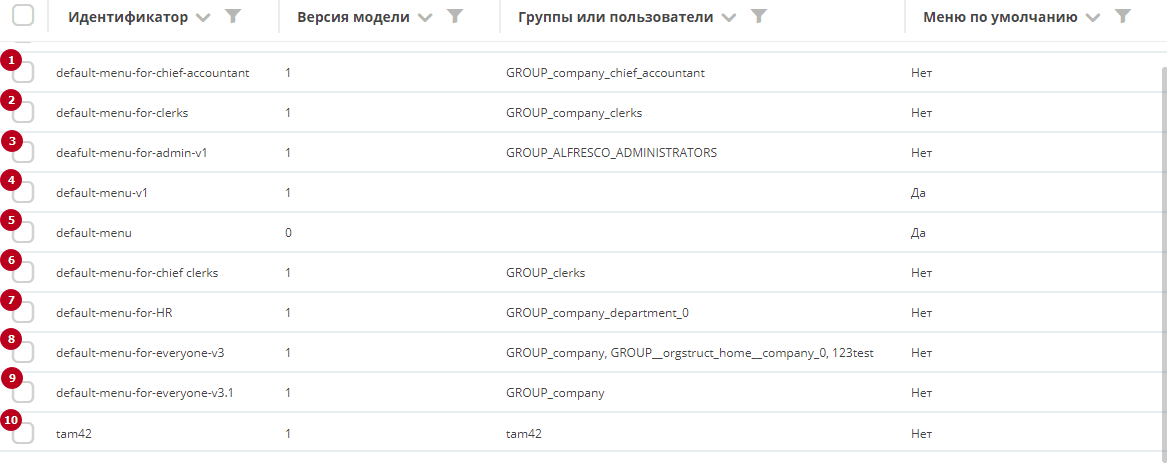
AU - Authorized User
AU - tam42 and he is specified in one of the configurations. Specifying a user has the highest priority => configuration No. 10 is returned. A user should not be specified in multiple configurations.
AU is a member of the administrators group (and is not directly specified in the configuration). We configure a menu specifying this group. In the priority settings, this group is in first place. Result - menu No. 3 is displayed on the left.
AU - chief clerk, is a member of 2 groups: clerks and chief clerks. There are two configurations: No. 2 and No. 6. In the priorities, chief clerks are in 2nd place, others in 3rd. Result - menu No. 6 is displayed on the left. For non-chief clerks, menu No. 2.
If there is no suitable menu for the AU, the base menu (default) is loaded.
Icon Editor
A set of system icons is provided for the user to choose from. If a suitable one is not in the set, there is an option to upload a custom icon, which will appear in the Custom block. The best icon format is svg.
Default icon:
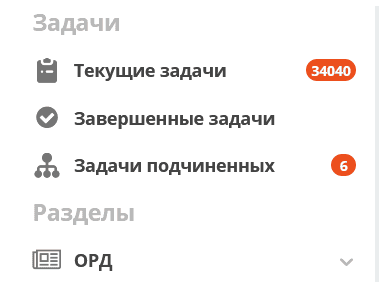
Settings Result
Left Menu
|
||
Create Menu
|
||
User Menu
|
Related Settings
Logo > Interface Themes
Actions> Action Types
Troubleshooting
Multiple Highlighted Menu Items
Only the active (selected) journal should be highlighted in the menu.
But there can be a situation where selecting one item highlights several menu items at once:
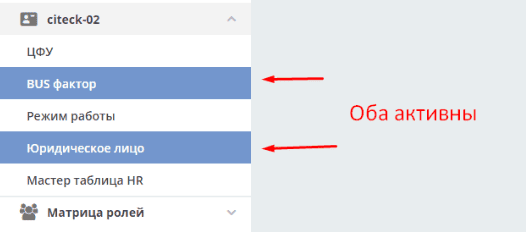
This happens if UI elements were copied during menu configuration without changing their id.
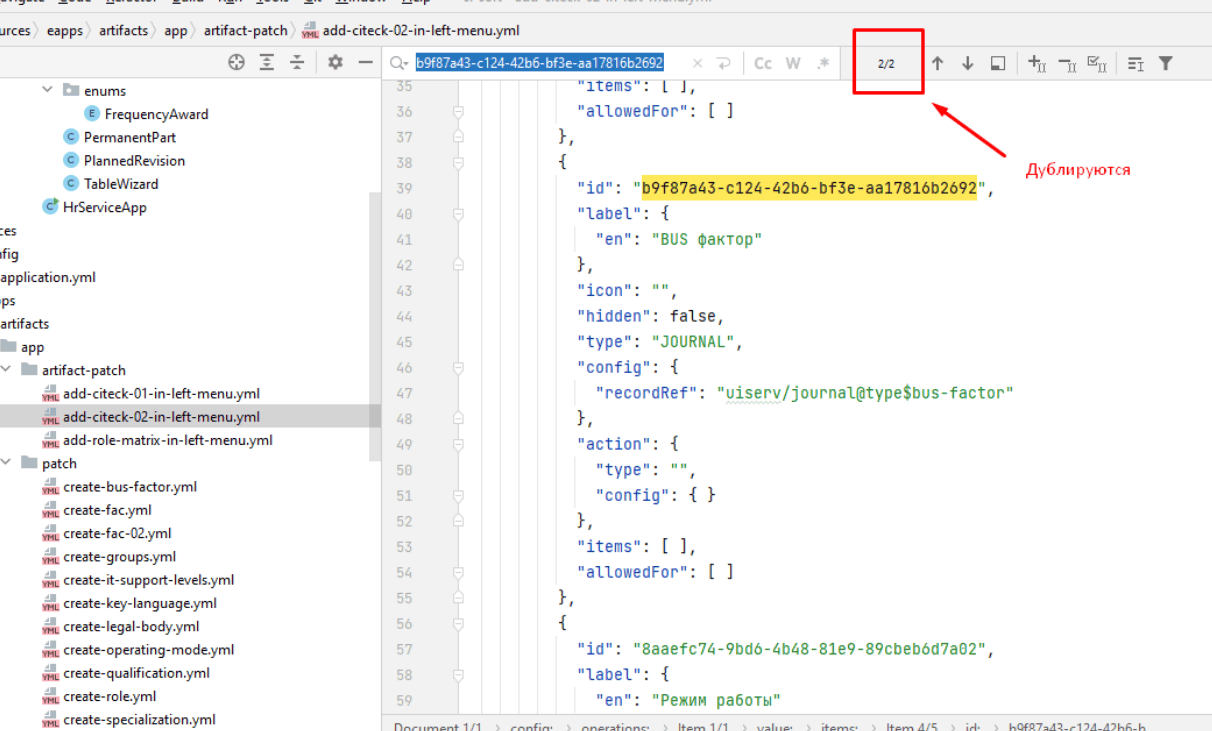
The UI logic is as follows - the currently open element is highlighted in blue. And if the ids are duplicated, then all elements with that id will be highlighted.
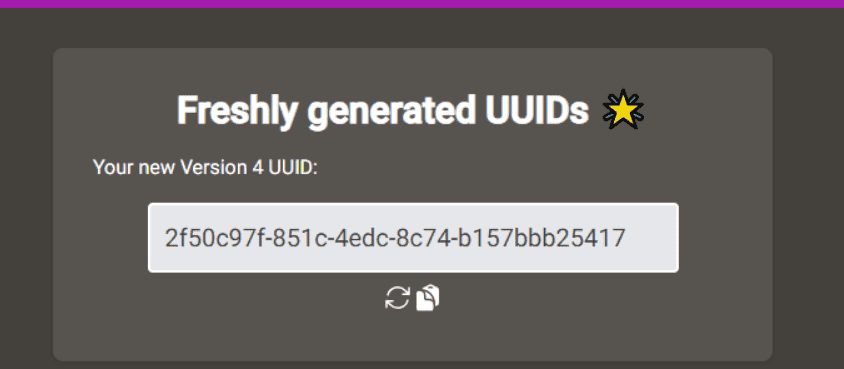
Therefore, it is necessary to ensure the uniqueness of element ids, and if elements are copied, use online generators to obtain unique ids: